
Diamond Painting: A Cross Stitcher's Perfect Diversion
Posted by Tracey M. Kramer on 17th Aug 2018
A Note from Tracey Kramer
I was a skeptic. And then I wasn't. Here's the honest story of how diamond painting snuck into my craft rotation — and why I think it belongs there.
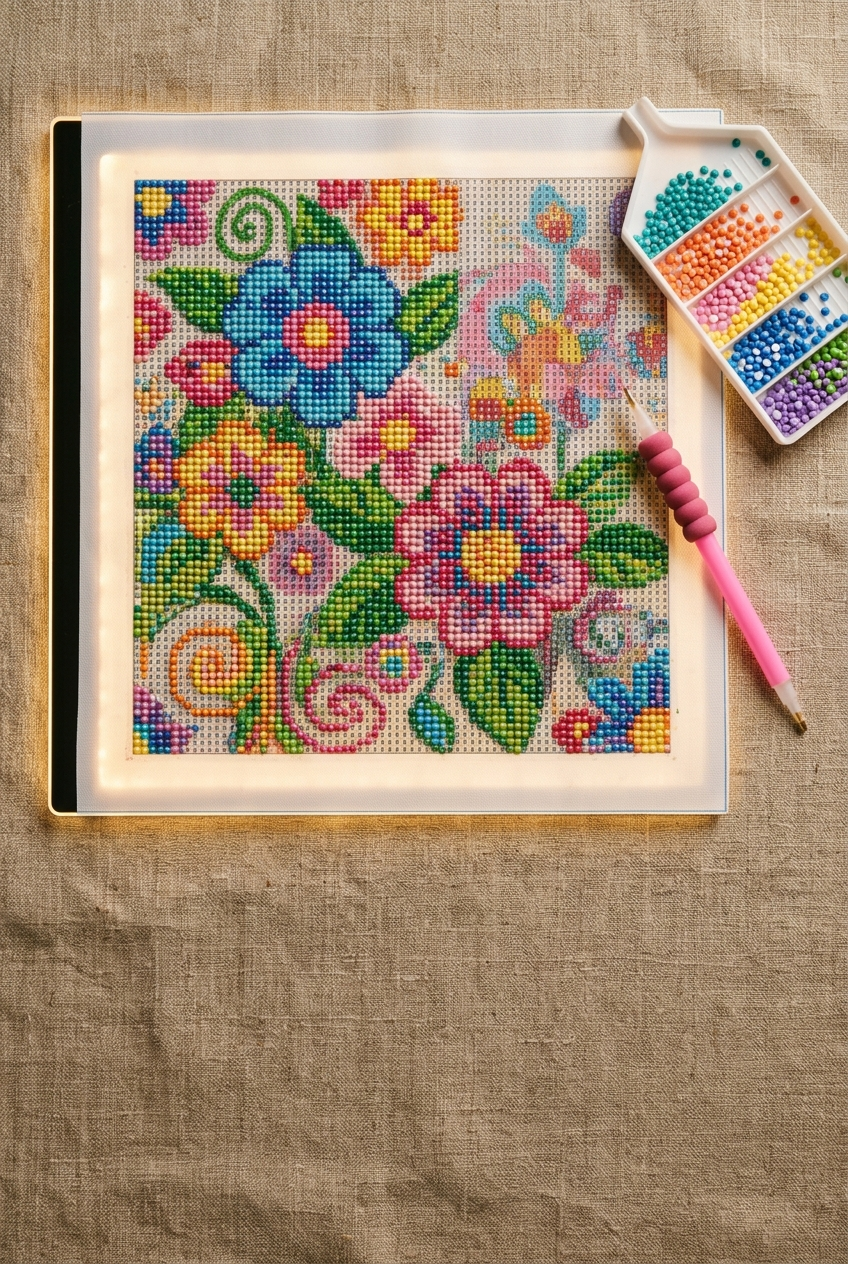
Overhead flat-lay of a diamond painting canvas with colorful resin drills, stylus pen, and glowing LED light pad on linen surface
By Tracey Kramer • • 12 min read
I'll be honest with you — I had not really paid attention to diamond painting until I was scrolling through Facebook one afternoon and a glittering mosaic image stopped my thumb mid-scroll. I'm talking full stop. The colors, the sparkle, the way it looked like a painting but was clearly made of thousands of tiny jewel-like pieces — I was mesmerized. I could not look away. I told myself I'd just look into it. That was a lie. Within the same sitting I had ordered my first diamond painting kit, a second kit, and then a third. Easy, intermediate, and complex — because apparently that's how I operate when something catches my interest.
I've been stitching for over thirty years. Counted cross stitch is my language. I design patterns for it, I chart for it, I sell it. But every crafter who's ever been at this long enough knows there are seasons when your brain needs a different gear. Not a lower gear exactly — just a different one. Diamond painting turned out to be that gear for me, and I want to walk you through everything I've learned since that fateful Facebook scroll, because there is a lot to know before you spend your money.
The good news is that if you are already a cross stitcher, you are going to pick this up faster than almost anyone else. The logic is the same — a gridded chart, a color-coded system, filling in one cell at a time. The satisfaction is the same too. That meditative, zone-out quality of covering canvas section by section? Cross stitchers already know exactly what that feels like. Diamond painting just delivers it with a little more glitter.
What Is Diamond Painting, Exactly?
Diamond painting is a mosaic craft where you place tiny flat-backed resin gems — called drills — onto a pre-printed adhesive canvas. The canvas has a printed color-coded chart underneath a protective film, and you work section by section, peeling back the film and pressing drills into place using a stylus pen. The result is a fully covered, glittering piece of artwork that catches light from every angle. The finished effect genuinely looks like a mosaic made of jewels.
You'll see these kits marketed as '5D diamond painting,' which is simply the standard industry branding used by most manufacturers. The '5D' refers to the facets on the drill surface — five-dimensional facets that create more light reflection and sparkle compared to flat beads. It doesn't mean anything intimidating technically. It just means the drills are cut with more facets to maximize that glitter effect, which is the whole visual appeal of the craft.
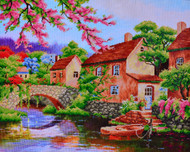
The process is satisfying in a very particular way. You pour a small pile of drills into a sorting tray, dip your stylus into the included wax putty so the tip is slightly tacky, then press the tip to a drill and it lifts. You carry it to the canvas, match it to its symbol, press it down. Repeat. There is a rhythm to this that I can only describe as hypnotic. I chose to work on my intermediate kit first — a landscape scene with cherry blossom trees near a river — and the moment I started placing drills I became hooked. I did not want to put it down. I can watch a good movie, follow the entire dialogue, and never miss a beat. The craft lets you check out mentally in the best possible way, and that is genuinely hard to find.
The color-coded chart works exactly like a cross stitch pattern symbol chart. Each drill color has a number code, the canvas has symbols corresponding to each code, and you work one color zone at a time or row by row — whatever method suits your brain. Cross stitchers will find this entire system completely intuitive. You've been reading symbol charts your whole stitching life. Diamond painting is just that chart made adhesive and sparkly.
Why Cross Stitchers Specifically Love Diamond Painting
The overlap between these two crafts is not accidental — they are built on the same logic. Both use a grid. Both use a color-code system that tells you exactly what goes where. Both reward patient, methodical filling-in with a visually stunning result. And both deliver that particular meditative satisfaction that is very hard to explain to someone who has never experienced it but is immediately recognizable to anyone who has.
For cross stitchers, diamond painting offers a few specific advantages that make it an excellent rotation craft. First: visible progress happens faster. When you're working on a 28-count evenweave with a complex portrait pattern, you can stitch for a full evening and have very little to show for it visually. With diamond painting, an hour of focused work covers a noticeable section of canvas. That faster payoff is genuinely motivating, especially if you've been deep in a long cross stitch project for months.
Second: the hand strain is different. Cross stitch requires precise needle control, thread management, counting on small fabric. It is not heavy physical work but it does use your hands and eyes in a specific concentrated way. Diamond painting uses a stylus that you hold lightly and press down — the motion is more repetitive and rhythmic and considerably less precise per placement. If your hands or eyes need a break from fine needlework, diamond painting is the relief valve.
Third, and I won't pretend this isn't a factor: the sparkle is delightful. There is something purely joyful about watching a canvas fill up with faceted color. It appeals to the same part of you that appreciates a perfectly blended color passage in a cross stitch piece, except it glitters in actual light. Both things can be true at once. You can be a serious counted cross stitch stitcher AND enjoy placing tiny shiny diamonds on a canvas. These crafts are not in competition. They are companions.
Tracey Recommends
Diamond Painting Kits — Sorted by Top Reviews
Skip the sketchy Facebook ads. Amazon shows you exactly how many people bought a kit and what they actually thought of it. Sort by Average Customer Review and look for 1,000+ ratings at 4.4 stars or above — that's your quality filter. Extra drills included, canvas ships flat, colors match the photo. That's what a green-flag listing looks like.
See on AmazonDiamond painting lets you check out mentally in the best possible way — and that is genuinely hard to find in a craft. Cross stitch still wins for extreme realism, but sometimes your brain just needs the sparkle.
Round Drills vs. Square Drills — Which Should You Choose?
Every diamond painting kit will specify whether it uses round drills or square drills, and this choice matters more than it seems at first glance. Round drills are slightly easier to pick up with the stylus — they lift cleanly and place quickly, which makes the process feel smoother and more beginner-friendly. If you want to sit down, get into a rhythm fast, and cover canvas with minimal frustration, round drills deliver that. They are also more forgiving if your placement is slightly off, because the circular shape has a little natural wiggle room.
The drawback of round drills is one that becomes very obvious once the canvas is complete: there will always be gaps. Because circles cannot fully tile a flat surface without leaving spaces at the corners where four drills meet, you will always see the canvas between the drills if you look closely. On a small project or a casual piece, this is barely noticeable. On a large detailed piece, especially anything with fine lines or portraits, those tiny gaps add up and soften the overall definition.
Square drills, on the other hand, tile perfectly. They fit together edge to edge, corner to corner, leaving no canvas showing between them. The result is a significantly more defined, sharper, more detailed finished piece — it genuinely looks like a mosaic rather than a bead project. And I have heard multiple stitchers describe the satisfying click — a tiny audible snap — when you set a square drill correctly into place beside its neighbors. Apparently it is deeply satisfying. I believe it.
The trade-off is that square drills are harder to pick up with the stylus and much harder to correct if you misplace one. They need to be seated straight — even a slightly rotated square drill will leave a gap or throw off the row alignment. My honest recommendation for anyone just starting out: begin with round drills on a smaller canvas. Get familiar with the process, the stylus, the wax, the tray, the chart-reading rhythm. Once you're comfortable with all of that, graduate to square drills for your more ambitious pieces. Square drills on a large canvas is not a beginner project. It is an intermediate-to-advanced project that rewards patience.
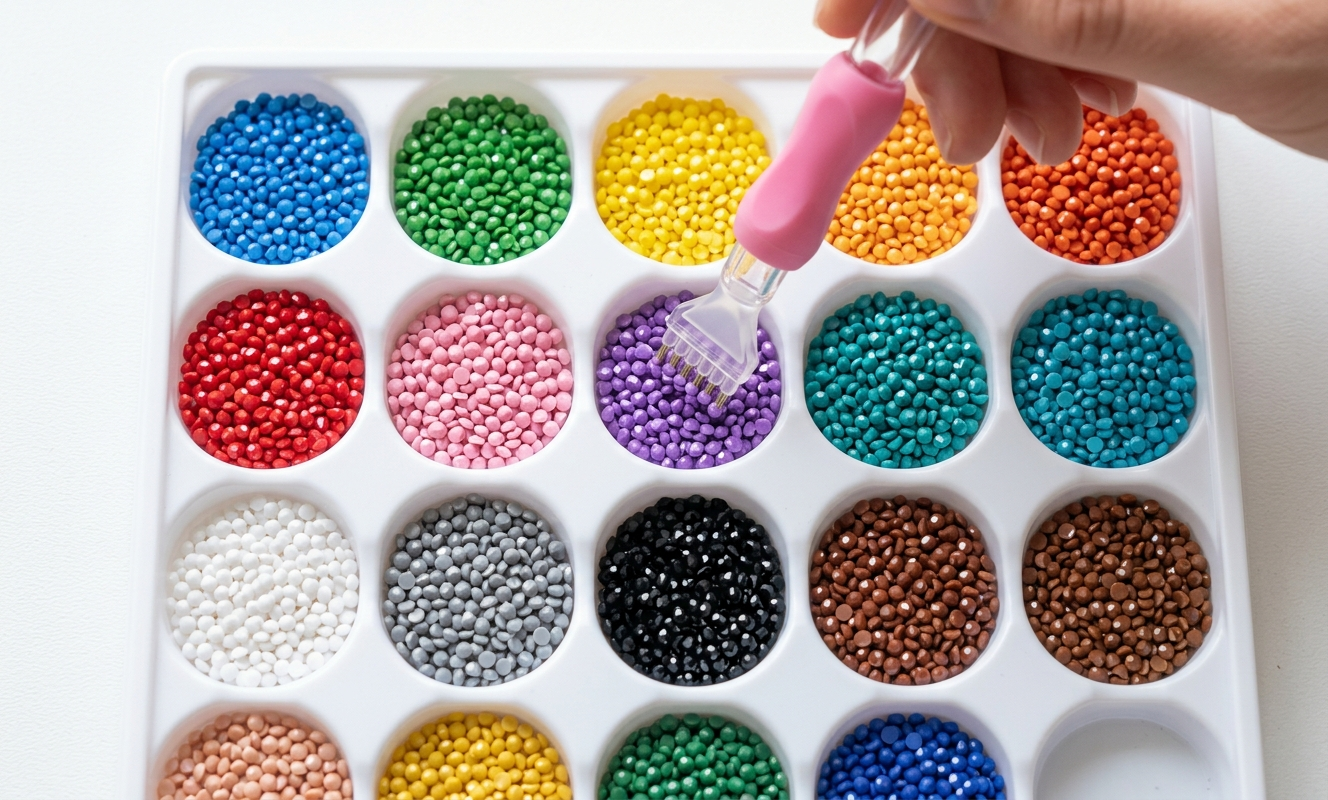
Close-up of diamond painting sorting tray with colorful faceted drills and multi-placer stylus pen picking up several drills at once
Full Drill vs. Partial Drill Kits
One distinction that beginners often don't realize exists until they've already bought a kit: full drill versus partial drill. This refers to how much of the canvas gets covered with diamonds, and the difference is significant both in terms of the final look and the time investment.
A full drill canvas is exactly what it sounds like — every single square inch of the design area gets covered with drills. The entire canvas is adhesive, the entire chart is filled in, and the finished result is a completely diamond-covered piece with no visible printed background anywhere. Full drill pieces are more time-intensive, use significantly more diamonds, and produce the most dramatic glittering effect. If you've seen a completed diamond painting that genuinely looks like a glittering mosaic artwork, it was almost certainly full drill.
A partial drill canvas only places diamonds on certain focal areas of the design — usually the main subject — while the rest of the image is printed directly onto the canvas and remains uncovered. Think of a landscape where the sky is printed and the flowers in the foreground are done in diamonds. Partial drill kits are faster to complete, less expensive, and are a good option for beginners who want to test the craft without committing to a 40-hour project. They also work well as gift-style projects — a pretty result without an enormous time investment.
My recommendation: if you are a cross stitcher with patience and an eye for detail, you will almost certainly prefer full drill once you've done a few projects. The full-coverage glitter effect is the payoff that makes the hours worthwhile. But if you are buying a kit as a gift for someone new to the craft, partial drill is a kinder starting point — less intimidating, faster to finish, still beautiful.
|
Patterns from the Sunrays Collection Tracey's Picks, designing cross stitch patterns since 2004 |
|||||
|
|||||
| Browse the full Sunrays collection → |


Kit Sizes — What to Buy and Why Size Matters More Than You Think
Diamond painting kits come in a wide range of sizes, and size directly affects two things: your time commitment and your finished image quality. Small kits — around 20x20cm — are genuine quick-win projects. You can complete one in a few hours, which makes them perfect for testing whether you enjoy the craft before committing to something larger, or for gifting to someone as a starter project. At this size the image detail is limited, but the finished piece is still charming.
Mid-size kits in the 30x40cm to 40x50cm range are where most hobbyists spend their time. Large enough to have meaningful detail and visual impact, small enough to complete in a reasonable number of sessions. This is the sweet spot for ongoing hobby crafting — a project you can pick up in the evening, make visible progress on, and finish within a few weeks of regular sessions.
Large and extra-large kits — 60x80cm and above — are wall art pieces. These are months-long commitments at regular stitching pace, but the finished result can be genuinely gallery-worthy. A well-made 80x120cm full drill piece with square drills is the diamond painting equivalent of a large counted cross stitch sampler. Stunning when done. A serious undertaking.
Here's the detail point that the original article correctly flagged and I want to repeat loudly: buy the largest size you can afford and are willing to commit to. Every diamond painting image has a fixed amount of detail in the design. When you scale that design down to a small canvas, individual drills cover more visual territory and fine details blend together or disappear entirely. The same design at double the size has room for more drill colors, finer lines, and a much more realistic-looking finished result. If you see a kit in a size small and a size large and you're on the fence, buy the large. You will not regret the detail difference.
Get Stitching Tips & New Patterns from Tracey
Honest advice, new Sunrays designs, and occasional VIP-only offers. No fluff.
No spam. Unsubscribe any time.
Once You're Hooked
Diamond Painting Tools & Accessories Best Sellers
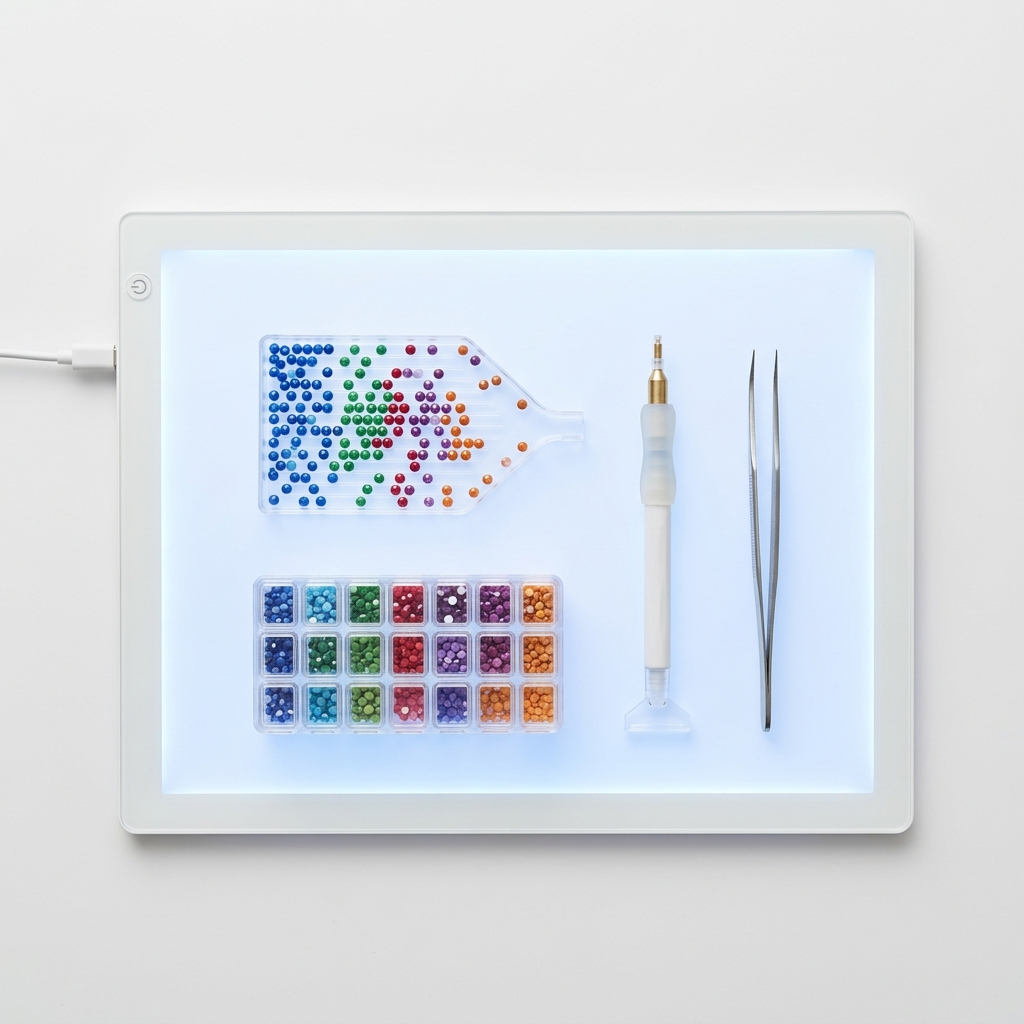
Fair warning: once you've finished your first kit you will want better tools. This page is Amazon's best-seller list for diamond painting accessories — light pads, multi-placer pens, drill organizers, rollers, tweezers, all of it. Consider yourself warned. I went in for one thing and left with a cart.
See on AmazonBuyer Beware — Why You Should Order Diamond Painting Kits on Amazon
I want to spend real time on this section because the buyer beware situation in diamond painting is genuinely worse than in most craft categories, and I saw it play out repeatedly in comments under those Facebook ads that found me after my initial purchases. Once those algorithms figured out I was interested, I was absolutely bombarded with diamond painting kit advertisements — and many of them were from companies I would now tell you to avoid entirely.
The problem is this: a lot of diamond painting kits are being assembled hastily and shipped from overseas, sometimes from as far as China, and many of the companies selling them via social media ads do not clearly disclose that information upfront. You place your order, you wait. And wait. And wait. Two months later your kit arrives — if it arrives at all — and it may look nothing like the preview image. Colors off, adhesive already dried out, canvas curled into a tube, and not enough drills to finish the piece. That last issue is a shockingly common complaint: kits that simply don't include enough drills to complete the project, leaving you unable to finish your work and chasing a company overseas for a resupply that may never come.
My strong recommendation is to order from Amazon. Not because Amazon is perfect, but because Amazon is accountable. Amazon holds its sellers to real standards of customer service, and if a company is sending out incomplete kits or kits that don't match the preview image, Amazon gives you recourse. A company that refuses to send you the drills you need to finish your project will not ignore Amazon's dispute process the way they might ignore a direct complaint. And a company that racks up enough one-star reviews on Amazon risks being removed from the platform entirely. That accountability changes how these sellers behave.
When you're shopping on Amazon, sort results by Average Customer Review and look for these green flags: a minimum of 1,000 ratings at 4.4 stars or above, a product description that specifies 10-30% extra diamonds included, a note that the canvas ships rolled in a tube with a flat shipping insert or is shipped flat, and photos in the reviews that show the finished result matching the product image. Red flags to walk away from: fewer than a few hundred reviews, multiple complaints about colors not matching the preview, canvas arriving curled with no way to flatten, or any mention of the adhesive being dried out on arrival. The review section will tell you everything you need to know. Read it before you buy. Cross stitchers who buy thread and fabric online already know how to read craft reviews — use that same discernment here.
Three companies that have established real reputations in the diamond painting space are DIY 5D Diamond Painting, Diamond Dotz, and The Dome, Inc Diamond Painting. These are legitimate operations with accountable customer service. They're a safe starting point if you want a name to search rather than sorting through dozens of unknowns. But even with a named brand, buying through Amazon gives you an extra layer of protection that buying direct or through a social media ad does not.
5 Things Beginners Wish They Had Known Before Starting
Number one, and I cannot stress this enough: do not peel the entire protective film off your canvas before you start. The adhesive on a diamond painting canvas is exposed and sticky, and dust settles on it almost immediately. Once dust covers the adhesive, your drills won't stick properly and you will be fighting your canvas the entire project. Only peel back the film on the section you are actively working on. Leave the rest covered. This one habit will save you enormous frustration.
Number two: flatten your canvas before you start your first session. Canvases ship rolled in tubes, and they arrive with a strong curl memory. If you try to work on a curled canvas, sections will lift off your work surface and drills won't seat properly. The fix is simple — unroll the canvas in the opposite direction and leave it under a stack of heavy books overnight, or for a full 24 hours if the curl is severe. Do this before you do anything else. The few hours of patience upfront is worth it.
Number three: sort all your diamonds before you start placing a single drill. I know it is tempting to dive straight in, but organizing your drill packets at the beginning — pulling each color out, labeling your tray sections or storage containers, knowing where everything is — makes the actual stitching sessions dramatically smoother. Stopping mid-project to sort through a pile of unlabeled drill packets is maddening. Front-load the organization and enjoy the process.
Number four: start with round drills on a small canvas. If you have never done diamond painting before, square drills on a large canvas will frustrate you out of the craft entirely. The physical difference in handling round versus square drills is real, and on a large canvas you will be making tens of thousands of placements. Learn the process with round drills on a manageable size. Add difficulty deliberately once you know what you're doing.
Number five: good lighting is not optional. The printed symbols on a diamond painting canvas can be small and close together, especially on detailed or large-format canvases. Without a strong dedicated light source you will be squinting at symbols for your entire session, misreading them, and placing drills in the wrong zones. A diamond painting light pad (find on Amazon) — a thin LED panel that sits under your canvas and illuminates it from below — is genuinely transformative. Cross stitchers who already use a diamond painting light pad (find on Amazon) for their stitching know exactly why this matters. If you don't own one yet, it belongs on your list before your first kit arrives.
Accessories That Make the Whole Experience Better
Let's talk tools, because once you are hooked on diamond painting — and you will get hooked — the right accessories make a noticeable difference in both speed and enjoyment. The basics that come in most kits (a single stylus, a small wax block, one sorting tray) are enough to get started, but they are not enough to work comfortably on anything larger than a small beginner canvas.
The first upgrade that changes everything is a multi-placer pen. A diamond painting multi-placer pen (find on Amazon) has a tip that holds 3, 5, or 7 drills at once, which means you can fill large same-color areas at dramatically faster speed. When you're working through a section of sky or background that is all one color, switching from a single-tip pen to a multi-placer cuts your time on that zone significantly. Keep your single-tip pen for detail areas and tight sections where precise single-drill placement matters — but use the multi-placer for everything else.
Organization tools are where most serious diamond painters invest next. A good diamond painting drill organizer (find on Amazon) — a 64-compartment or larger grid storage set with individual lids — lets you sort every drill color by its code number at the start of a project and then store leftover drills after the project is finished. You will always have leftover drills, and if you keep them sorted and labeled you can use them to supplement future projects that run short. A tackle box-style bead organizer box works equally well if you already have one. The sorting trays that come with kits are fine for active working, but they are not storage — you need something with lids if you want to keep colors separated between sessions.
A diamond painting roller is a tool that sounds optional but isn't — this is a small brayer-style roller you press firmly over completed sections to fully seat every drill into the adhesive. Many stitchers only think to use a roller at the end of the project, but using it periodically as you work — every few sessions over completed areas — ensures that drills seated imperfectly early on get pressed fully in before they have a chance to lift. Drills that are not fully seated can pop off later, especially if you roll the canvas or store it mid-project.
Tweezers are non-negotiable for correcting mistakes. When you place a drill in the wrong zone, you need to pull it out cleanly without disturbing the surrounding drills. A fine-tip set of tweezers does this without damage. A magnifying glass or headband magnifier is equally useful if you are working with square drills or on a very detailed symbol grid — the symbols can be genuinely tiny and even strong overhead lighting won't substitute for actual magnification. Canvas cover clips, which hold the protective film back neatly on unworked sections without it flopping onto your working area, are a small detail that makes a surprisingly large difference in workflow comfort.
The Sealing Debate — Should You Seal Your Finished Diamond Painting?
This is the question that splits the diamond painting community more than any other, and I want to give you an honest picture of both sides rather than a simple yes or no answer.
The case for sealing: a sealed diamond painting is protected. Dust, pet hair, and airborne particles that settle over time will be locked out rather than accumulating between drills. If you plan to display a finished piece long-term, sealing it first makes the display much more maintenance-free. It also locks every drill permanently so that if the piece is ever moved, stored, or transported, there is no risk of drills popping off. Some people brush on sealant, others use a spray.
The case against sealing: the entire visual appeal of diamond painting is the sparkle. The facets on each drill catch and reflect light, and any topcoat — even a glossy one marketed as sparkle-preserving — reduces that light interaction to some degree. A sealed diamond painting still looks beautiful, but it will not sparkle the same way an unsealed piece does in moving light. For many people, that sparkle is the whole point, and they would rather maintain the piece with occasional gentle compressed air than lose even a fraction of the glitter effect.
The middle-ground consensus that most experienced diamond painters land on is light spray sealer — one thin coat applied outdoors, at the correct distance from the can — which preserves noticeably more sparkle than brush-on application. If your finished piece includes AB drills — those iridescent aurora-borealis-coated drills that catch light with rainbow color shifts — be especially careful: brush-on sealers will cloud the AB coating. If your piece has AB drills, use spray sealer only, and use it sparingly. A diamond painting sealer (find on Amazon) formulated specifically for this craft will have these instructions on the label — do not use a generic craft sealant and expect the same result.
Cross stitch will always win when it comes to extreme realism — the blended threads, the top stitching, the texture you can build into a piece with a needle and DMC floss is something no resin drill can fully replicate. But diamond painting wins for those evenings when your brain just needs to check out, fill in something sparkly, and watch visible progress happen fast. Both crafts have a permanent place in my rotation now, and I'm not sorry about it. If you're ready to get back to your stitching roots, come browse the pattern shop at Sunrays Creations — there's always something new charted and waiting for you.
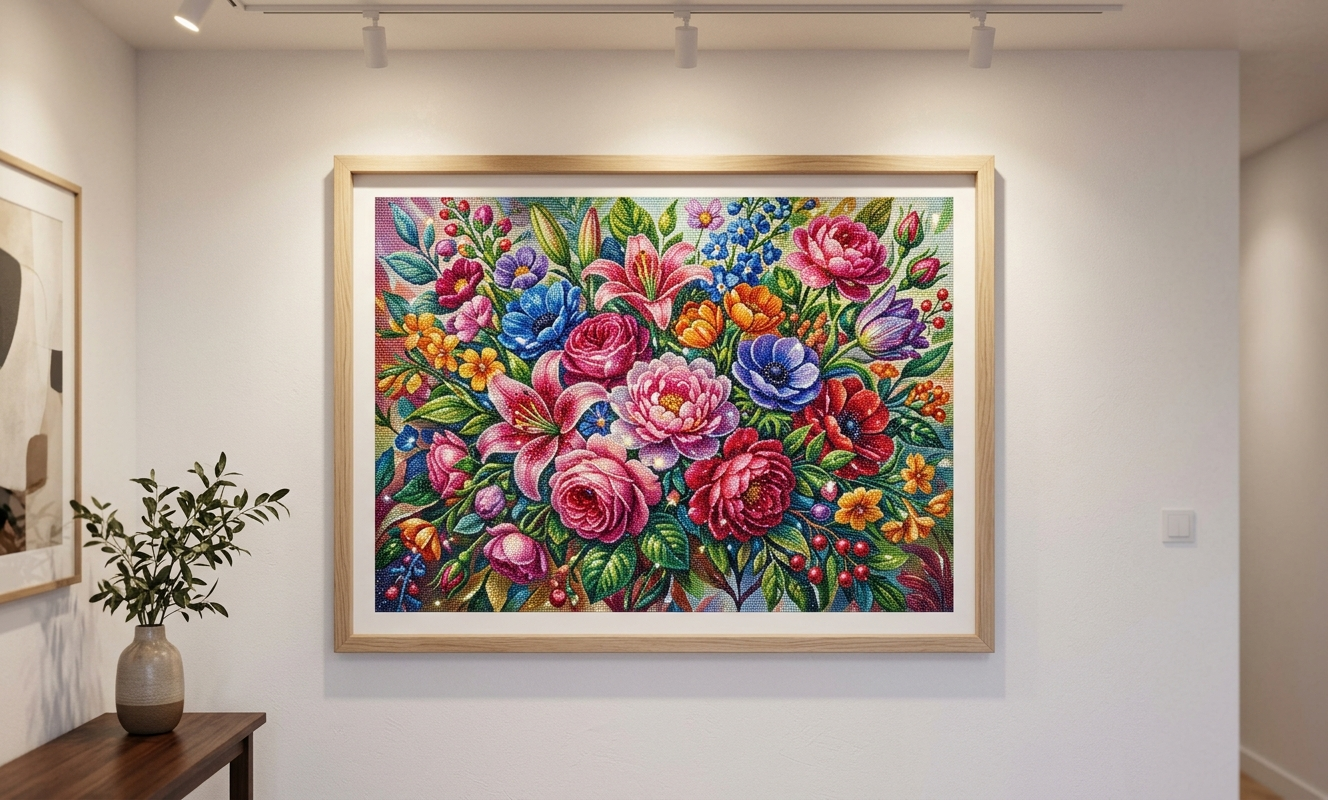
Finished framed diamond painting with sparkling colorful resin drills displayed on a white wall in warm gallery lighting
Keep Reading
Cross Stitch, Needlepoint, Diamond Painting & Crochet — How Do They Compare?
If you're curious how diamond painting stacks up against cross stitch and other needlecrafts side by side, this companion article lays it all out honestly.
READ THE ARTICLEIt's in the Blood — My Love for Cross Stitch and How It All Began
Tracey's origin story. If you want to understand why a 30-year cross stitcher still gets excited about a new craft, start here.
READ THE ARTICLEWhat Do You Need to Cross Stitch? A Beginner's Complete Supply List
Ready to come back to cross stitch after a diamond painting break? This is the complete supply guide to get started or get better equipped.
READ THE GUIDEFrequently Asked Questions
Is diamond painting similar to cross stitch?
Yes — both use a gridded chart, a color-code system, and methodical section-by-section filling. Cross stitchers pick up diamond painting faster than almost any other newcomer to the craft. See the full comparison in the body above.
What is the difference between round and square drills in diamond painting?
Round drills are easier to pick up and place but leave small gaps between drills. Square drills tile seamlessly for a sharper, more detailed result but are harder to handle. Full detail is in the Round vs. Square Drills section above.
Should I seal my finished diamond painting?
It's a personal choice — sealing protects the piece but reduces sparkle. A light spray sealer preserves more glitter than brush-on. If your piece has AB drills, only use spray sealer. Full breakdown is in The Sealing Debate section.
Where is the safest place to buy diamond painting kits?
Amazon, sorted by Average Customer Review. Look for 1,000+ ratings at 4.4 stars or above. The Buyer Beware section above explains all the red and green flags to watch for.
What is a full drill vs. partial drill diamond painting kit?
Full drill covers the entire canvas in diamonds for maximum sparkle and detail. Partial drill only places diamonds on focal areas with a printed background elsewhere — faster and better for beginners. Full explanation is in the Full Drill vs. Partial Drill section.
What accessories do I actually need for diamond painting?
At minimum: a light pad, a multi-placer pen, a drill organizer, and a roller. Tweezers and a magnifier are strongly recommended for square drills. The full accessories section above has everything ranked by priority.
-- Tracey Kramer
Founder & Designer, Sunrays Creations Needlearts
Hand-charted designs since 2004 • Marysville, Ohio