Cross Stitch Tips for Beginners: 8 Ways to Start Right
Posted by Tracey M. Kramer on 17th Jun 2020
A Note from Tracey Kramer
I remember sitting down with my very first cross stitch project like it was yesterday — nervous, excited, and completely unsure where to put that first X. Thirty years later, I still get that flutter when I start something new, and I want your first experience to feel just as magical.

Beginner cross stitch flat lay with Aida fabric, floss, scissors, and pattern chart on white wood
By Tracey Kramer • • 12 min read
If you've never cross stitched before and you've always wanted to try, I'm going to be straight with you: you are in for a treat. Not a 'kind of fun' treat — a full-on, can't-put-it-down, suddenly-it's-midnight treat. That's what happened to me, and honestly, I've never looked back. Cross stitch grabbed hold of me over thirty years ago, and it has been one of the most consistent joys of my life since. I designed my first pattern, launched Sunrays Creations in 2004, and I still sit down with a needle and fabric nearly every single day. So when I tell you that this craft can become a lifelong companion, I mean it.
But here's the thing — your first experience with cross stitch will shape whether you fall in love with it or get frustrated and walk away. The difference between those two outcomes usually comes down to starting right. The right pattern. The right fabric. The right frame. The right light. None of these things are complicated once someone walks you through them, and that's exactly what I'm going to do. These eight tips are what I wish someone had handed me at the beginning, written out plain and practical, with no fluff. Let's get you started.
Whether you've picked up a kit at a craft store or you've been eyeing patterns online for months and finally decided to go for it, this guide will take you from zero to confident stitcher. Work through these steps in order, especially the first few, and I promise the learning curve won't feel nearly as steep as you're expecting.
Tip 1: Start With the Right Pattern for a Beginner
The single biggest mistake new stitchers make is choosing a project that's too complicated. I understand the impulse — you see a gorgeous, intricate floral design or a detailed landscape and you think, 'I want to make that.' And you will, someday. But starting there is like deciding your first cooking attempt will be beef Wellington. Let's begin somewhere that sets you up to succeed.
For a true beginner, I recommend looking for a design that is simple in nature — large areas of a single color, minimal color changes, and a design stitched on 14-count Aida cloth. The 14-count part matters because the holes are large enough to see clearly and your needle moves through without a fight. Smaller counts (like 18 or 28) are for later, once your hands know the rhythm.
You have two options when getting started: buy just the pattern and source your own supplies, or buy a kit that comes with most of what you need. Honestly? For a first project, I'd lean toward a beginner-friendly kit. It takes the guesswork out of matching floss colors to a chart, and it gets you stitching faster. If you prefer to start with just a pattern, browse the designs in my Sunrays shop — I have simpler, cleaner designs that are a wonderful entry point. Look for anything with wide open areas of color and a limited palette. Avoid anything with frequent color changes or heavy detail until you've finished at least one or two projects and feel comfortable with the rhythm of the stitch.
The goal of your first project isn't to impress anyone. It's to finish something, feel the satisfaction of a completed piece, and want to do it again. A simple, well-chosen design will do that for you. A pattern that's too advanced will leave you tangled, frustrated, and wondering why anyone does this for fun.
Tip 2: Read the Instructions Before You Touch the Fabric
I know, I know. Reading instructions feels like the boring part. But hear me out, because this step has saved me from so many unnecessary mistakes over the years. Before you cut a single piece of floss or put your fabric anywhere near a frame, take the pattern out of the package and read everything from start to finish. All of it. Once.
The floss list is where you'll spend the most time if you're working from a pattern-only purchase. That list tells you every DMC color number you'll need and, if the pattern is well-written, approximately how much of each color you'll use. Pay attention to that quantity information. There's nothing more frustrating than running out of a key color halfway through a project and not being able to find the same dye lot at the store.
Before you go shopping, check online or call ahead to see which craft stores near you are running sales on embroidery floss. DMC floss goes on sale regularly at major craft chains, and if you plan even a little, you can save yourself a noticeable amount of money — especially if your project requires a long color list. I've caught some genuinely good sales over the years by just checking ahead. It's a small habit that costs you nothing and saves you real money.
Tracey Recommends
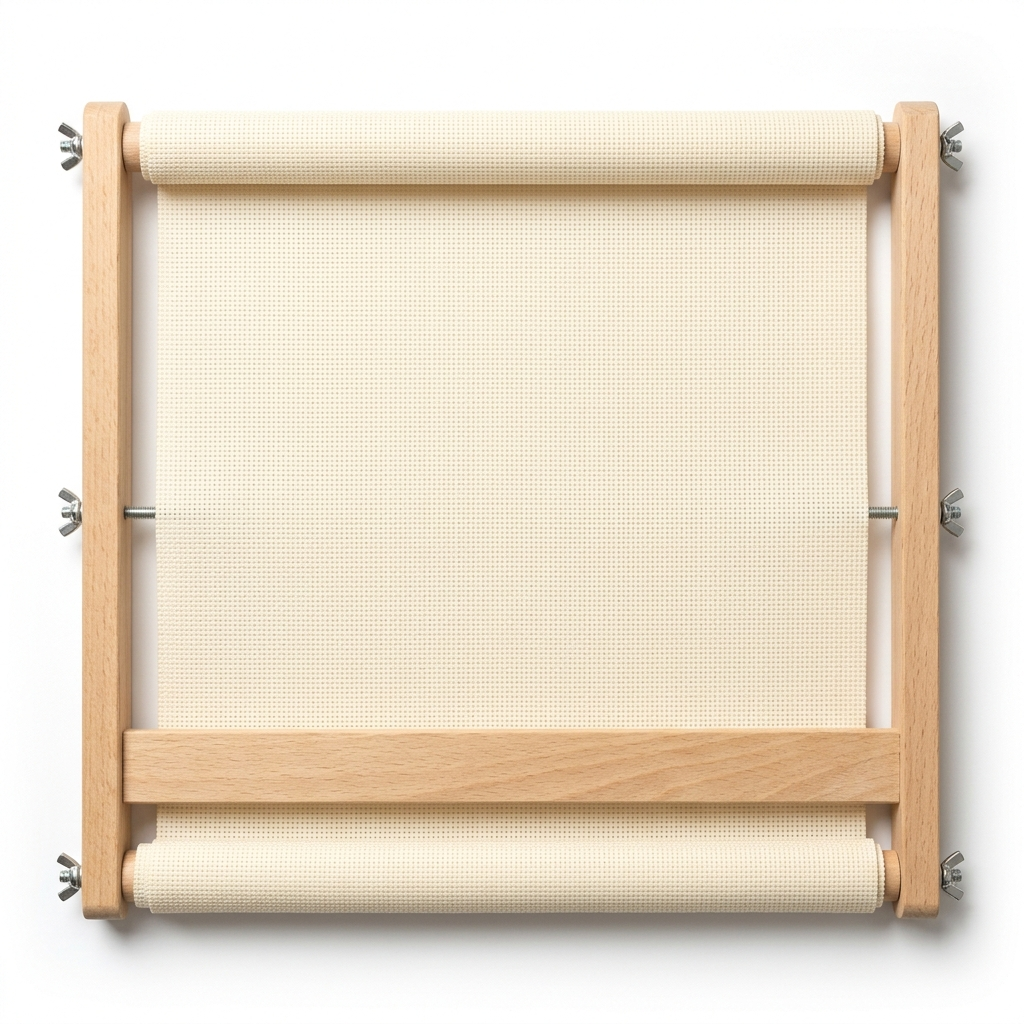
Cross Stitch Scroll Frame
After trying every frame type out there — hoops, Q-snaps, lap frames — I came back to the scroll frame every single time. It keeps fabric under consistent, even tension without leaving hoop marks, it doesn't slip around in your lap, and it works for projects of almost any size. I use scroll frames exclusively now and I won't go back. If you're investing in your first real frame, this is the one I'd point you toward.
See on AmazonThe difference between loving cross stitch and walking away from it usually comes down to starting right. The right pattern, the right fabric, the right light — none of it is complicated once someone walks you through it.
Tip 3: Calculate Your Fabric the Right Way
Next up is figuring out how much Aida cloth you actually need — and this is where a lot of beginners go wrong by cutting too close. Your pattern will tell you the dimensions of the stitched design area. That's the area where your actual cross stitches will live. But if you ever plan to frame your finished piece (and you will want to), you need significantly more fabric than just the stitched area.
Here's the calculation I use every single time: take the dimensions of the stitched design area and add 6.5 inches to both the width and the height. That extra fabric gives the framer what they need to work with, and it also gives you room to maneuver while you're stitching without your frame pressing up against your design area.
Let me walk you through an example so it's completely clear. Say your pattern has a stitched design area of 8 inches wide by 10 inches tall. You'd add 6.5 inches to the width: 8 + 6.5 = 14.5 inches. Then add 6.5 inches to the height: 10 + 6.5 = 16.5 inches. So your Aida cloth should measure 14.5 inches wide by 16.5 inches tall. That's what you cut or purchase. Don't skimp here — extra fabric is cheap compared to the heartbreak of a finished project that can't be framed properly.
I strongly recommend Aida cloth for beginners over evenweave or linen. The woven grid of Aida makes each individual hole clearly visible, which is exactly what you need when you're learning. You'll be able to count squares, find your place on the chart, and move your needle confidently without squinting. Evenweave and linen are beautiful, but save them for when the basics feel completely natural. Tapestry needles — also called cross stitch tapestry needles assorted (find on Amazon) in size — are what you'll thread through that Aida. They have a blunt tip that slides through the fabric without splitting the fibers, and they come in several sizes. For 14-count Aida, a size 24 needle is usually just right.
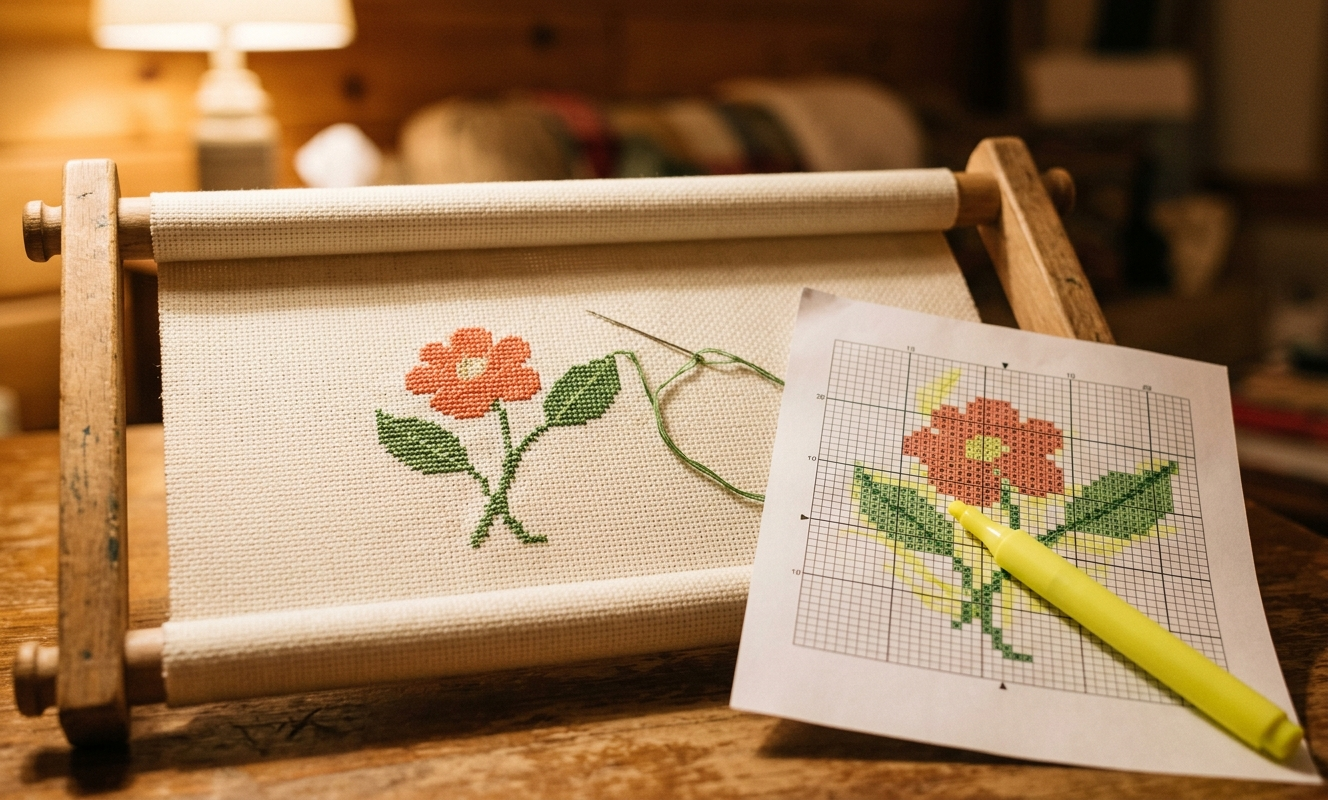
Partially completed beginner cross stitch on scroll frame with highlighted pattern chart beside it
Tip 4: Choose Your Frame Wisely (This One Matters More Than You Think)
Every stitcher eventually develops strong opinions about frames. It takes time and trial and error, but I'll save you some of that error right now by telling you what I've learned after decades of stitching.
There are three main types to know about. First, the embroidery hoop — that classic wooden or plastic embroidery hoop set (find on Amazon) that's round and clamps your fabric between two rings. Hoops are inexpensive, easy to find, and totally fine for very small projects. But they have a significant drawback: they can leave hoop marks pressed into your fabric, especially if you leave the hoop on between stitching sessions. I've had it happen, and it's not fun to deal with. If you use one, take the fabric out of the hoop every time you set your work down.
Second is the Q-snap frame cross stitch (find on Amazon) frame — a plastic pipe frame with clamps that grip the fabric edges. Q-snaps are gentler on fabric than hoops and they hold things fairly taut. They're a solid middle-ground option, and plenty of stitchers swear by them. I've used them and they work fine.
But after trying everything available — hoops, Q-snap frames, lap stands, the works — the frame I've settled on for every single project I stitch is the scroll frame. A scroll frame holds your fabric taut with a pair of horizontal bars (the scrolls) that you roll to advance the fabric as you work. The fabric stays under consistent, even tension without the hoop-mark problem, and the frame doesn't shift around in your lap. I won't stitch without one now. Buy a scroll frame large enough to accommodate your project comfortably, and if you're not sure which size to get, go a little larger rather than a little smaller. You'll thank yourself later. A cross stitch scroll frame is one of the best investments a new stitcher can make.
Whatever frame you choose, make sure your fabric is held taut enough that your stitches pull evenly and your work doesn't pucker. Loose fabric leads to loose, uneven stitches, and that affects how your finished piece looks.
|
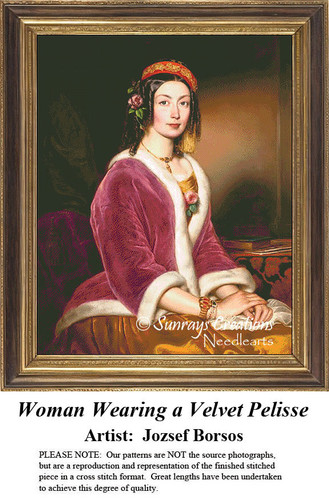
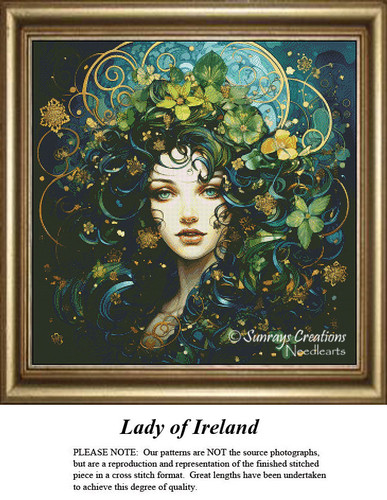
Patterns from the Sunrays Collection Tracey's Picks, designing cross stitch patterns since 2004 |
|||||
|
|||||
| Browse the full Sunrays collection → |

Tip 5: Gather Your Tools and Get Organized Before You Sit Down
Part of what makes a stitching session enjoyable versus frustrating is having everything you need within arm's reach before you start. There's nothing worse than getting into a good flow and then having to get up and hunt for your scissors. Here's what I keep on hand for every project.
Scissors — two pairs. A large pair for cutting your Aida cloth to size, and a small pair of embroidery scissors for clipping thread ends cleanly and close. Don't use your fabric scissors on thread and don't use your thread scissors on fabric. Keep them separate. A seam ripper or a blunt tapestry needle is also essential for the inevitable moments when you need to remove a section of stitching. It happens to everyone — beginner and expert alike. The trick is removing the mistake calmly without pulling the surrounding stitches or damaging the fabric weave.
Highlighters are something a lot of beginners overlook, and I don't know why, because they are genuinely one of the most useful tools in the whole setup. As you complete sections of your pattern, you highlight them directly on the chart. This tells you instantly where you've been and where you're going. I use a different color highlighter for different sessions sometimes, which makes it even easier to track progress. Keep a few on hand.
For organization, I keep all my small accessories — scissors, highlighters, needle minder, extra needles — inside a small zippable tote or cross stitch project bag. Mine is about the size of a cosmetic bag, which is perfect. It lives right next to my stitching chair so I never have to go searching. A dedicated cross stitch project bag accessories pouch (find on Amazon) is a small thing that makes a big difference in keeping your setup tidy and your sessions uninterrupted. You'll also want something to hold your floss — a bobbin box or project bag with separate pockets works great for keeping colors organized and tangle-free.
Get Stitching Tips & New Patterns from Tracey
Honest advice, new Sunrays designs, and occasional VIP-only offers. No fluff.
No spam. Unsubscribe any time.

Also Worth Having
OTTLite Floor Lamp for Cross Stitch
I have both the floor model and the tabletop version, and they are genuinely not optional in my stitching life. OTTLite produces full-spectrum light that mimics natural daylight — which means you can actually tell the difference between two very similar dark thread colors, see the holes in your fabric clearly, and stitch for longer without your eyes tiring out. Regular lamps just don't do what a daylight lamp does. This is one of the purchases I wish I'd made earlier.
See on AmazonTip 6: Lighting Is Not Optional — Get a Good One
Let me be completely direct with you: bad lighting will make cross stitch miserable. Straining to see holes in dark fabric, struggling to distinguish between similar thread colors, squinting at a chart in a dim room — all of that is avoidable, and it's worth putting real thought into your lighting setup before you begin.
I use the OTTLite, and I have for years. I have a floor model for when I'm settled into my stitching chair in the family room, and a tabletop model for when I sit at a table. The reason I choose OTTLite specifically is that it produces light closest to natural daylight — what's called full-spectrum or true-spectrum light. This matters enormously when you're trying to distinguish between DMC 3750 (a very dark navy) and DMC 823 (also dark navy but slightly bluer). In regular incandescent light, those colors look virtually identical. Under a daylight lamp, you can see the difference clearly.
Natural light is the best light for stitching when you can get it, which is why I love my bedroom for daytime stitching — it has great windows and the room stays bright for a good portion of the day. But when you're stitching in the evening, or in a room without good windows, a quality daylight lamp like an OTTLite floor lamp is absolutely worth the investment. Your eyes will thank you after a long stitching session, and your color accuracy will be noticeably better. This is not a place to cut corners by relying on a regular lamp or overhead lighting.
Tip 7: Find Your Stitching Spot and Minimize Distractions
Where you stitch matters more than people expect. I have two spots I rotate between. My family room is where I spend most of my stitching time — it's comfortable, I can have the TV on, and I can see my floor lamp clearly from my chair. My bedroom is where I go when I want quiet and natural light during the day. Both spots work for me because I've been stitching long enough that the mechanics are completely automatic.
But for a beginner, I'd actually recommend keeping the TV off — at least for your first few projects. I know that sounds strict, but hear me out. When you're new to cross stitch, you need your eyes and your brain both on the fabric and the chart. You're counting holes, tracking your place on the pattern, learning how to manage your thread tension, and building a mental map of the stitch structure. Television pulls your attention at exactly the wrong moments and leads to miscounts, skipped stitches, and the kind of mistakes that require that seam ripper we talked about earlier.
Instead, put on some easy instrumental music — something without lyrics. Music with words competes with the counting part of your brain in ways that instrumental music doesn't. I love stitching to classical music or acoustic instrumental playlists. It keeps the atmosphere warm and pleasant without pulling focus. Later, once the stitch pattern is as natural to you as breathing, you can absolutely have your favorite show on in the background. That day will come sooner than you think.
Comfortable seating is also part of this. You can stitch in a recliner, at a kitchen table, in an upright chair with a floor stand frame beside you — whatever works for your body. The only requirement is that you're comfortable enough to sit still for a stretch of time without tension building in your back or shoulders. Good posture and good support mean longer, more enjoyable stitching sessions. Take care of yourself while you stitch.
Tip 8: Find Your Starting Point and Make That First Stitch
This is the moment everyone gets a little nervous about, and I completely understand why. But finding your starting point is not complicated once you know the two main methods, and choosing the right one just depends on what type of pattern you're working with.
If your pattern comes as a single large folded sheet, use the center-finding method. Take your cut piece of Aida and fold it in half lengthwise, then fold it in half again the other direction — into quarters. Press those fold lines gently with your fingers, then unfold the fabric. Where those two fold lines cross in the middle of your fabric is your center point. That's where you'll begin stitching. Now find the center of your pattern: look for the small black arrow at the top of the chart page and the small black arrow along the left side of the chart. Run your finger down from the top arrow and across from the left arrow — where they meet is the center of your design. Match fabric center to chart center and you're oriented correctly.
If your pattern comes in multiple pages (as most of mine do), use the 3-inch method instead. From the top-left corner of your fabric, measure 3 inches to the right and mark lightly with a pencil. From that mark, measure 3 inches down. That point is your starting spot. This method works reliably for multi-page patterns and gets you close enough to the ideal starting position to use the fabric efficiently without running out of room on any side.
I actually put together a video walking through the center-finding method step by step — you can watch it below. Seeing it done in real time makes the whole thing click much faster than reading about it.
Once you've located your starting point, thread your needle with two strands of floss (most patterns call for two strands for proper coverage on 14-count Aida), and make your first X. Then the next one. Then the one after that. When you finish a length of thread and need to move to a new color, flip your frame over and weave the needle end back through several stitches on the back of the fabric before clipping. This secures the thread without a knot. Highlight the completed stitches on your pattern. And then keep going. The excitement builds faster than you'd expect — I promise you that.
Starting something new always takes a little courage, and I think God gave us crafts like this for a reason — there's something quietly good for the soul about making something beautiful with your own hands, one stitch at a time. You have everything you need to begin. When you're ready to find a pattern that fits exactly where you are as a new stitcher, come browse the designs at Sunrays Creations — I design every single one with real stitchers in mind, and I'd love for one of them to be the start of your story.
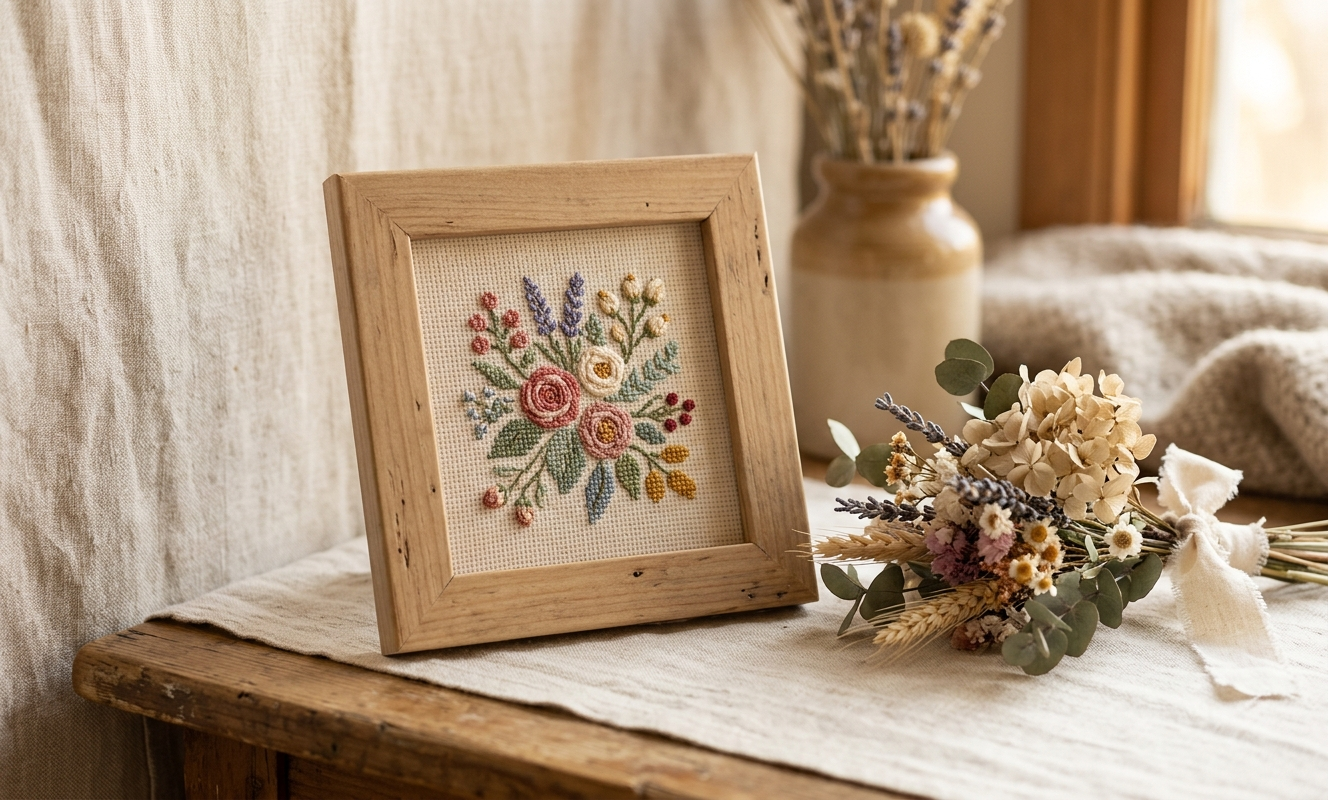
Finished beginner cross stitch floral design in natural wood frame with dried flowers on linen backdrop
Keep Reading
What Do You Need to Cross Stitch? The Complete Supply List
A deep-dive into every supply a beginner needs before sitting down for their first project — fabric, floss, frames, needles, and more.
READ THE GUIDECross Stitch FAQs: Your Questions Answered
Tracey answers the most common questions beginners ask about cross stitch — from how to start a thread to how to read a pattern.
READ THE ARTICLEWhy Buy From Sunrays Creations?
Hand-charted, original designs made by a stitcher who has been doing this for over thirty years. Here's what sets Sunrays patterns apart.
READ THE ARTICLEFrequently Asked Questions
What is the best cross stitch pattern for a complete beginner?
Look for a design on 14-count Aida with large areas of a single color and very few color changes. Kits are a great first choice because the materials are already matched to the pattern. Avoid anything with heavy detail or a large number of thread colors until you've completed at least one simpler project and feel comfortable with the basic stitch.
How much Aida fabric do I need for my cross stitch project?
Take the dimensions of the stitched design area from your pattern and add 6.5 inches to both the width and the height. For example, an 8x10 inch design area needs fabric that measures 14.5x16.5 inches. That extra material gives framers what they need to work with and gives you comfortable room to maneuver while stitching.
How many strands of floss should a beginner use?
Most cross stitch patterns worked on 14-count Aida require two strands of floss for proper stitch coverage. Your pattern should specify this, but two strands is the standard for this fabric count. Using one strand gives a lighter, more delicate look, while three strands can feel crowded in the holes — so start with two and adjust later if a pattern calls for something different.
What type of frame is best for cross stitch beginners?
Scroll frames are my personal recommendation after trying every type available. They hold fabric under consistent, even tension without the hoop-mark problem that wooden rings can cause, and they work for a wide range of project sizes. If budget is a concern, a Q-snap frame is a reasonable alternative. I'd avoid relying solely on a round embroidery hoop for anything larger than a very small project.
How do I find the center of my cross stitch fabric?
For a single folded pattern sheet, fold your fabric in half lengthwise and then in half again to form quarters. Press the fold lines with your fingers, unfold, and the point where the creases cross is your center. Then locate the arrow centermarks on your pattern chart and match them to that center point on the fabric. For multi-page patterns, use the 3-inch across and 3-inch down method from the top-left corner of your fabric instead.
What lighting is best for cross stitching?
Natural daylight is ideal, but for evening stitching or rooms without good windows, a full-spectrum daylight lamp is the next best thing. I use the OTTLite — both a floor model and a tabletop version — because it produces light closest to natural sunlight. This helps enormously with distinguishing similar thread colors and reduces eye strain during long stitching sessions. Regular incandescent or overhead lighting is genuinely not adequate for detailed needlework.
-- Tracey Kramer
Founder & Designer, Sunrays Creations Needlearts
Hand-charted designs since 2004 • Marysville, Ohio