
The Parking Method in Cross Stitch: Does It Work?
Posted by Tracey Kramer on 30th Mar 2015
A Note from Tracey Kramer
I resisted the parking method for years. Once I finally tried it on a complex Victorian portrait, I never went back — and I want to save you the years I wasted avoiding it.

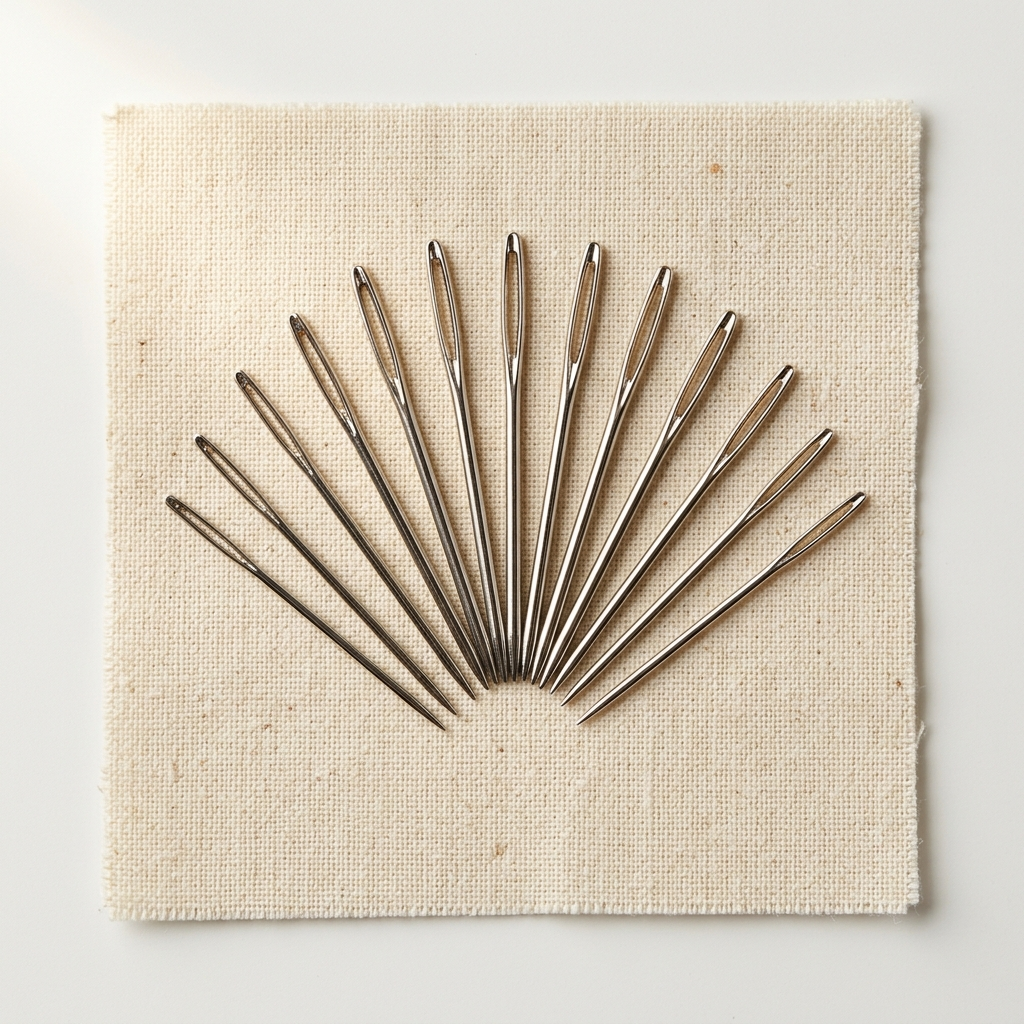
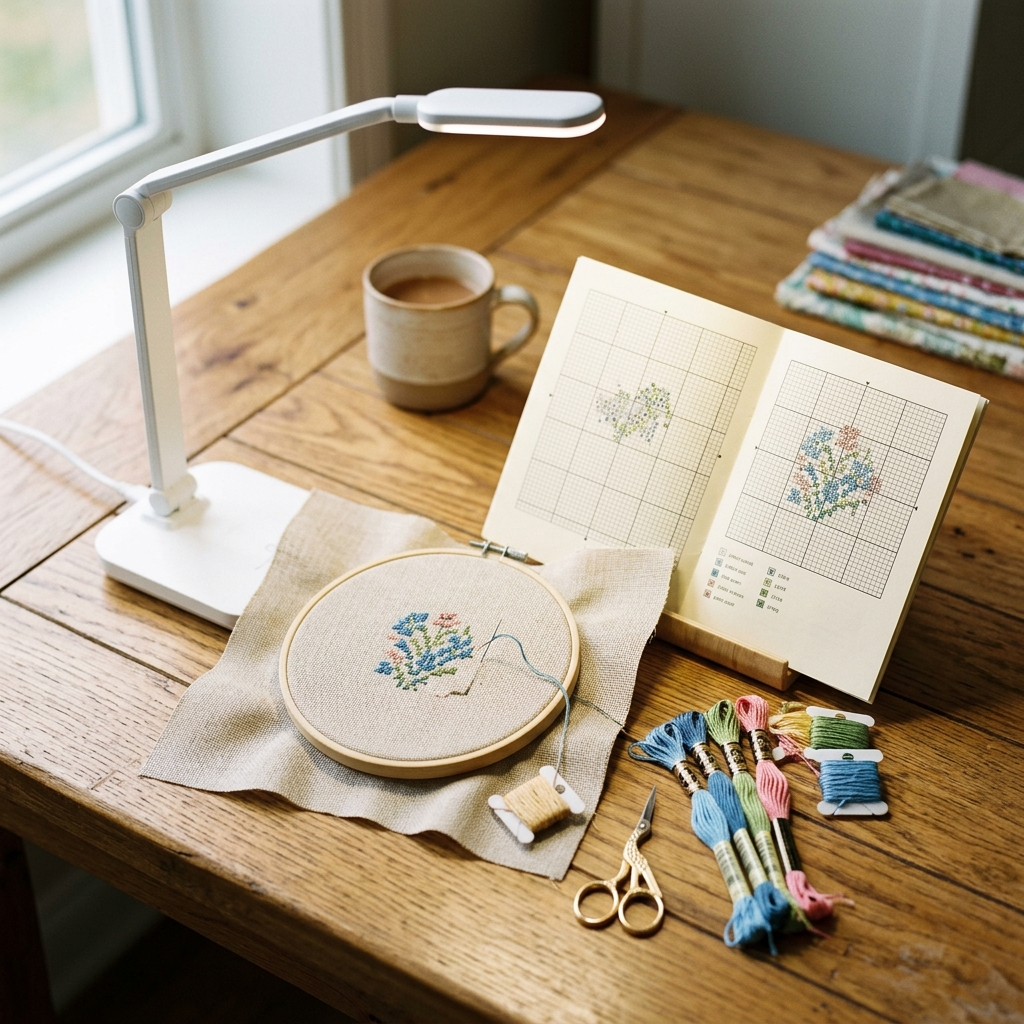
In-progress cross stitch on Q-Snap frame with many colorful needles parked across the fabric
By Tracey Kramer • • 12 min read
There is a moment every serious stitcher hits — usually somewhere in the middle of a big, beautiful, color-dense project — where the wheels start coming off. You lose your place. You stitch three squares in the wrong color. You spend twenty minutes counting and recounting the same row, and you still are not sure you got it right. The project that was supposed to be a joy starts feeling like a second job. I have been there more times than I care to admit.
The parking method is the technique that pulled me out of that hole for good. I have been stitching since 2004, and I will be honest with you: I resisted learning it for a long time because it sounded complicated. Many needles. Many threads. A whole system to manage. I thought it would slow me down. What I discovered instead was that it eliminated the constant recounting, the color errors, and the sinking feeling of realizing halfway through a row that something had gone wrong two inches back.
This article is going to give you a clear picture of what the parking method actually is, help you figure out whether it is the right tool for your current project, and introduce you to the free PDF guide I put together that walks you through the full process start to finish. This is not a complete tutorial right here on this page — that is what the guide is for. But by the time you finish reading, you will know exactly what you are deciding.
What Is the Parking Method?
At its most basic, the parking method is a system for managing multiple thread colors simultaneously across a section of your fabric. Instead of completing all stitches of one color, finishing off, cutting, and moving to the next color, you keep every color in play at the same time — each one threaded on its own needle, each needle parked directly in the fabric right where you will need it next. You work row by row across a defined grid section, picking up and setting down needles as the pattern calls for each color.
Think of it like a traffic system. In a busy intersection, every car needs its own lane and its own signal. Without that structure, you get chaos — near misses, wrong turns, gridlock. The parking method gives every color its own lane. Each needle sits in its designated spot on the fabric and waits its turn. When you come back to that color on the next row, your needle is already in exactly the right position. No hunting for where you left off. No rethreading. No counting from scratch.
The reason this works so well for large confetti-heavy projects is simple: it keeps your place for you. On a complex pattern — think a detailed portrait, a realistic animal, a botanical with a dozen shades of green — you might have fifteen different colors appearing in a single ten-stitch row. The parking method means you never have to figure out where to reenter the fabric after finishing a color. The needle tells you. That one shift changes everything about how a big project feels to work.
Is the Parking Method Right for You?
The honest answer is that this technique is not for every project, and I would rather tell you that upfront than have you adopt a complicated system when you do not need it. If you are stitching a simple design — a few solid blocks of color, limited color changes per row, small stitch count overall — the parking method will add more overhead than it saves. For those projects, just stitch in the traditional way and enjoy the simplicity.
Where parking earns its keep is in the projects that intimidate most stitchers: heavy confetti stitching where nearly every square is a different color, portraits and realistic designs with subtle color gradients, large-scale projects that span dozens of sessions over weeks or months, and any pattern where losing your place even once costs you significant rework. If you have ever set a big project down for a week and then had no idea where to pick it back up, parking solves that problem permanently. Your needles are your bookmarks.
Long multi-session projects are actually where parking shines brightest. When I come back to a parked project after a few days away, I sit down, look at the fabric, and every needle is pointing me exactly where to go next. There is no warm-up period of re-orienting myself. I pick up the first needle and stitch. For anyone who works on a project in shorter sessions — a lunch break, an evening here and there — that kind of instant re-entry is genuinely worth the initial setup time.
Tracey Recommends
Tapestry Needles Multi-Pack
Most stitchers are genuinely shocked the first time I tell them this: the parking method can have 20 to 40 needles in your fabric at once. A multi-pack of size 24 and 26 tapestry needles is not optional — it is the foundation the whole system runs on. Stock up before you start, not halfway through when you run out.
See on AmazonThe parking method gives every color its own lane. Each needle sits in its designated spot and waits its turn — and when you come back to a project after a few days away, your needles are your bookmarks.
The Tools That Make It Work
Before you dive in, I want to be upfront about one thing that surprises almost every stitcher the first time they try parking: you need a lot of needles. Not two or three. Not a small pack of ten. For a complex project with many colors per row, you can easily have twenty to forty needles parked in your fabric at one time. If that number makes your eyes go wide, you are not alone — it made mine go wide too. But this is simply the reality of the method, and going in prepared makes all the difference. A good cross stitch tapestry needles size 24 26 multi pack is one of the first things I recommend getting before you start.
A stable frame is equally non-negotiable. When you have two dozen needles hanging off your fabric, you cannot be holding a hoop in one hand and stitching with the other — the needles will tangle, the fabric will shift, and the whole system falls apart. You need both hands free and the fabric held taut and flat. I work with a Q-Snap cross stitch frame (find on Amazon), and it has been the best tool decision I have made for large projects. If you want a full breakdown of frame options, I wrote a thorough guide here: Choosing a Cross Stitch Frame and Stand.
Lighting is the third pillar, and I say this as someone who learned the hard way. The parking method asks your eyes to track multiple colors across a complex row simultaneously. If your lighting is dim, warm-toned, or coming from the wrong angle, you will mistake one color for another — and with parking, a color error in one row gets carried forward into the next. A proper daylight-quality lamp is not a luxury for this kind of work. It directly reduces mistakes and saves your eyes during long sessions. The free PDF guide covers all of these tools — needles, frames, lighting — in the detail they deserve. Consider this your preview.
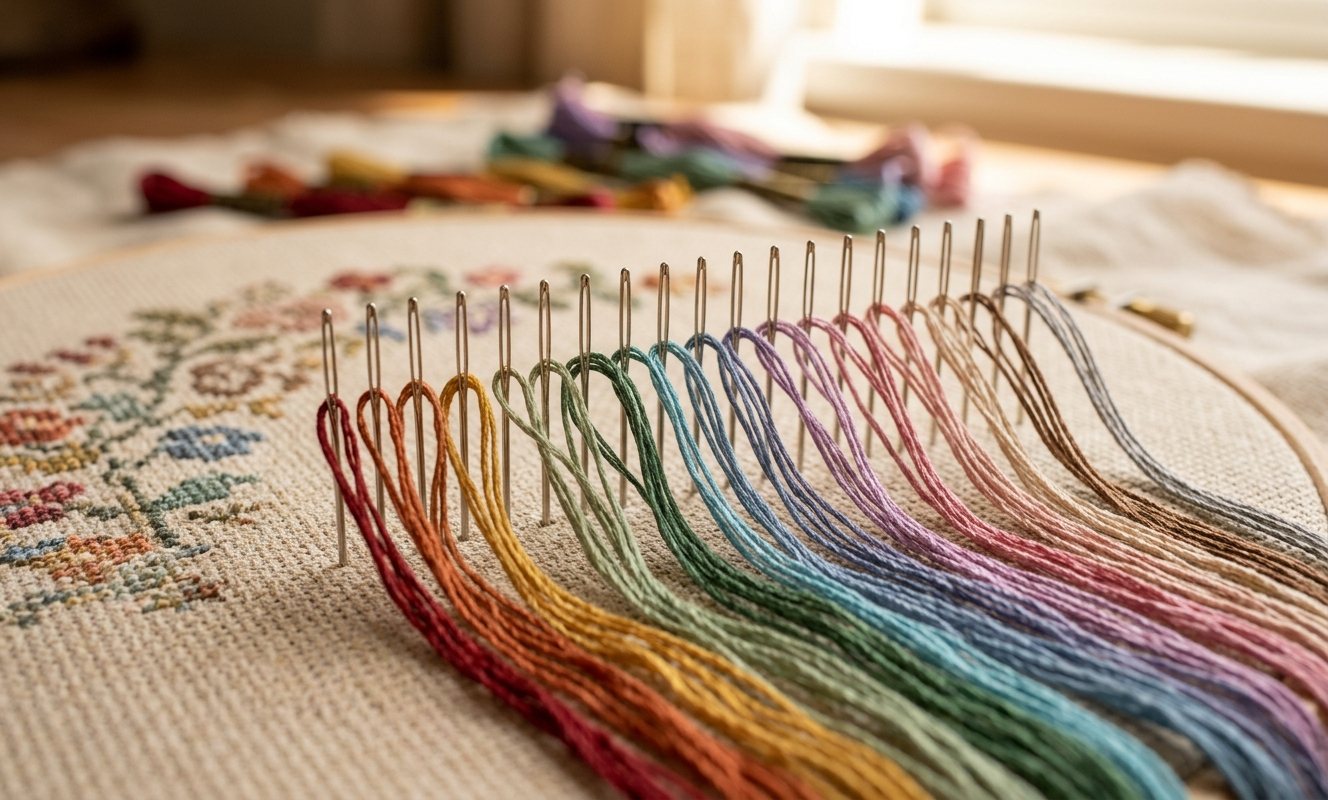
Close-up of twenty colorful tapestry needles parked in a row across detailed cross stitch fabric in warm daylight
A Sneak Peek at What Is in the Free Guide
I put together this guide because when I was learning the parking method, the information I could find was scattered, inconsistent, and often left out the practical details that actually matter. The guide is organized into chapters so you can read it straight through or jump to the section you need most. It starts with workspace setup — how to arrange your threads, your pattern, your frame, and your tools so that the parking system flows naturally instead of turning into a tangled mess. A needle minder (find on Amazon) makes a real appearance here as one of those small tools that earns its keep during setup.
From there the guide moves into thread management in detail — how to prepare your colors before you start stitching, how to use a DMC floss bobbins organizer (find on Amazon) to keep your palette organized and accessible, and how to handle thread tension when you have many needles parked simultaneously. There is a full chapter on using highlighter tape for cross stitch (find on Amazon) to mark completed rows directly on your pattern as you go — this is the detail that keeps your place on paper while the needles keep your place on fabric. Both systems working together is what makes the parking method nearly foolproof.
The step-by-step start chapter is the heart of the guide. It walks you through beginning a parked section from the very first stitch — how to set up your grid blocks, how to enter each color, how to move across the row, and exactly when and how to park a needle and pick up the next one. I have included a troubleshooting section as well, because the method does have a few common snags, especially when you are first learning: thread bulk at the back of the fabric, needles sliding out of the fabric, losing the grid boundary. Every one of those problems has a straightforward fix, and the guide covers them all.
Finally there is a chapter on long-session comfort — because if you are going to use the parking method, you are almost certainly tackling a big project, and big projects mean hours in the chair. Posture, lighting angle, eye breaks, how to end a session cleanly so re-entry the next day is effortless — these are the details that keep the craft sustainable and enjoyable rather than exhausting. The guide is free. It is thorough. And it is ready for you right now.
|
Patterns from the Sunrays Collection Tracey's Picks, designing cross stitch patterns since 2004 |
|||||
|
|||||
| Browse the full Sunrays collection → |

Your Next Project Deserves This Technique
Here is what I have noticed after years of using the parking method: it rewards ambition. The bigger the project, the more complex the color palette, the more the parking method earns its keep. If you have been putting off that portrait pattern, that large scenic, that intricate botanical because some part of you is afraid of getting lost in it — this technique is exactly what removes that fear. It gives you a system. And systems let you be brave. I have stitched projects I never would have attempted otherwise because I knew the parking method would hold the complexity together for me. I believe God puts creativity and ambition in us for a reason, and it would be a shame to let the mechanics of thread management be the thing that stops you from doing your best work.
I have been designing and stitching since 2004, and I have watched stitchers abandon beautiful projects mid-way because they got lost and could not find their way back. That is a heartbreak I want to help you avoid. If you are the kind of stitcher who aspires to large, detailed work — the kind that becomes an heirloom, the kind that people stop and look at — then the parking method is not an advanced trick. It is just the right tool for the job. If you are new to cross stitch and wondering where to even begin with a larger pattern, I also wrote a separate guide you may find helpful: Where to Start a Large Cross Stitch Pattern.
Download the free guide. Read through it before you start your next project, not in the middle of one. Set up your workspace, gather your needles, thread your first row of colors, and feel the difference the first time you pick up a parked needle and know exactly where you are. That moment — that click of confidence — is what I want for you. And while you are here, browse the patterns at Sunrays Creations. There are designs in the shop that were made for exactly this technique.
Free Download
The Complete Parking Method Guide — Free PDF
10 chapters. Workspace setup, frame choice, thread management, step-by-step start guide, troubleshooting, and more. From Tracey at Sunrays Creations.
No spam. Unsubscribe any time.
Tracey Recommends
Daylight LED Craft Lamp
When you are tracking 15 different thread colors across a complex row simultaneously, lighting quality is not a comfort issue — it is an accuracy issue. A proper daylight LED lamp eliminates the color-confusion errors that sneak in under warm or dim light. Your eyes will thank you, and your stitch count will too.
See on AmazonThe parking method is one of those things that sounds more complicated than it is — and once you experience it on a real project, you wonder how you ever stitched without it. Download the free PDF guide, get your needles ready, and then come browse the pattern collection at Sunrays Creations. There are designs in that shop that are waiting for exactly the stitcher you are about to become.
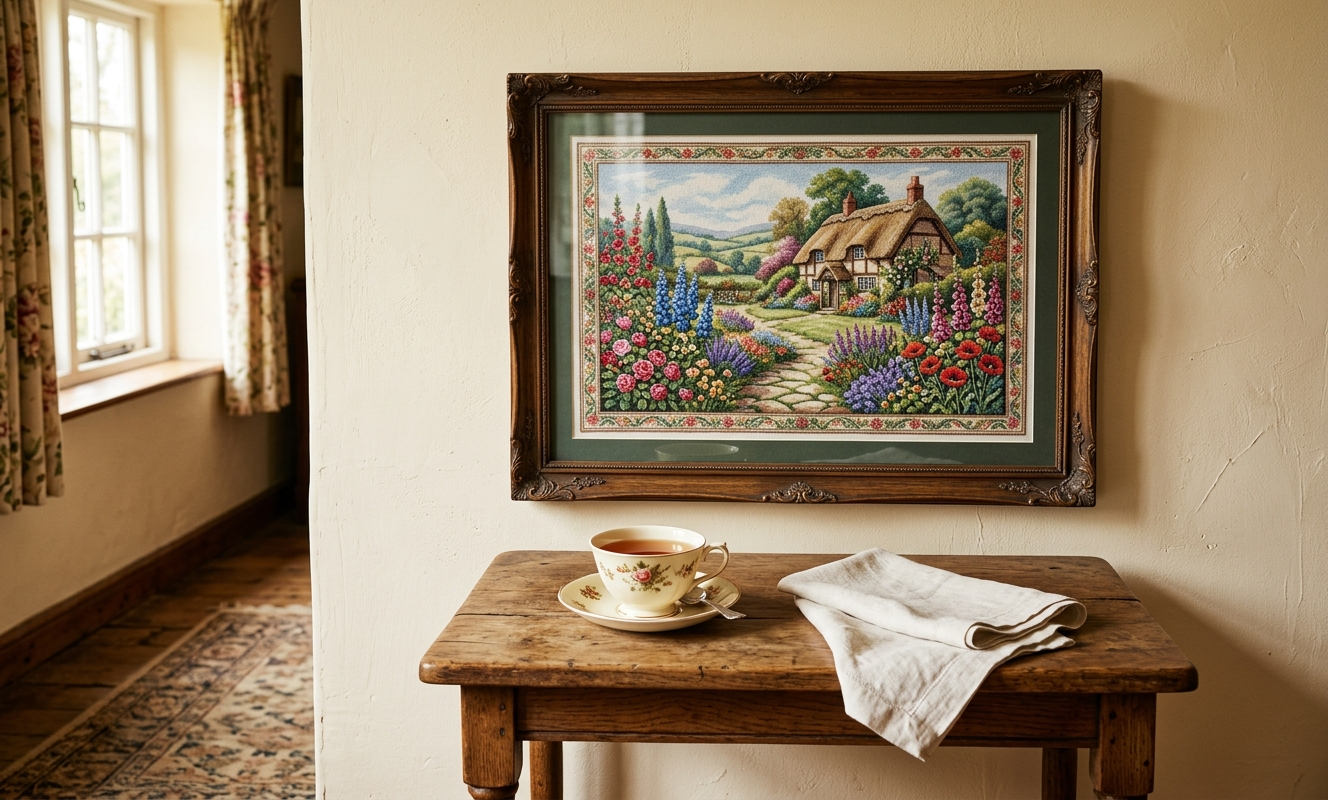
Finished complex cross stitch in a wooden frame hanging on a warm cottage wall in afternoon light
Keep Reading
Choosing a Cross Stitch Frame and Stand
The parking method only works when your fabric is held flat and stable. This guide walks through every frame and stand option so you can choose the right setup for your project size.
READ THE GUIDEWhere to Start a Large Cross Stitch Pattern
The parking method and large patterns go hand in hand. If you are not sure where to begin on a big design, this article gives you a clear starting strategy.
READ THE ARTICLECross Stitch Tips for Beginners
New to cross stitch or just new to working at scale? This foundational guide covers the habits and tools that will serve you well from your very first project.
READ THE GUIDEFrequently Asked Questions
What is the parking method in cross stitch?
It is a system where every color stays threaded on its own needle and is parked directly in the fabric between uses, so you work row by row across the pattern without cutting and rethreading. See the first section for the full explanation.
How many needles do I need for the parking method?
For complex projects you can easily have 20 to 40 needles in use at once — far more than most stitchers expect. A multi-pack before you start is essential, as covered in the Tools section.
Is the parking method good for beginners?
It depends on the project. Simple patterns with solid color blocks do not need it, but beginners tackling a detailed or large design will benefit from the structure it provides. The free guide and the beginner tips article both address this.
What type of frame do I need for the parking method?
You need a hands-free frame that holds the fabric flat and taut — a Q-Snap or scroll frame works well. The Tools section explains why, and the frame guide goes into full detail.
Does the parking method create bulk on the back of the fabric?
Some thread bulk on the back is normal with parking, especially on dense sections. It evens out when the project is finished and blocked, as noted in the body of this article.
What is confetti stitching and why does parking help?
Confetti stitching refers to areas of a pattern with many isolated single-color stitches scattered densely across a section. Parking keeps every color ready to use without constant rethreading, which makes confetti sections far more manageable.
-- Tracey Kramer
Founder & Designer, Sunrays Creations Needlearts
Hand-charted designs since 2004 • Marysville, Ohio