
Where to Start a Large Cross Stitch Pattern
Posted by Tracey M. Kramer on 6th Apr 2015
A Note from Tracey Kramer
I've been designing large counted cross stitch patterns since 2004 and fielding this exact question almost every single week — so I figured it was time to write the most thorough answer I possibly could.

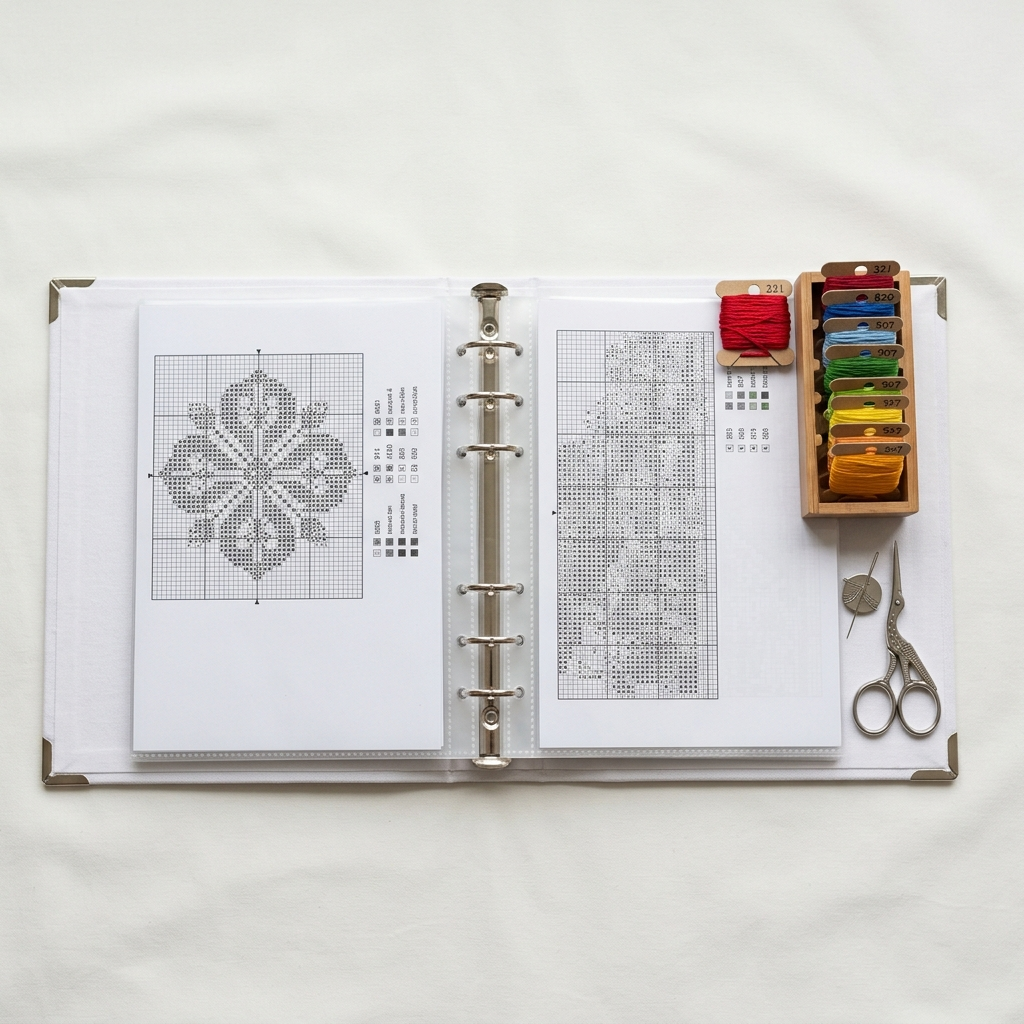
Open large cross stitch pattern booklet on wooden table with Aida cloth and embroidery thread
By Tracey Kramer • • 12 min read
You've done it. You've ordered a large cross stitch pattern — maybe one of my Victorian portrait designs or a detailed botanical — and now it's sitting in front of you on the table. The pages are spread out, the cloth is waiting, and you are staring at all of it like it just spoke to you in a foreign language. Where on earth do you even start? That moment of overwhelm is completely real, and I want you to know it happens to experienced stitchers too. Large cross stitch projects are genuinely different from small ornament kits, and if no one has walked you through the process of starting one, it can feel like you're trying to solve a puzzle without knowing what the picture looks like.
Here's what I want to tell you right up front: there is a clear, methodical way to approach a large pattern, and once you learn it, you'll never feel that panic again. Over the years I've helped hundreds of stitchers get started on large counted pieces, and the questions are always the same — where to start a large cross stitch pattern, how to find the center of a cross stitch pattern, how much Aida cloth do I need, and how do I keep from getting lost in all those pages. This article answers every single one of those questions. I'm going to walk you through two starting methods, give you the exact fabric calculator formula I use, explain how to grid your fabric so you never lose your place, and share some real-talk tips for staying motivated on a project that might take you a year or more to finish. Pull up a chair.
My patterns at Sunrays Creations come in book format and range from small accents to very large, multi-page counted pieces. Everything in this article is written around that kind of pattern — the kind with multiple pages, a printed stitch count, and enough visual complexity that you genuinely need a system. Whether you bought a pattern from me or from another designer, these methods will work for you.
How to Find the Center of a Cross Stitch Pattern: The Center Mark Method
The most-Googled question in this whole topic is how to find the center of a cross stitch pattern, so let's start there. The center mark method is the classic approach, and when it works, it works beautifully. Here's the thing though — it works best in a specific situation, and I want to be honest with you about when it doesn't.
The center mark method is ideal for small to medium commercial patterns where the entire design is printed on one large folded sheet and the center tick marks are clearly visible along the edges. If you're working with that kind of pattern, here's exactly how to do it step by step: (1) Hold the pattern flat in front of you. (2) Place your left index finger on the top center mark — the small arrow or tick mark printed at the midpoint of the top edge of the chart. (3) Place your right index finger on the side center mark — the tick mark on the left or right edge at the midpoint of the height. (4) Slowly drag both fingers inward toward the middle of the chart. (5) Where those two lines intersect is the true center of your design. That is where you begin stitching.
To find the center of your cross stitch fabric to match, fold your Aida cloth in half vertically, then in half horizontally, and give it a gentle finger-press at the fold point. Open it back up and you'll see a small crease where the two folds cross — that's your center. You can mark it lightly with a water-soluble marking pen (find on Amazon) so it doesn't disappear while you're stitching. Match that fabric center to the chart center and you're ready to go.
Now here's where I have to be straightforward with you: if your pattern is in book form — meaning multiple pages stapled or bound together — the center mark method becomes genuinely difficult to use. Yes, you can pull the pages out of the binder, spread them all on the floor, and try to locate those center marks across a multi-page spread. I've seen stitchers do it. It takes up the better part of a living room floor and a good chunk of your afternoon, and there's still plenty of room for error when the pages aren't perfectly aligned. For book-format patterns, I strongly recommend the page-by-page approach instead, which I'll cover in the next section. Save the center mark method for single-sheet patterns — it shines there.
The Page-by-Page Method: Starting Large Cross Stitch Book Patterns
This is the method I developed for my own multi-page patterns, and it's the one I recommend without reservation for any large cross stitch project in book form. The beauty of the page-by-page approach is that it eliminates guesswork entirely. You don't have to find a center mark. You don't have to spread anything out on the floor. You start at a known point in the upper left corner of your fabric and you work systematically, page by page, row by row. It's orderly. It's calming. And you will never skip an entire section by accident.
Here's how it works. Open your pattern to Page 1. This is the upper left section of the design — the starting corner. Find your fabric, which we'll size correctly in the next section. On a clean flat surface, lay your Aida cloth out in front of you. Using a ruler, measure 4 inches down from the top edge of the fabric. Then measure 4 inches in from the left side of the fabric. Where those two measurements intersect is your starting point. Mark it with a light dot using your water-soluble marking pen. That dot is where you place your very first stitch, corresponding to the upper-left corner of Page 1 of your pattern.
From that starting point, begin stitching the first 10x10 block on Page 1. Work your way across that row of 10x10 squares until you reach the end of the row on that page. Then move down to the next row of squares and continue. Finish every square on Page 1 before you turn to Page 2. When you open Page 2, you're simply picking up where you left off — the top of Page 2 connects directly to the bottom of Page 1's last row, and the left edge of Page 2's next column connects to the right edge of Page 1. There's no mystery about where you are.
I know some stitchers love to jump around — stitching the face first, then a flower in the corner, then coming back to fill in the background. And honestly, if that keeps you engaged and happy, I'm not here to stop you. But if you've ever gotten to the end of a large project and discovered a whole section you somehow missed, or found that two areas of color don't quite line up the way they should, you already know why the methodical approach matters. The page-by-page method is forgiving, logical, and kind to your future self. Trust me on this one.
Tracey Recommends
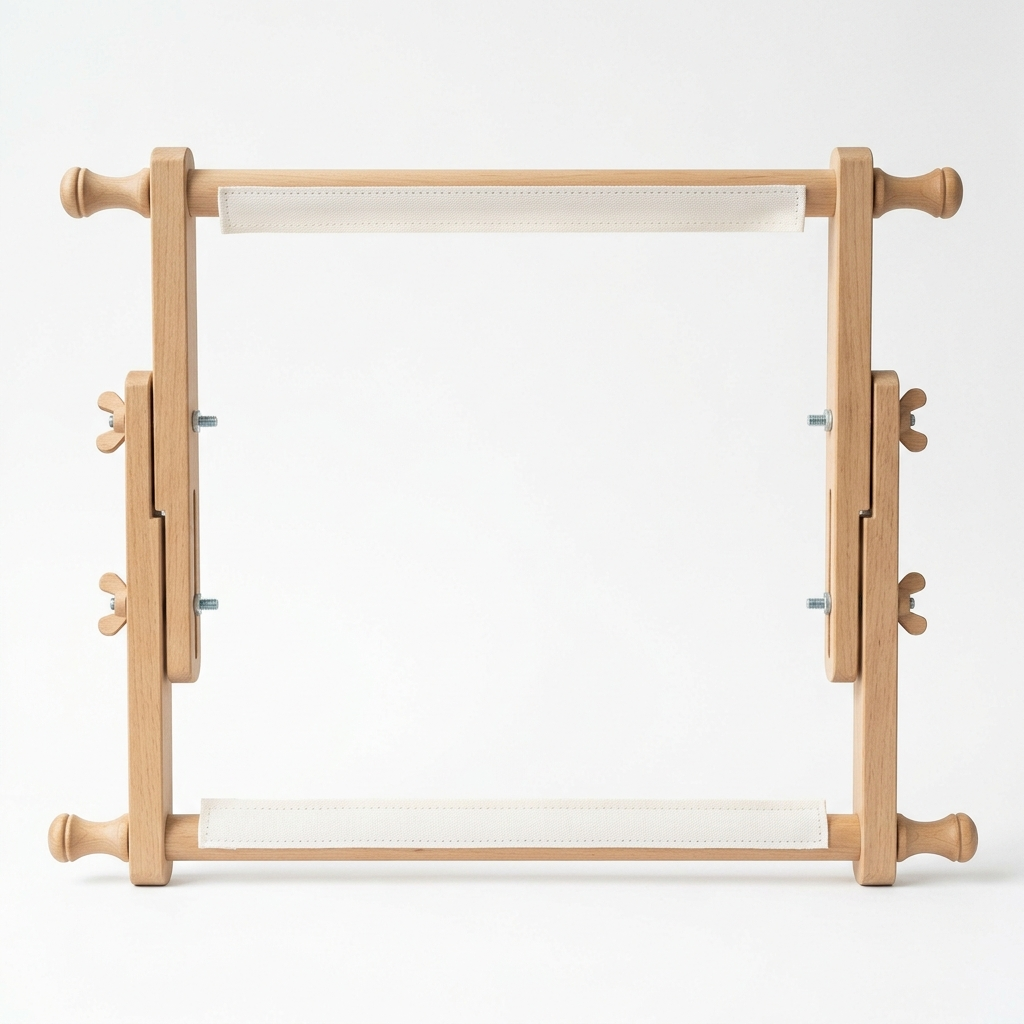
Q-Snap or Scroll Frame for Large Projects
A proper scroll frame or Q-snap frame holds your large Aida cloth taut without distorting your stitching or crushing finished sections. It's the single biggest upgrade you can make for large cross stitch projects — your fabric will thank you.
See on AmazonFour inches of margin on every side isn't being fussy — it's respecting the work you just put in. Give your framer something to hold onto.
Cross Stitch Fabric Calculator: How Much Aida Cloth Do I Need?
One of the most practical things I can do for you in this article is give you the actual formula for calculating how much Aida cloth you need. This is something I get asked constantly, and it's easier than it sounds once you see the math written out plainly.
Here's the formula: take the stitch width of your design (found in your pattern's information page) and divide it by the fabric count you've chosen. That gives you the stitched width in inches. Then add 8 inches to that number — 4 inches for the left margin and 4 inches for the right. Do the same for the height. The result is the minimum size you should cut your fabric. Written out it looks like this: (Stitch Width ÷ Fabric Count) + 8 inches = Minimum Fabric Width. (Stitch Height ÷ Fabric Count) + 8 inches = Minimum Fabric Height.
Let me make that concrete. Say you're stitching a design that's 168 stitches wide by 196 stitches tall on 14-count Aida. Divide 168 by 14 and you get 12 inches of stitched width. Add 8 inches and your minimum fabric width is 20 inches. Divide 196 by 14 and you get 14 inches of stitched height. Add 8 inches and your minimum fabric height is 22 inches. Cut your Aida to 20 inches by 22 inches and you're in good shape.
Why 4 inches on each side? Because framers need material to work with. I cannot stress this enough. A professional framer stretching your finished piece over a frame board needs to wrap that fabric around the edges and secure it at the back. If your Aida barely reaches the edge of your stitched design, there is nothing for them to hold onto. You will hear about it. They will be diplomatic about it — but there will be a look. I've had more than one framer gently explain to me over the years what 'not enough margin' means for their process. Four inches per side is not excessive. It is the correct minimum. If your pattern is very large or you're planning an unusual framing style, consider going to 5 or even 6 inches per side. More fabric is always better than less.
One more thing on fabric sizing: always hem or zigzag-stitch the raw edges of your Aida before you start stitching. Aida frays like nobody's business, especially on large pieces you'll be handling for months. I've watched beautiful margins literally disappear because a stitcher didn't secure the edges first. A simple zigzag stitch on your sewing machine around all four sides takes about three minutes and saves you real grief later.
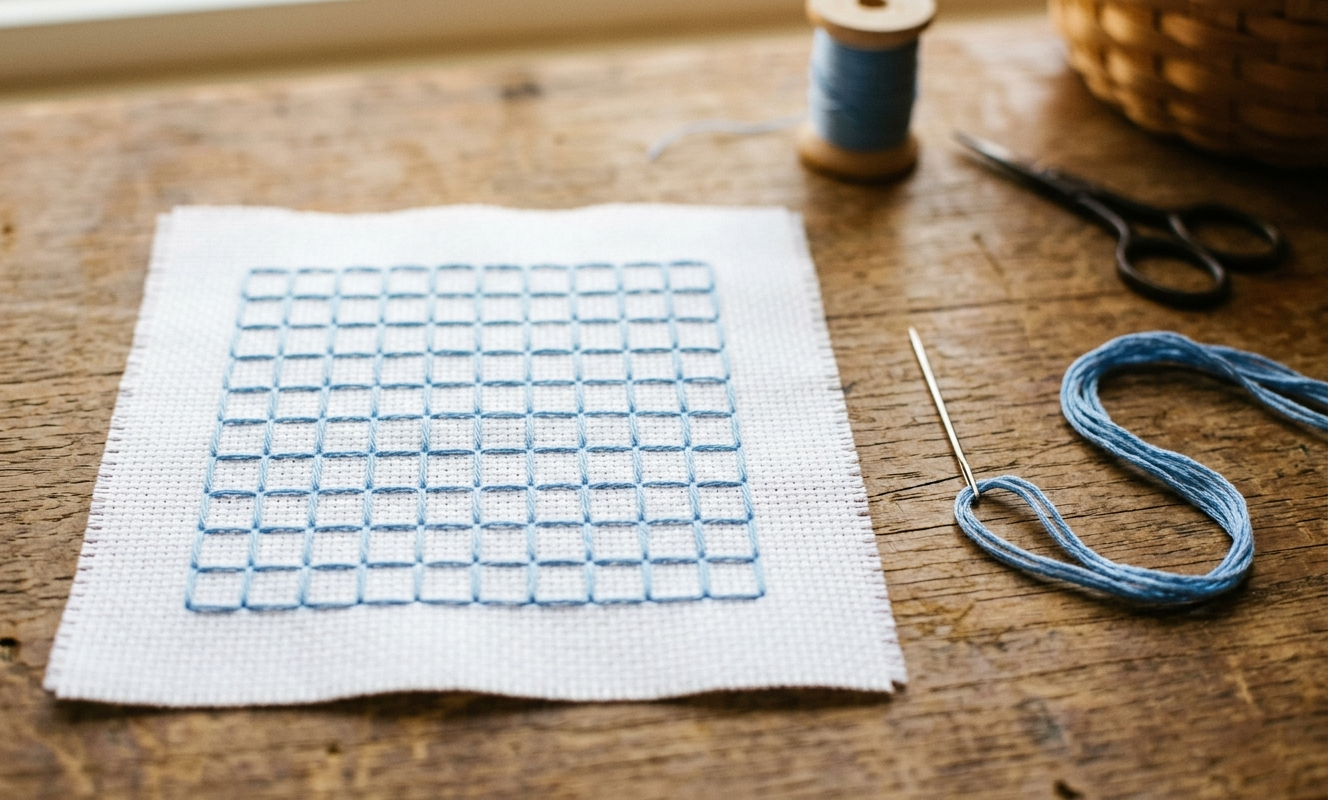
Close-up of basting thread grid on white Aida cloth with tapestry needle beside it
How to Grid Your Aida Fabric So You Never Lose Your Place
If you've never gridded a large piece of Aida cloth before, this section might be the most valuable thing you read today. Gridding is a cross stitch technique where you mark the fabric itself in a 10x10 grid pattern before you begin stitching, so that every square on your fabric corresponds directly to every 10x10 square on your printed chart. It's a game-changer for large cross stitch projects, and I genuinely don't know how people worked through big patterns without it.
The traditional way to grid is with basting thread for gridding (find on Amazon) — a lightweight thread in a contrasting color that you run through the fabric holes in a grid pattern, 10 stitches apart. You don't pull it tight. You lay it loosely through the holes so it sits on top of the fabric weave without distorting anything. Use a color that contrasts clearly with your fabric — if you're working on white Aida, try a soft blue or green basting thread. If you're on black or dark Aida, a white or yellow thread shows up well. As you stitch, the basting threads give you constant landmarks. You always know exactly which square you're in, which means counting errors become much rarer and much easier to catch early.
The other popular gridding option is to use a water-soluble marking pen directly on the fabric, drawing a grid line every 10 holes. Some stitchers love this because it's faster than threading a needle dozens of times. The key is to use a true water-soluble pen — not an air-erasable one, which can disappear before you finish a large piece — and to test it on a scrap of your Aida first. Make sure the ink truly washes out cleanly. I've heard horror stories about pens that set permanently when heat is applied, so never iron your fabric before you've washed out the pen marks completely.
For a very large project — one that spans 20 or more pages of chart — I recommend combining both methods. Use the basting thread grid as your primary reference, and mark your page boundaries with the water-soluble pen in a different color. That way you always know which chart page you're working in, and the basting thread keeps you accurate within each page. Yes, it takes an hour to set up properly. That hour will save you from hours of unpicking later. It's one of those things I wish someone had told me twenty years ago.
If you're using a cross stitch light pad (find on Amazon) to see your pattern more clearly while you work — especially on dark-colored charts or fine 18-count fabric — gridding becomes even more valuable. The light pad illuminates the chart from behind, making it easier to count precisely, and when your fabric grid matches your chart grid, the count confirmation is nearly instantaneous. A light pad is one of those tools I resisted for years and now consider essential for large projects.
|
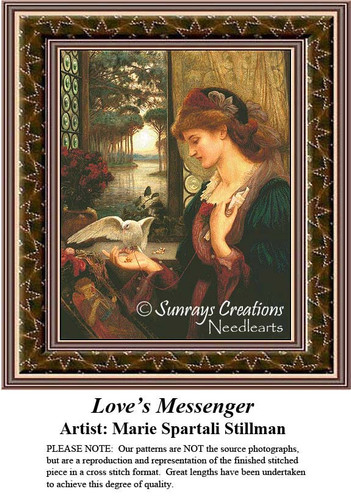
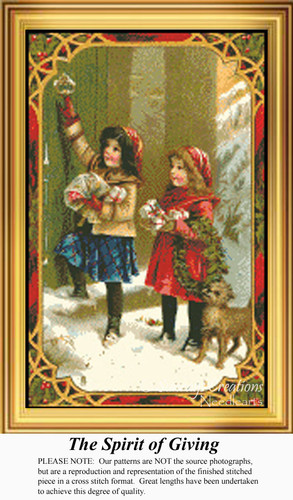
Patterns from the Sunrays Collection Tracey's Picks, designing cross stitch patterns since 2004 |
|||||
|
|||||
| Browse the full Sunrays collection → |

Tools That Make Large Projects Manageable
Let's talk about the physical setup for a large cross stitch project, because your tools matter enormously when you're committing to something that might take six months to a year or more. The number one upgrade that changed large-project stitching for me was moving from a hoop to a scroll frame or Q-snap frame. Hoops are great for small pieces, but on a large design, you're constantly repositioning, the fabric gets distorted at the hoop edges, and anything you've already stitched is getting crushed under the hoop hardware. A scroll frame or Q-snap holds your fabric taut across the full working area without distorting it, and you can advance the fabric as you move down the design without any of that edge damage.
Your needle matters more on large projects than people think, simply because you're making so many more passes through the fabric. A good tapestry needle set (find on Amazon) with multiple sizes means you can choose exactly the right needle for your fabric count without straining your fingers or splitting your thread. I keep size 24 needles for 14-count Aida and size 26 for anything finer. Blunt tips are important — you want the needle to slide through the holes, not pierce the fabric threads. When my needles start to drag or feel rough, I replace them. A package of needles costs almost nothing compared to the frustration of fighting a dull needle through 200 hours of stitching.
Lighting is a non-negotiable for large projects. You are counting tiny squares on a chart and matching them to tiny squares on fabric, over and over, for hours. Poor lighting leads to counting mistakes, eye strain, and headaches. I stitch near a window when I can, and I keep a good daylight craft lamp for evening sessions. Pair that with a cross stitch light pad for chart viewing and your accuracy goes up noticeably. Your eyes will thank you.
Finally, keep a dedicated spot for all your project materials. When you're working on a large piece over many months, things scatter. Thread gets tangled, pages get bent, extra fabric scraps end up in unknown locations. I keep all the materials for an active large project in one basket or project bag — the pattern booklet, the cut thread lengths on a bobbin card, my needles, my marking pen, a small ruler, and a sticky note with my current page number and row. That last one sounds fussy, but I cannot tell you how many times that sticky note has saved me from having to figure out where I was after setting the project down for a week.
Get Stitching Tips & New Patterns from Tracey
Honest advice, new Sunrays designs, and occasional VIP-only offers. No fluff.
No spam. Unsubscribe any time.
Keep It Organized
Cross Stitch Project Organizer Binder
A dedicated project organizer binder keeps your multi-page pattern, thread inventory, progress notes, and supplies all in one place so nothing gets lost over a year-long stitching project. Highly worth it for large counted pieces.
See on AmazonStaying Motivated and Organized on a Long Cross Stitch Project
Here's the honest truth about large cross stitch projects: they are long. Even if you stitch every single day, a complex 200-page design might take you the better part of a year. That's not a complaint — it's just the nature of the work, and there's something deeply satisfying about a project that asks that much of you. But you do need strategies for staying motivated, because there will absolutely be weeks where you pick it up, look at how much is left, and quietly set it back down.
The best motivational tool I've found is page completion tracking. Make yourself a simple chart — even just a hand-drawn grid — where you shade in each page of the pattern as you complete it. Watching that grid fill up is surprisingly powerful. It makes the abstract progress of a large project visible and concrete. I've had stitchers tell me they look forward to filling in the next square on their progress chart almost as much as they look forward to stitching. Give yourself something to check off.
Set small, specific goals rather than thinking about the whole project. Instead of 'I'm going to work on my Victorian portrait,' make it 'I'm going to finish Page 7 by Sunday.' A defined target with a defined timeline gives you a small win to aim for, and small wins add up. When I'm in the middle of a large design that I'm also charting — which means I'm stitching it at the same time I'm finalizing the pattern — I use the same strategy. Finish the section. Move the bookmark. Note the date. Repeat.
Find a stitching community to share your progress with, whether that's an online group, a local needlework guild, or even just a friend who also stitches. Accountability and encouragement from people who understand the work makes a real difference on a long project. I've seen stitchers push through difficult stretches of a background because someone in their online group commented that the piece was looking beautiful. We all need that sometimes.
And give yourself permission to take a break without guilt. If you need to stitch something small and satisfying in between pages of a large project — a little ornament, a quick bookmark design — do it. Coming back to a big project refreshed beats grinding through it resentfully. I believe God wired us to enjoy the work of our hands, and that enjoyment is worth protecting. Don't let a large project become a burden. Keep it a joy.
Large cross stitch projects are some of the most rewarding things you will ever stitch — and now you have every tool you need to start one with confidence. Measure your fabric, mark your starting point, grid your cloth, and work page by page. It really is that straightforward once someone hands you the map. If you're looking for a large pattern worth the commitment, come browse what we have over at Sunrays Creations — I think you'll find something that makes you want to pick up a needle today.
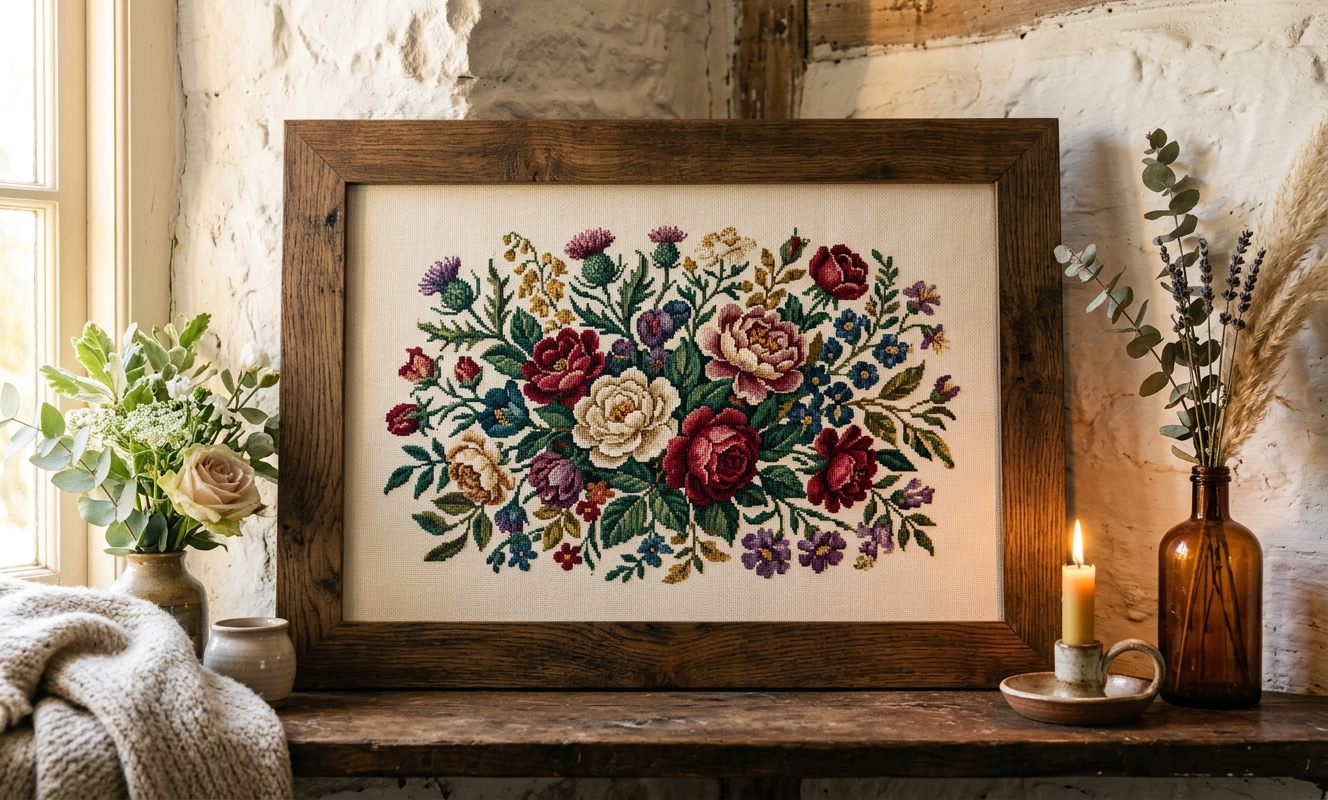
Framed large finished cross stitch botanical design in warm golden light against white wall
Keep Reading
What Do You Need to Cross Stitch?
New to the craft or setting up for a large project? This complete supply guide covers everything from fabric counts to frame types so you start with the right tools.
READ THE GUIDETips for Stitching on Dark Cloth
Thinking about stitching your large pattern on black or dark Aida? Get Tracey's practical tips for counting, threading, and keeping your sanity on dark fabric.
READ THE ARTICLECross Stitch FAQs
Have more questions about getting started or working through a complex pattern? Tracey's FAQ page covers the questions she hears most from stitchers of all levels.
READ THE GUIDEFrequently Asked Questions
Where do you start a large cross stitch pattern?
For book-format large patterns, start 4 inches down and 4 inches in from the upper-left corner of your fabric — that point aligns with the upper-left corner of Page 1. The body covers both this method and the center mark alternative in detail.
How do you find the center of a cross stitch pattern?
On a single-sheet pattern, locate the top and side center tick marks and trace inward with your fingers until they intersect — that's your center. The center mark section above walks through all five steps.
How do I find the center of my cross stitch fabric?
Fold your Aida cloth in half vertically then horizontally and gently crease the fold point — that crease is the center. Mark it lightly with a water-soluble marking pen so it stays visible while you stitch.
How much Aida cloth do I need for a cross stitch pattern?
Divide the stitch width by your fabric count to get the stitched width in inches, then add 8 inches for margins. Do the same for the height. The fabric calculator section gives a worked example with real numbers.
What is gridding in cross stitch and should I do it for large projects?
Gridding means marking or basting a 10x10 grid on your fabric to match your chart squares, so you always know exactly where you are. It's covered fully in the gridding section and is strongly recommended for any large pattern.
How do I stay motivated on a large cross stitch project?
Page completion tracking, small weekly goals, and stitching with a community all help. The motivation section at the end of this article covers these strategies with practical specifics.
-- Tracey Kramer
Founder & Designer, Sunrays Creations Needlearts
Hand-charted designs since 2004 • Marysville, Ohio