
Backstitch in Cross Stitch: The Outlining Technique That Transforms Your Work
Posted by Tracey M. Kramer on 8th Aug 2026
A Note from Tracey Kramer
I have been designing counted cross-stitch patterns since 2004, and in that time I have watched my customers stitch everything from wedding gifts to heirloom samplers. This is everything I know about this topic -- from real experience, not theory.
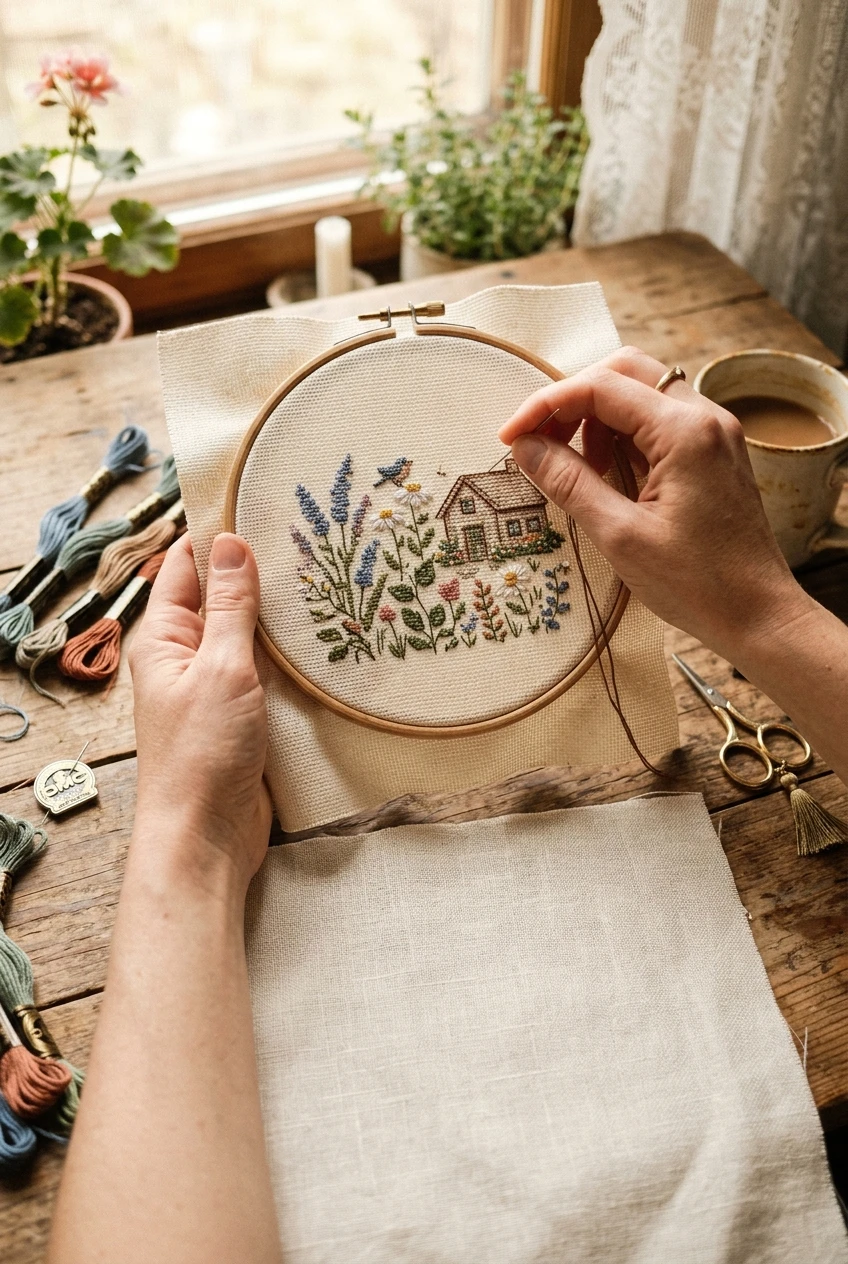
Hands adding backstitch outlining to a cross stitch piece in a wooden hoop on Aida
By Tracey Kramer • • 12 min read
Backstitch is the outlining stitch you work on top of finished cross stitch to sharpen edges, define details, and pull a design into focus. It's a single straight stitch worked one hole to the next, always added after every cross stitch is complete, usually with one strand where your main stitching used two. After 22 years of charting designs, I can tell you this is the step that separates a piece that looks good from a piece that looks finished.
What Backstitch Actually Is (And Why It Matters So Much)
Backstitch is the simplest stitch in counted cross stitch and the one that does the most heavy lifting. You bring your needle up through one hole, go down through the next hole along the line, then come up again a hole ahead and stitch backward into the hole you just finished. That backward motion is where the name comes from. The result is an unbroken line of thread sitting on the surface of your work, following whatever path the chart tells it to follow.
On a cross stitch chart, backstitch shows up as solid or dashed lines drawn on the grid lines rather than symbols sitting inside the squares. Those lines can run horizontally, vertically, or diagonally across a square, and they'll have their own color key separate from the cross stitch symbols. In my patterns I keep the backstitch key clearly labeled so you're never guessing which DMC number belongs to the outline and which belongs to the fill.
Here's why it matters. Cross stitch is built from squares, and squares have corners. A cat's whisker, a window mullion, the rigging on a ship, the edge of a petal against a same-value background — none of those read clearly when they're made of blocks. Backstitch draws a smooth continuous line right over the top of those blocks and tells the eye where one thing ends and another begins. It's the difference between a pixelated shape and a defined object.
Beginners sometimes assume backstitch is an advanced technique because it appears at the end of the instructions. It isn't. If you can count holes, you can backstitch. What takes practice is judgment: knowing how much of it a design wants, and knowing when to stop.
When to Add Backstitch: After Everything Else, Always
The rule is simple and I'll say it plainly: finish every single cross stitch in an area before you lay down one inch of backstitch. Not most of them. All of them.
There are real reasons for this. Backstitch sits on top of the cross stitches, and if you outline first, your later cross stitches will crowd underneath the outline, push it out of position, and catch on it every time you pass the needle through. You'll also snag the backstitch thread with your needle constantly, fraying it and dragging it out of line. And if you make a counting error and have to do some frogging in that area, ripping out cross stitches that have backstitch running over them is genuinely miserable work.
There's a practical exception worth naming. On very large pieces — a BAP you'll be living with for a year — many stitchers work section by section and add backstitch to each completed section rather than waiting until the entire piece is done. That's fine. The rule still holds within the section: cross stitches first, outline second. What you should never do is outline a shape and then fill it in.
I also recommend backstitching in the same lighting and the same sitting position you'd use for regular stitching, because you're now working over a textured surface rather than clean fabric. Finding the right hole through a field of finished stitches is harder than finding it on bare Aida, and good light does more for that than anything else.

Tracey Recommends
3 Pack DMC Size 26 Cross Stitch Needles (Total 18 Needles) - New Package
Backstitch means threading between stitches that are already packed tight, and a size 24 needle fights you the whole way. A size 26 slips through cleanly, finds the hole instead of splitting the floss, and keeps your outline lines straight. I keep a pack in every project bag.
Check Current Price →Backstitch is a focusing tool, not a coloring book outline. Outline everything and the depth you built with color simply disappears behind a net of dark lines.
Strands, Needles, and Tools for Clean Outlining
On 18-count Aida, which is what every Sunrays design is charted for, I stitch the crosses with two strands of DMC six-strand floss (find on Amazon). For backstitch on that same 18-count, I use one strand almost every time. One strand gives a crisp, delicate line that defines without shouting. Two strands of backstitch on 18-count reads as a heavy black border and it will overwhelm the color work you just spent weeks on.
There are exceptions. A deliberately bold graphic element — heavy lettering, a strong architectural line, a tree trunk in the foreground — can carry two strands. My charts tell you when that's the case. If your pattern doesn't specify, stitch a few inches with one strand, hold it at arm's length, and decide from there. Arm's length is the honest test; nose distance always lies to you.
Switch to a finer needle for this step. If you stitched the crosses with a size 24 tapestry needle, drop to a size 26 for backstitch. The smaller eye and slimmer shaft slip between packed stitches without disturbing them, and the finer point finds the hole rather than splitting the floss already sitting there. A DMC size 26 tapestry needle (find on Amazon) is the single cheapest upgrade to your backstitch quality, and a pack lasts for years.
You'll also want a pair of small sharp embroidery scissors cross stitch (find on Amazon) work demands, because backstitch means burying tail ends under finished stitching on the back and trimming them flush. Blunt or oversized scissors will pull the thread you're trying to cut and leave a nub that shows through the front. Sharp tips let you snip right at the surface without nicking the fabric.
Keep your work in a 5 to 6 inch wooden or plastic embroidery hoop (find on Amazon) for backstitching. Even tension matters more here than anywhere else, because a backstitch line worked on slack fabric will sag and wobble once the fabric relaxes. A drum-tight surface gives you a straight line every time.
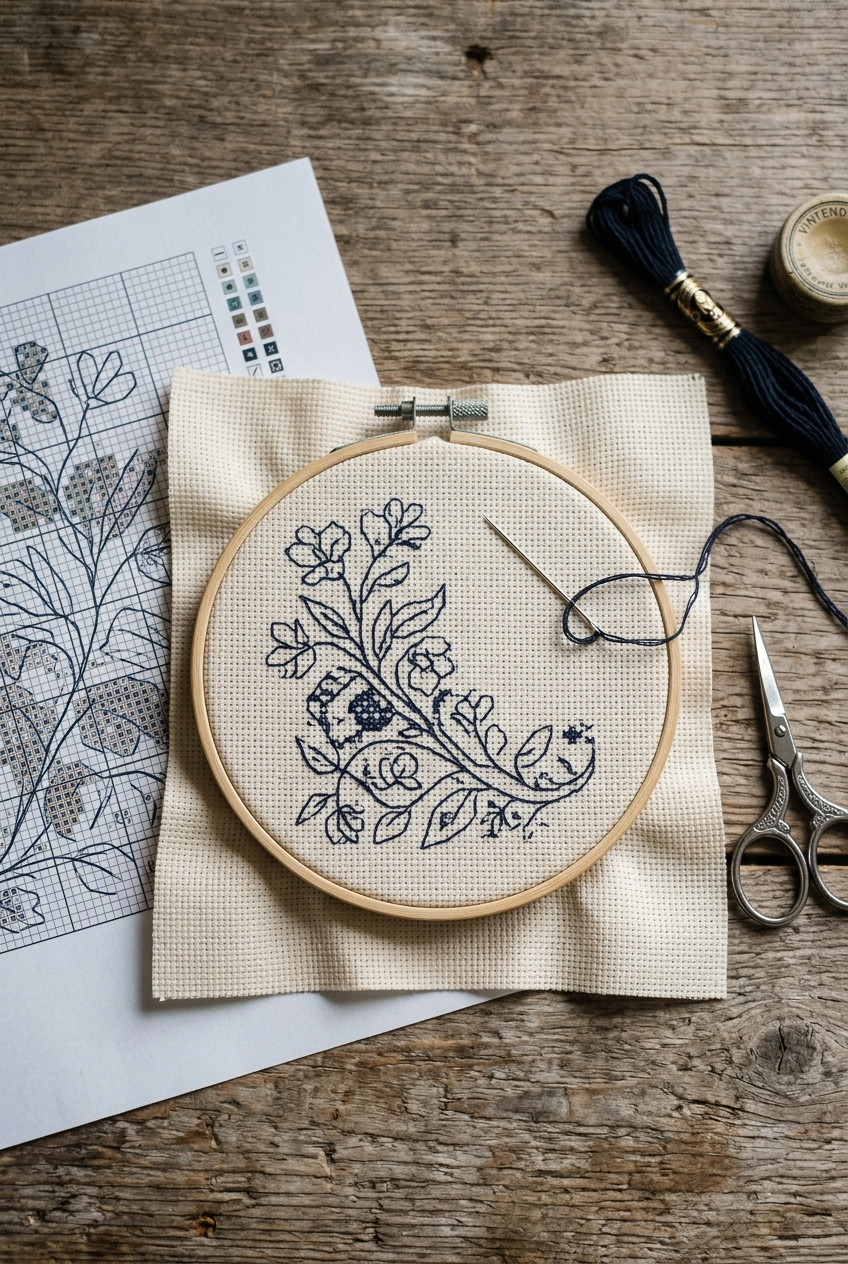
Cross stitch chart, fine needle, scissors and hooped Aida showing partial backstitch outlining
How to Backstitch Without Wrecking the Back of Your Work
Start your backstitch thread by running it under four or five existing cross stitches on the back, in the direction you're about to travel. No knots, ever. Knots create bumps that telegraph through the front when the piece is framed and pressed against the mat. If there's no finished stitching nearby, use a waste knot on the front and clip it once you've anchored the tail.
Work in the direction the line travels rather than jumping around. Follow the chart line from one end to the other, one hole at a time, keeping your tension consistent and light. Backstitch pulled too tight will pucker the Aida and drag the line off its intended path. Too loose and you'll get sagging loops that catch on everything. Aim for a line that lies flat on the surface without denting the fabric.
Diagonal backstitch across a full square is normal and correct, and long diagonals across two or more squares show up in some designs for things like ship rigging or fence wire. Those long stitches are fine as charted, but don't invent them yourself to save time on a curve. Curves in backstitch are made of many short segments, and shortening them is what makes a curve look like a curve instead of a polygon.
Avoid carrying backstitch thread more than an inch or so across the back between separate lines. Dark backstitch floss traveling behind light Aida will shadow through, and on 18-count with only two strands of coverage above, that shadow is visible. End the thread, bury it, and start fresh. It costs you thirty seconds and saves the finished piece.
|
Patterns from the Sunrays Collection Tracey's Picks, designing cross stitch patterns since 2004 | |||||
| |||||
| Browse the full Sunrays collection → |

The Beginner Mistake: Backstitching Everything
The most common backstitch error I see isn't sloppy technique. It's too much of it. A new stitcher finishes a beautiful landscape, sees a backstitch key in the chart, and decides that if a little outlining sharpens the image, outlining every shape must sharpen it more. What actually happens is the piece goes flat. Every element gets the same hard border, nothing recedes, and the depth you built with color simply disappears behind a net of dark lines.
Backstitch is a focusing tool, not a coloring book outline. It belongs where the eye needs help: fine details too small to render in whole squares, edges where two similar values meet, lettering, and foreground elements that should sit forward of the background. Distant hills, soft cloud edges, and blended color transitions should generally be left alone. That softness is doing a job.
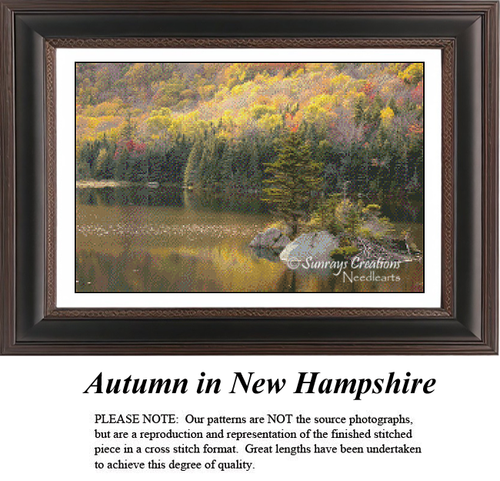
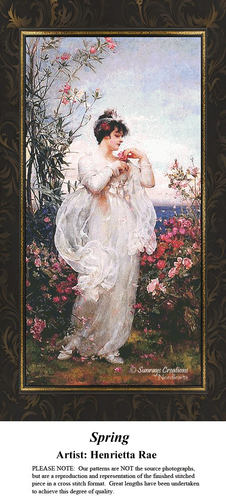
This is why so many of my fine art and landscape charts have little or no backstitch at all. When a design is built from a wide palette with gentle color shifts, the shading itself creates the edges. Adding outlines to that kind of piece fights the work. Sampler-style designs, lettering, animals, buildings, and anything with fine linework are the opposite — they need it, sometimes a lot of it.
One more thing about color. Black backstitch is rarely the right answer even when it's tempting. A dark version of the color you're outlining almost always looks better: deep brown around a fawn, dark green around foliage, charcoal instead of true black around a building. Black reads as a cartoon border on 18-count. If your chart calls for black, trust it — but if you're deciding on your own, go one or two shades darker than the fill instead.
Get Stitching Tips & New Patterns from Tracey
Honest advice, new Sunrays designs, and occasional VIP-only offers. No fluff.
No spam. Unsubscribe any time.

Tracey Recommends
OttLite EasyView LED Floor Lamp with Optical Grade Magnifier, White
Backstitch is close detail work done on top of finished stitching, which means hunting for holes through a textured surface. A magnifier lamp with true-color light shows you the hole and the floss color at the same time. My outlining got noticeably straighter the year I started using one.
Check Current Price →How to Decide If a Design Needs Backstitch at All
When I'm charting a new design, I ask one question before I add a single outline: does the image read clearly without it? I print the chart, stitch a test area, and look at it from six feet away. If a shape is muddy or an important detail vanishes into its background, that's where backstitch goes. If everything reads, I leave it off and let the color work stand.
You can run the same test on your own WIP. Pin it up, walk to the other side of the room, and look. The details that disappear at that distance are the ones that want an outline. The ones that hold their shape don't need help. This takes about ninety seconds and it has saved more than one of my pieces from being over-outlined.
There's also the case where a chart includes backstitch and you decide to skip some of it. That's allowed. It's your piece. If a chart outlines every leaf on a tree and you'd rather the foliage stay soft, outline the trunk and branches and leave the leaves alone. I'd only urge you to make that decision after all the cross stitching is done, when you can see the whole image, rather than deciding in advance.
Finally: backstitch last means backstitch is your victory lap. The counting is over, the color work is behind you, and this final pass is where the piece snaps into focus under your hands. It's genuinely the most satisfying hour of any project. Take your time with it, work under good light, and enjoy watching the thing you've been staring at for months finally become what you saw in the pattern photo.
Backstitch is the last hour of a long project and the moment everything you've worked on finally sharpens into focus. Take it slow, use one strand and good light, and trust the chart to tell you where the lines belong. If you're ready for a design worth outlining, come browse the Sunrays Creations pattern shop and find your next project.
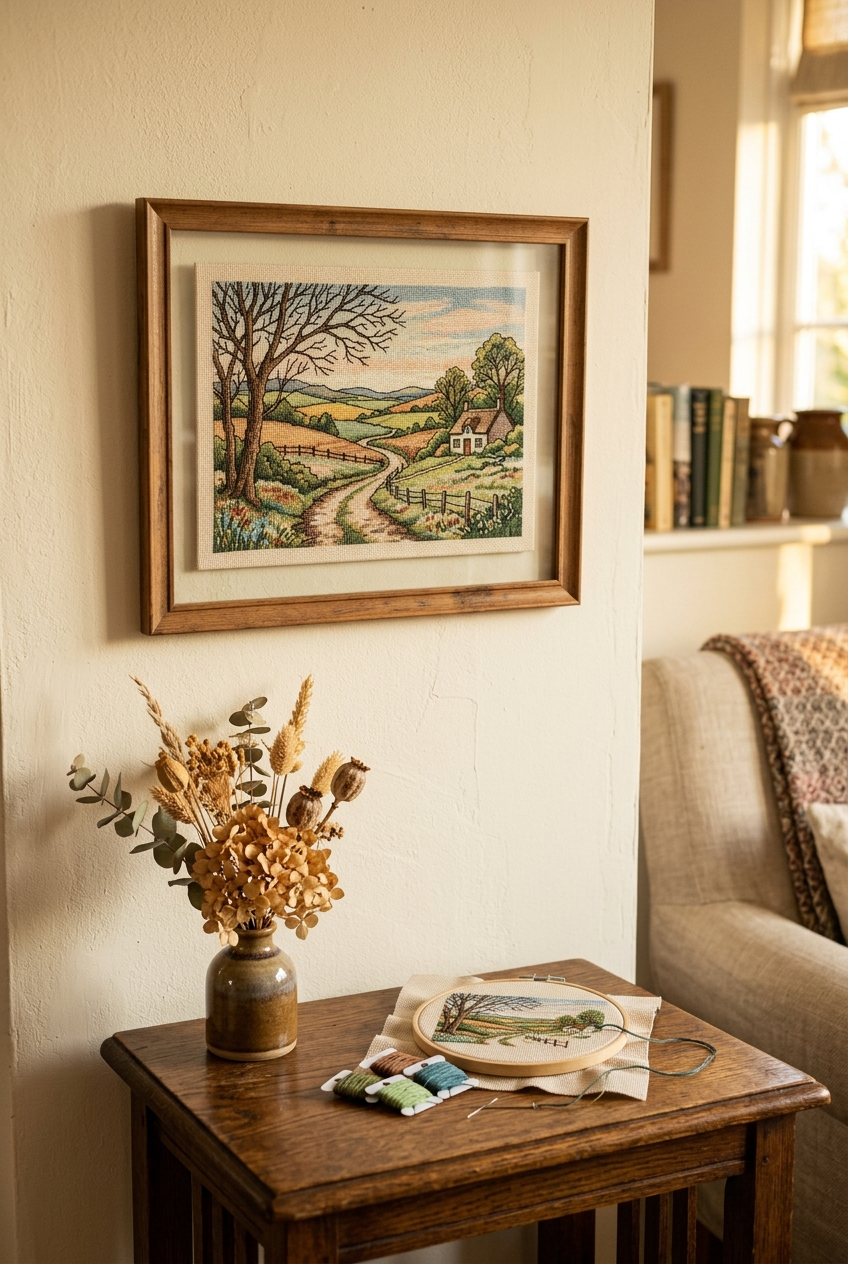
Finished framed cross stitch wall art with crisp backstitch detail hanging in warm light
Keep Reading
How Many Strands of Floss for Cross Stitch?
Backstitch almost always uses fewer strands than your cross stitches. This guide breaks down strand counts by fabric count so you know what to reach for.
Read the GuideHow to Read a Cross Stitch Pattern: A Complete Guide for New Stitchers
Backstitch shows up as lines on the grid rather than symbols in the squares. Learn how to read every part of a chart, including the backstitch key.
Learn to Read ChartsWhat Is Frogging in Cross Stitch? (And How to Do It Without Losing Your Mind)
One big reason to backstitch last is that ripping out stitches under an outline is miserable. Here's how to frog cleanly when you have to.
Read About FroggingFrequently Asked Questions
When should you add backstitch in cross stitch?
Always after every cross stitch in that area is complete, never before. Backstitch sits on top of your cross stitches, so outlining first means later stitches crowd underneath it and push it out of position. On very large projects you can backstitch section by section, as long as the crosses in that section are finished first.
How many strands should you use for backstitch?
On 18-count Aida I use one strand of DMC floss for backstitch, compared to two strands for the cross stitches. One strand gives a crisp line that defines without overwhelming the color work. Two strands are reserved for deliberately bold elements like heavy lettering or a strong foreground line, and my charts specify when that applies.
What needle is best for backstitch?
Go one size finer than your cross stitch needle. If you stitched with a size 24 tapestry needle, drop to a size 26 for backstitch. The slimmer shaft slips between packed stitches without disturbing them and finds the hole instead of splitting the floss already there.
Does every cross stitch design need backstitch?
No. Designs built from a wide palette with gentle color shifts often read perfectly without it, because the shading itself creates the edges. Lettering, animals, buildings, and anything with fine linework usually need it. Pin your piece up and look at it from six feet away — whatever disappears at that distance is what wants an outline.
What is the most common backstitch mistake beginners make?
Backstitching too much. Outlining every shape gives every element the same hard border, so nothing recedes and the depth you built with color flattens out. Backstitch belongs where the eye needs help, not around everything on the chart.
Should backstitch always be black?
Rarely. A dark version of the color you're outlining almost always looks better — deep brown around a fawn, dark green around foliage, charcoal instead of true black around a building. Black reads as a cartoon border on 18-count. If a chart calls for black, trust it, but if you're choosing yourself, go one or two shades darker than the fill.
How do you start and end a backstitch thread?
Run the thread under four or five existing cross stitches on the back in the direction you're heading, and never use a knot — knots bump through the front once the piece is framed. End the same way, burying the tail under finished stitching and trimming it flush with sharp scissors.
-- Tracey Kramer
Founder & Designer, Sunrays Creations Needlearts
Hand-charted designs since 2004 • Marysville, Ohio