
Loop Start vs. Waste Knot: The Best Ways to Start Your Cross Stitch Thread
Posted by Tracey M. Kramer on 7th Jul 2026
A Note from Tracey Kramer
I have been designing counted cross-stitch patterns since 2004, and in that time I have watched my customers stitch everything from wedding gifts to heirloom samplers. This is everything I know about this topic -- from real experience, not theory.
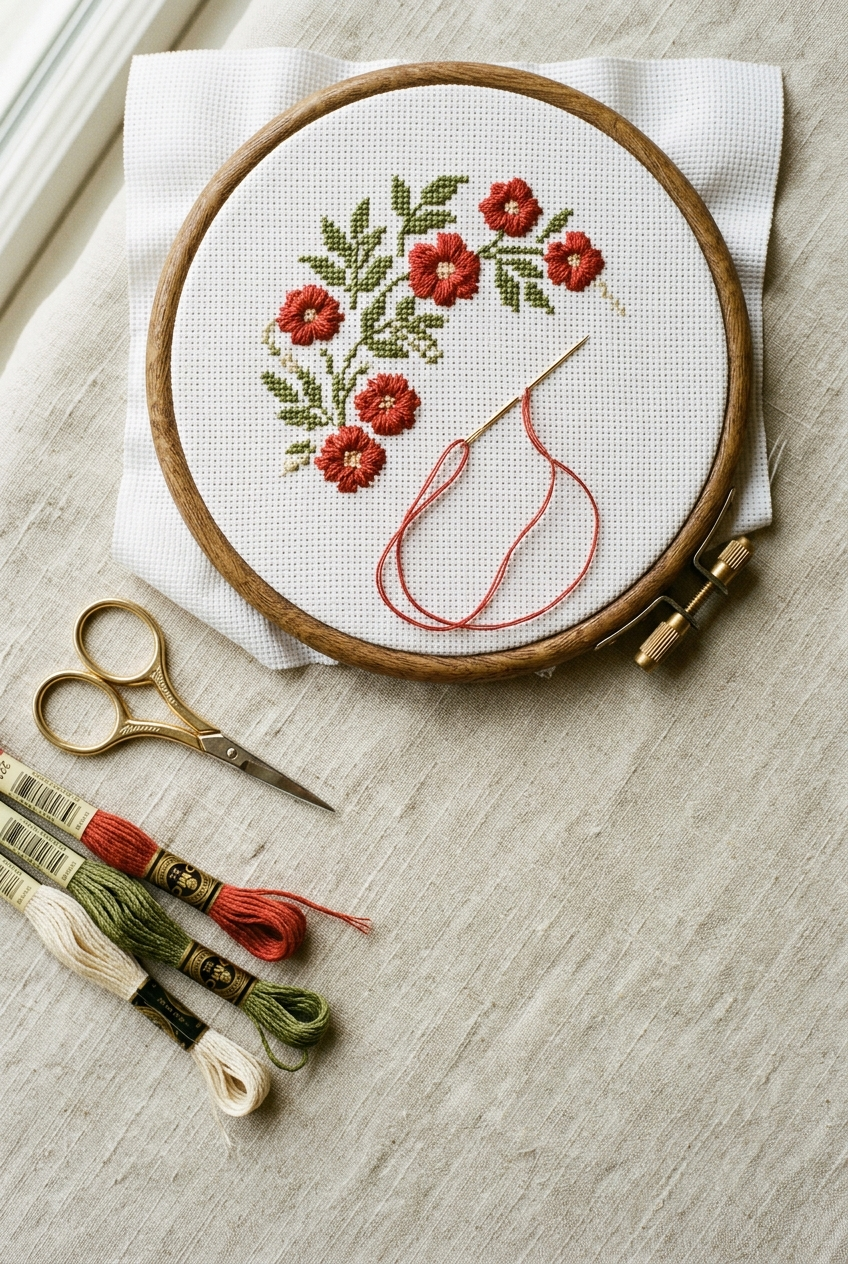
Cross stitch in progress on white Aida cloth in a wooden hoop with threaded needle showing loop start technique
By Tracey Kramer • • 12 min read
Starting a new thread in cross stitch shouldn't leave you with a lumpy, knotted mess on the back of your fabric. Whether you've heard of the loop start or the waste knot and aren't sure which one to try, I'm going to walk you through both methods so you can anchor your thread cleanly every time. After 22 years of designing counted cross stitch patterns, I can tell you that a tidy back isn't just about looks — it affects how your finished piece lies flat in its frame and how confident you feel as you stitch.
Why How You Start Your Thread Actually Matters
I hear this question constantly from new stitchers: does it really matter how I start my thread? The short answer is yes. A messy back creates bulk that shows through your fabric, especially on lighter-colored Aida cloth. It can also cause uneven tension on the front, which leads to stitches that look inconsistent or slightly raised in places where they shouldn't be.
Beyond appearance, how you anchor your thread affects durability. If you're putting in hours, days, or even weeks on a cross stitch chart, you want those stitches to stay put for decades. A proper thread start ensures your floss is locked in place without relying on a knot that might pop through the weave or create a visible bump when you frame your finished piece.
There are two go-to methods that experienced stitchers swear by: the loop start and the waste knot. Each one has specific situations where it shines, and neither one is hard to learn. I use both regularly depending on what I'm working on, and by the end of this guide, you'll know exactly when to reach for each technique.
The Loop Start: My Favorite Beginner-Friendly Method
The loop start is the first anchoring method I recommend to anyone picking up a needle for the first time. It's fast, it's clean, and it requires zero knots. The only catch is that it works when you're stitching with an even number of strands — which, on 18-count Aida, means it's perfect since I always recommend using two strands of DMC floss (find on Amazon) for your crosses.
Here's how it works. Instead of cutting two separate strands of embroidery floss from the skein, you cut one strand that's roughly twice your normal stitching length — about 36 inches total. Fold that single strand in half so the two cut ends meet at the top and a loop forms at the bottom. Thread the two cut ends through the eye of your tapestry needle (find on Amazon).
Now bring your needle up through the back of the fabric at the starting point of your first stitch. Pull the floss through until just the small loop remains on the back side. Make your first half-stitch (the bottom leg of your X), then flip the fabric over and pass your needle through that loop before you pull the stitch snug. That's it. The loop cinches against the fabric and your thread is locked in place with absolutely no knot and no bulk.
What I love about the loop start is how invisible it is. The back of your work stays perfectly flat, and there's nothing to trim or worry about later. It's also incredibly fast once you've done it a few times — I can loop-start a new thread in about three seconds without even thinking about it.

Tracey Recommends
ATTERET Full Range Embroidery and Cross Stitch Starter Kit with Premium Storage Organizer Bag, Includes 99 DMC Coded Cotton Threads, 9 Metallic Floss, 3 Hoops, Needles, Scissors + More (Pink)
A solid assortment of DMC six-strand floss in the colors you'll reach for most often. Perfect for practicing your loop starts and waste knots on a beginner-friendly project.
Check Current Price →A tidy back isn't just about looks — it affects how your finished piece lies flat in its frame and how confident you feel as you stitch.
When the Loop Start Won't Work
The loop start has one real limitation: it only works with an even number of strands. If your cross stitch pattern calls for a single strand of floss — common for backstitching or fine detail work — you can't fold one strand in half and get two. You'd end up stitching with half a strand, and that's not going to work.
You'll also run into trouble if a design calls for blended needle techniques where you combine one strand of one DMC color with one strand of another to create a blended effect. Since those two strands are different colors, you can't fold a single strand to create the pair. In both of these situations, the waste knot is your best friend.
Some stitchers also find the loop start tricky on loosely woven fabrics where the loop can slip through. On 18-count Aida cloth (find on Amazon), though, the weave is tight enough that I've never had an issue. This is one more reason I design all my charted designs for 18-count — it's forgiving and reliable for every technique.
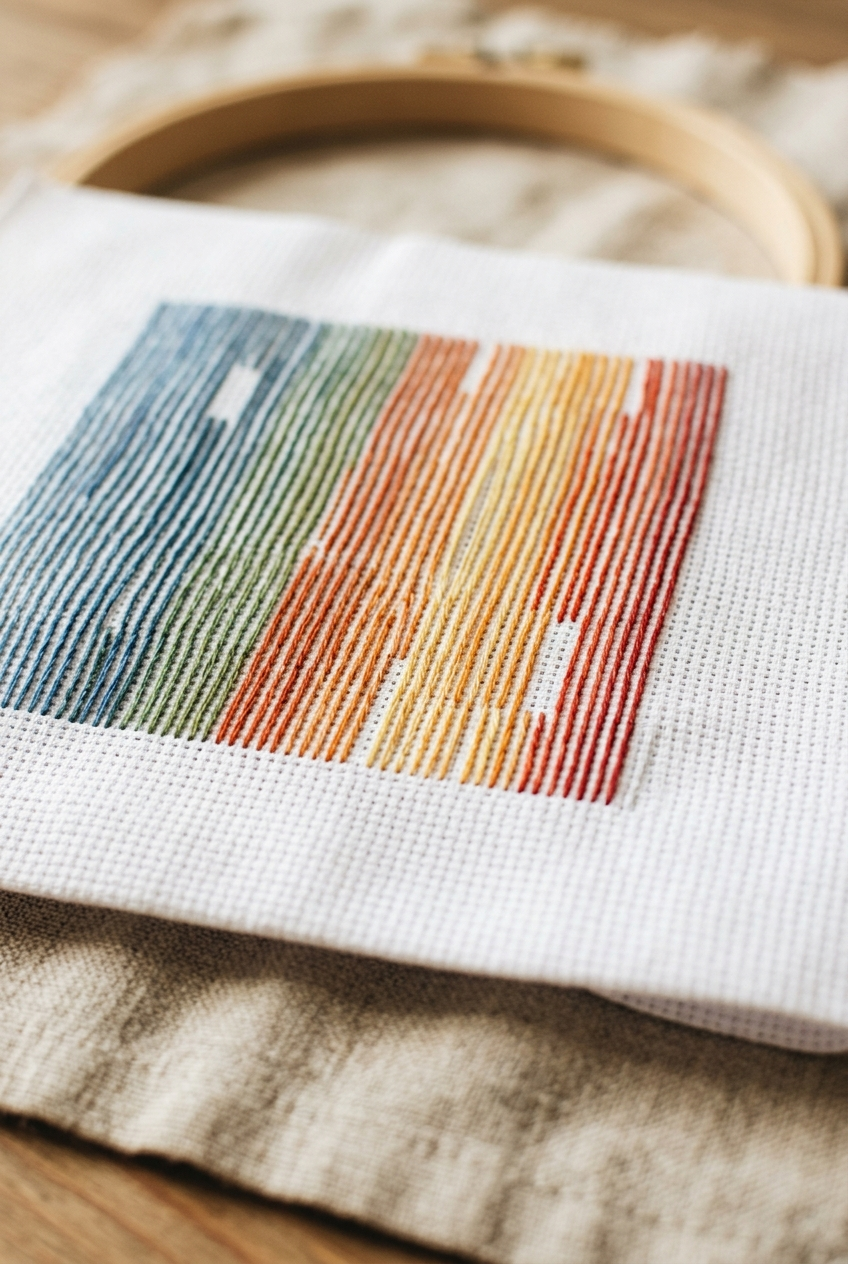
Clean back of cross stitch fabric showing neat parallel thread anchoring with no knots on white Aida cloth
The Waste Knot: A Versatile Anchor for Any Situation
The waste knot method works with any number of strands, any color combination, and any scenario you'll encounter in counted cross stitch. It uses a temporary knot on the front of your fabric that you snip off later — hence the name. The knot's only job is to hold your floss in place while you stitch over the tail on the back, locking it down permanently.
Start by cutting your floss to a comfortable working length — about 18 inches is what I use — and separating the number of strands you need. Tie a simple overhand knot at one end. Now here's the key: push your needle down through the front of the fabric about an inch or so away from where your first stitch will begin, in the same row or direction that your stitches will travel. The knot sits on top of the fabric, and the tail runs along the back.
As you stitch your crosses, your new stitches will catch and cover that tail on the back side, anchoring it securely. Once you've stitched over the tail with four or five stitches, flip your work over and snip the knot right off the front. The tail is now trapped under your stitches and isn't going anywhere. If you gently tug the remaining nub, it slips right to the back and disappears.
The waste knot gives you a rock-solid anchor that works for two strands, one strand, blended threads — everything. The only trade-off compared to the loop start is a tiny bit of extra time spent snipping the knot and the need to plan the direction of your tail so it lines up with your stitching path.
|
Patterns from the Sunrays Collection Tracey's Picks, designing cross stitch patterns since 2004 |
|||||
|
|||||
| Browse the full Sunrays collection → |


Loop Start vs. Waste Knot: Choosing the Right Method
So which method should you use? I don't think it has to be an either-or decision. I switch between both methods constantly depending on what the moment calls for, and most experienced stitchers do the same.
Use the loop start when you're working with two strands (or any even number), stitching with a single DMC color, and you want the fastest, cleanest start possible. This covers the vast majority of your regular cross stitching on an 18-count Aida project. It's the workhorse method.
Use the waste knot when you're backstitching with a single strand, blending two different floss colors on one needle, or when you're working an isolated stitch in confetti-heavy areas where there's no existing thread nearby to anchor under. It's more versatile and handles every edge case the loop start can't.
One thing I never recommend is using a standard knot on the back of your fabric to start your thread. Knots create bumps. They can pull through the weave of your Aida cloth over time. And when you frame your finished piece as wall art, those lumps will show. Both the loop start and the waste knot give you a smooth, flat back that frames beautifully.
If you're just getting started in cross stitch, learn the loop start first. Practice it on a small design until it becomes muscle memory. Then add the waste knot to your toolkit for those situations where the loop method doesn't apply. Having both techniques in your pocket means you'll never feel stuck staring at a bare needle wondering what to do next.
Get Stitching Tips & New Patterns from Tracey
Honest advice, new Sunrays designs, and occasional VIP-only offers. No fluff.
No spam. Unsubscribe any time.

Tracey Recommends
Easy Assembly Cross Stitch Frame - Tool Free Embroidery Frame (18" x 11.1") Needlework Supplies for Embroidery - Scroll Frames for Cross Stitching - Professional Grade Wood Needlepoint Frame
Having the right tapestry needles makes thread anchoring so much smoother. I always recommend a size 26 for 18-count Aida, and a good variety pack keeps you covered for any project.
Check Current Price →Tips for Cleaner Thread Starts Every Time
No matter which anchoring method you choose, a few small habits will make your starts even cleaner. First, always strip your DMC floss before stitching. Cut your length, separate all six strands individually, and then recombine the two you need. Stripped floss lies flatter, covers the fabric more evenly, and makes both the loop start and the waste knot easier to execute.
Keep your working thread length manageable. I recommend about 18 inches of floss — roughly from your fingertips to your elbow. Thread that's too long tends to tangle and fray, which means you'll be starting new threads more often than you need to. Shorter lengths also reduce the wear on your DMC floss as it passes through the Aida cloth repeatedly.
When you're finishing a thread, the same principle applies in reverse: weave your tail under three to five existing stitches on the back, then snip it close. A clean finish pairs with a clean start to give you a back side you can actually be proud of. Some stitchers joke that the back should look as good as the front, and while that's not strictly necessary, a tidy back absolutely contributes to a better-looking front.
If you're working a large cross stitch pattern with lots of confetti — those scattered single stitches of dozens of different colors — you'll find yourself starting and stopping threads constantly. The loop start is a lifesaver here because of its speed. For the occasional odd-strand situation, drop in a waste knot and keep moving. The goal is to develop a rhythm where starting a new thread feels natural rather than like an interruption.
Finally, invest in good tapestry needles (find on Amazon). A size 26 tapestry needle works perfectly for 18-count Aida cloth. The blunt tip slides between the fabric threads without splitting them, which makes both the loop start and the waste knot smoother. Bent, dull, or wrong-sized needles make every part of stitching harder, including thread anchoring.
Once you've got the loop start and waste knot in your stitching toolkit, starting a new thread will feel like second nature instead of a source of frustration. Practice both on your next project and you'll see the difference a clean anchor makes on both the front and back of your work. If you're looking for a new counted cross stitch pattern to put these skills to use, browse the full collection at Sunrays Creations and find a design that inspires your next stitch.
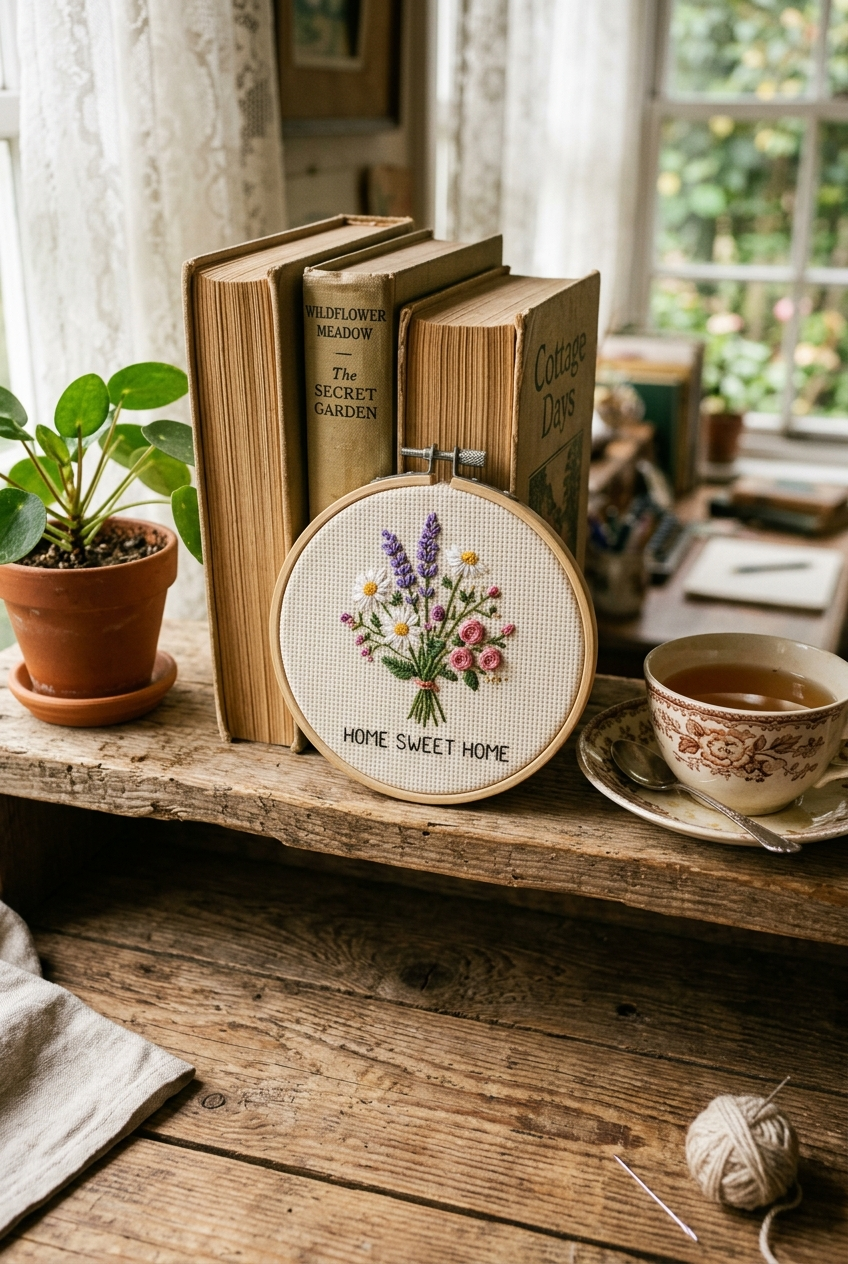
Framed cross stitch floral design on a rustic wooden shelf with books and warm afternoon light
Keep Reading
Cross Stitch Thread Guide: Everything You Need to Know About Embroidery Floss
Understanding how DMC floss is structured — from strand count to stripping techniques — directly supports cleaner loop starts and waste knots.
Read the Floss GuideWhy Your Cross Stitch Stitches Look Uneven (And How to Fix It)
Thread tension and anchoring method play a big role in stitch consistency. This guide tackles the other half of the equation once your starts are clean.
Fix Uneven StitchesCross Stitch for Beginners: Everything You Need to Start Your First Project Today
If you're brand new to cross stitch and want the full picture before you even thread your needle, this beginner overview covers everything from fabric to your first stitch.
Start HereFrequently Asked Questions
What is a loop start in cross stitch?
A loop start is a knotless anchoring method where you fold a single strand of floss in half, thread the cut ends through your needle, and catch the resulting loop on the back of your fabric with your first half-stitch. It's fast, clean, and works any time you stitch with an even number of strands.
What is a waste knot in cross stitch?
A waste knot is a temporary knot tied at the end of your floss and placed on the front of your fabric about an inch from your starting point. As you stitch, your crosses cover the tail on the back. Once the tail is secured, you snip the knot off the front. It works with any number of strands or color combinations.
When should I use a loop start instead of a waste knot?
Use the loop start whenever you're working with an even number of strands in a single color — which covers most regular cross stitching on 18-count Aida with two strands of DMC floss. It's faster and leaves no bulk on the back at all.
Can I use a regular knot to start my cross stitch thread?
I don't recommend it. Regular knots create bumps on the back that can show through your fabric, especially lighter-colored Aida cloth. They can also pull through the weave over time. Both the loop start and waste knot give you a smooth, flat back that looks much better when framed.
Does the loop start work with blended threads in cross stitch?
No. The loop start requires folding one strand in half to create two identical strands, so it only works with a single color at a time. For blended needle techniques where you combine strands of different DMC colors, use the waste knot instead.
How long should my floss be when starting a new cross stitch thread?
I recommend about 18 inches — roughly fingertip to elbow. For a loop start, you'll cut a single strand about 36 inches long and fold it in half. Keeping your working length manageable reduces tangling and fraying, which means cleaner stitches and fewer restarts.
Why does the back of my cross stitch matter?
A tidy back keeps your fabric lying flat, prevents bulk from showing through on the front, and ensures your finished piece looks clean when framed as wall art. Messy thread starts and loose tails create uneven tension that affects the appearance of your stitches on both sides.
What size needle should I use for the loop start on Aida cloth?
A size 26 tapestry needle works perfectly for 18-count Aida cloth. Its blunt tip slides between the fabric threads without splitting them, making both the loop start and waste knot technique smoother to execute.
-- Tracey Kramer
Founder & Designer, Sunrays Creations Needlearts
Hand-charted designs since 2004 • Marysville, Ohio