

Keeping Your Needlework Clean: What Actually Works
Posted by Tracey M. Kramer on 14th Sep 2016
A Note from Tracey Kramer
I've been stitching for over thirty years, and I can tell you that the hardest lessons I've learned weren't about technique — they were about taking care of the work after I'd already put hours into it. This article is everything I wish someone had told me at the start.
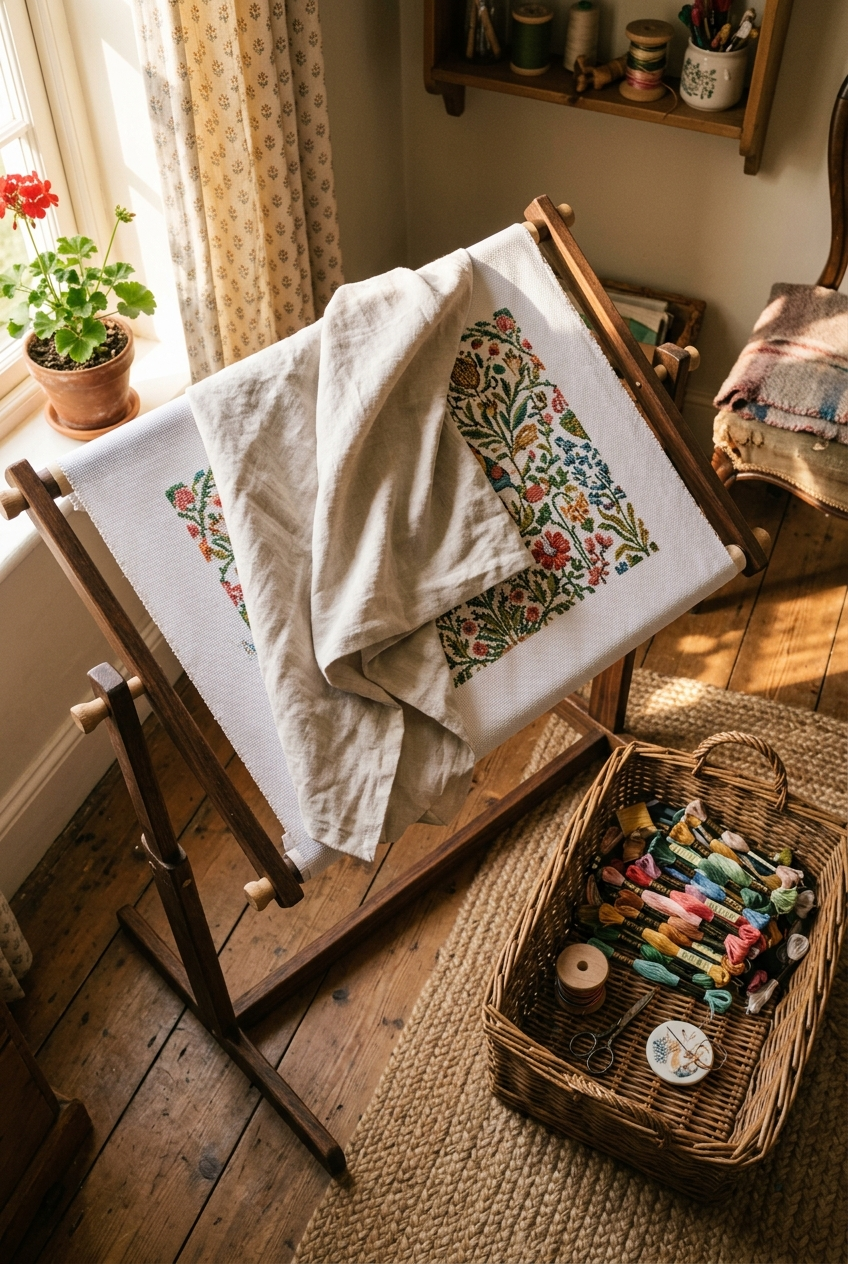
Wooden floor stand cross stitch frame with colorful project covered by a soft cotton pillowcase in warm afternoon light
By Tracey Kramer • • 12 min read
Let me say something upfront that most stitching tutorials skip entirely: keeping your needlework clean while you're working on it is just as important as the stitching itself. Maybe more. You can execute perfect tent stitches and blend colors beautifully, but if your fabric is yellowed from hand oils, stained from a snack break gone wrong, or damaged in the wash, none of that technical precision matters. The finished piece tells a story, and a greasy, dingy piece tells the wrong one.
I've been stitching since the early 1990s. I've made every mistake in this article at least once, and a few of them twice. I've watched stitchers in online groups post heartbreaking photos of completed work that went sideways in the dryer, or pulled out of storage looking like it had been through a decade of neglect rather than a year in a closet. It doesn't have to happen that way. The care side of this craft is genuinely not complicated — it just requires intention. A few good habits, the right products, and a little patience go a long way.
What I want to give you in this article is a complete, practical picture — from the moment you sit down to stitch, to the day you finally hand your finished piece off to be framed. We're going to cover prevention, protection, washing, drying, storage, and everything in between. This is not theory. This is what I actually do, and what I recommend to every stitcher who asks me.
Prevention First: Clean Hands, No Lotion, No Snacks
The single most effective thing you can do to keep your needlework clean is also the simplest: wash your hands before every stitching session. I mean every single time. Not just when you've been gardening or cooking — every time. Even if you've just been sitting at your desk for an hour. Your skin produces oils constantly, and those oils transfer to your fabric and thread the moment your fingers touch them. Over time, those oils oxidize and turn into yellowish, greasy stains that are extremely difficult to remove from Aida or linen. You may not see it happening in real time, but I promise it's happening.
There's another thing that doesn't get talked about enough: the acid content of sweat. This isn't a scare tactic — it's basic textile conservation. The mild acids present in perspiration can, over months and years of regular contact, weaken both the fibers of your fabric and the dye in your floss. This matters most for heirloom pieces and anything you're stitching with the intention of passing down. I want my work to last generations. That means I treat it like the textile it is, not just a craft project. Wash your hands with plain soap, rinse thoroughly, and dry them completely before you pick up your needle.
One thing I want to flag specifically: do not apply hand lotion and then immediately sit down to stitch. I know how dry hands get, especially in Ohio winters, and I'm not asking you to suffer. But lotion — even a light one — leaves a residue on your fingertips that transfers directly to your fabric. If you need lotion, apply it, give it twenty to thirty minutes to absorb, and then wash your hands lightly before you begin. That little buffer makes a real difference.
Now. The snacking. I know it sounds like a small thing, but I am dead serious about this one. Do not eat while you stitch. Not crackers, not chips, not a granola bar, not 'just a few grapes.' Food particles fall onto your work. Grease from snacks coats your fingers and goes directly into your fabric. Odors from food — especially anything savory or fried — embed themselves in textile fibers and are very hard to wash out entirely. I have seen finished projects that arrived at the framer smelling distinctly of popcorn. I've heard from stitchers who couldn't figure out why their work was stained until they remembered they'd been snacking on pepperoni and crackers during a long session. And I will tell you what I've said for years: soon your work will become stained and will take on the odors of the snacks you have eaten, and you will have a heck of a time explaining to others why that large pepperoni stain is smack dab in the center of your finished project. If you get hungry, put the hoop down, go eat, wash your hands, and come back. Your stitching will wait.
Grime Guards: What They Are and Why You Need One
If you've been stitching for a while, you may have heard the term 'grime guard' and wondered what exactly that means. Let me explain it clearly, because it's one of those accessories that seems optional until the moment you realize what it's actually doing for your work. A grime guard is an elasticated fabric sleeve — usually made from a soft quilted or woven cotton fabric — that wraps around the outer ring of your embroidery hoop or slides over the bars of your Q-Snap frame. The idea is straightforward: instead of your hands gripping the bare hoop ring or the bare PVC bar of your Q-Snap, your hands grip the fabric guard. Your skin oils, any residual moisture from your hands, any tiny particles — all of it stays on the guard instead of transferring to the edges of your fabric.
This matters more than it might seem. Think about how many times per session your dominant hand brushes across the edge of the hoop as you take each stitch. Hundreds of times, easily. Over a long project — something with a few hundred hours in it — that's an enormous amount of contact. The edges of your fabric, the parts your hands rest against most often, are typically where you see the worst discoloration on an unprotected project. Grime guards largely eliminate that problem.
For Q-Snap frames specifically, you can find grime guards on Amazon in standard Q-Snap sizes — they're designed to slip right over the square bars and stay put while you stitch. For round hoops, the guards are elasticated rings that stretch to fit the outer ring. Both styles are washable, which is exactly the point — you wash the guard, not the project. grime guard for cross stitch embroidery hoop (find on Amazon) is worth searching on Amazon if you haven't bought one yet; there are several good options at very reasonable prices.
If you're the crafty type, a DIY grime guard is also genuinely easy to make. You need a strip of tightly woven cotton fabric — something without a lot of texture or nap — long enough to wrap around your hoop or frame bars, with enough width to give your hand a comfortable grip. Fold the edges under, stitch them down, add a little elastic or just a button-and-loop closure, and you've got a functional guard for almost nothing. I've made them from old pillowcases. They work just fine. The point is: get something between your hands and your frame. Your fabric will thank you.
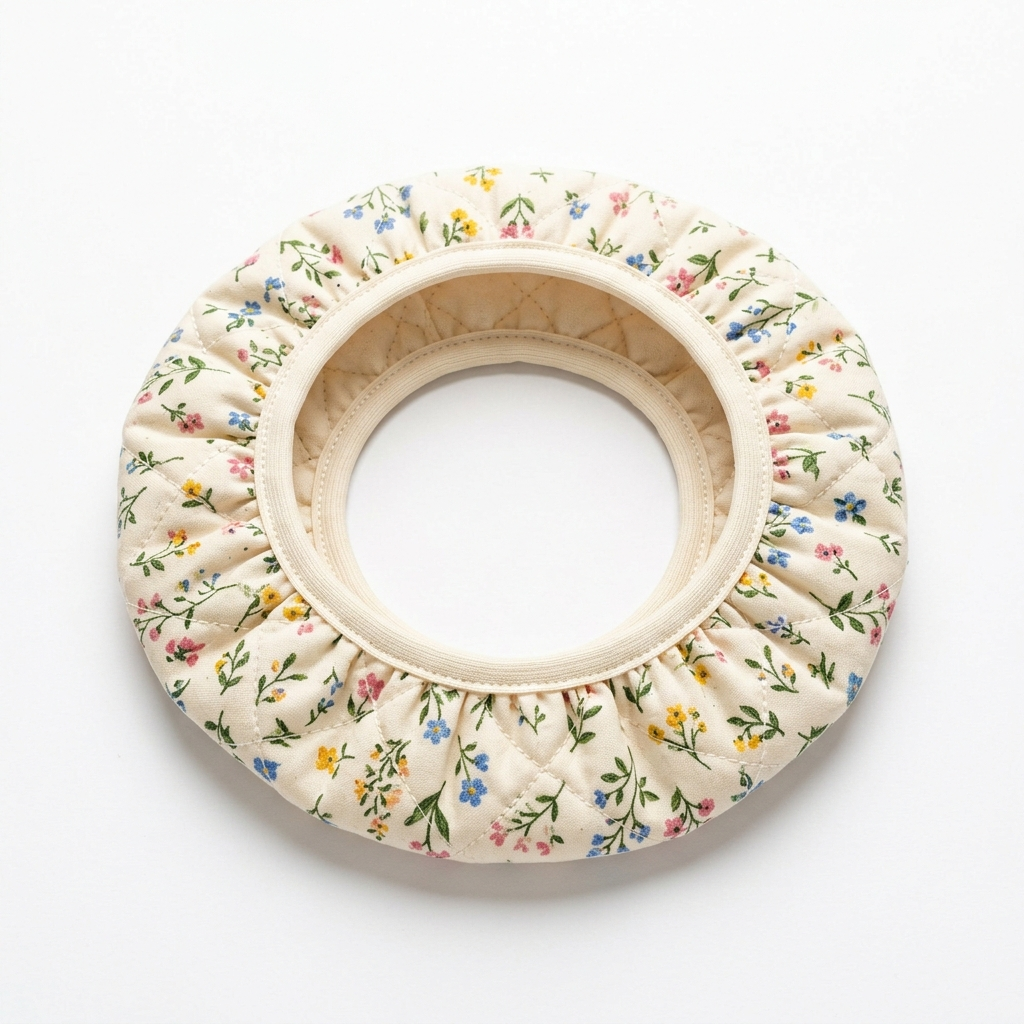
Tracey Recommends
Grime Guard for Cross Stitch Hoops & Q-Snaps
An elasticated fabric sleeve that wraps around your hoop ring or Q-Snap bars so your hands grip the guard instead of the fabric. Keeps edges clean through hundreds of hours of stitching. Washable and reusable.
See on AmazonSoon your work will become stained and will take on the odors of the snacks you have eaten, and you will have a heck of a time explaining to others why that large pepperoni stain is smack dab in the center of your finished project.
Covering Your Project Between Sessions
Here's a habit that takes about ten seconds and makes an enormous difference over the life of a project: every single time you step away from your stitching — whether it's for five minutes or five days — cover it up. Dust is relentless. Airborne particles, pet hair, cooking fumes if your stitching room is near a kitchen, humidity, UV light from nearby windows — all of it is working against your project when it's sitting out exposed. You don't need anything fancy to protect against it.
For smaller pieces on a standard hoop or Q-Snap, a simple zip-lock bag or a dedicated needlework project bag is perfect. You put the whole thing inside, zip it closed, and it's protected from dust, spills, pet interference, and accidental damage. I store smaller in-progress pieces in zip bags inside a canvas tote, and I've never had a problem. A lint roller kept nearby is also useful — a quick pass over your work surface and the face of your project before you sit down to stitch removes any surface dust or stray fibers that have settled since your last session.
For larger pieces on floor frame stands or lap frames, the zip bag method obviously doesn't scale. What you want here is a clean cotton pillowcase or a folded cotton towel that you can drape over the entire frame every time you step away. I keep a dedicated pillowcase next to my floor stand, and throwing it over the frame is just part of my 'done for today' routine, the same as capping my thread or putting my scissors back in their spot. It takes no time and it keeps the dust off completely. Cotton is ideal — it breathes, it doesn't trap humidity against your fabric, and it's washable.
For scroll rod frames, there are quilted fabric sleeves available that slide over the rods themselves — similar in concept to grime guards but designed specifically to protect the rolled portions of a project that aren't actively being stitched. If you work on large projects on scroll rods, these are worth having. They prevent dust and light from reaching the rolled sections of your work, and they help prevent the edges of the fabric from fraying or catching on things while the frame is stored upright. The main thing I want you to take away from this section is simple: don't leave your project sitting out uncovered. The dust that builds up on your furniture by the end of the week? That same dust is settling onto the surface of your stitching.
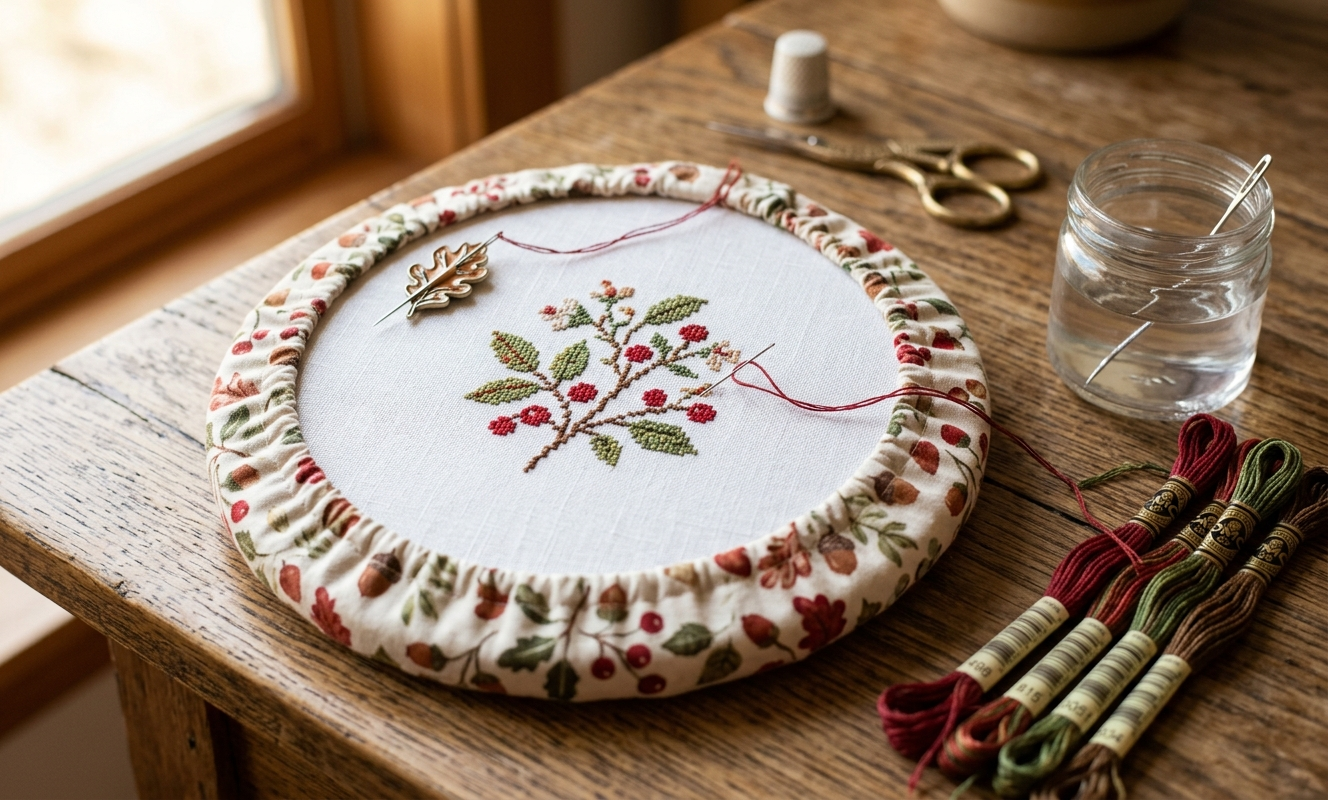
Close-up of an embroidery hoop with a fabric grime guard sleeve resting on a wooden table beside colorful floss skeins
Hand Washing Your Finished Project the Right Way
When your project is finally complete and it's time to clean it before framing, I want you to hear me on this: do not put it in the washing machine. I know it's tempting. I know the delicate cycle exists. I know some people on the internet will tell you they've done it without problems. I would not take that chance, and I would not recommend it to anyone whose work I respect. Inside a washing machine, threads can work loose, snagged by the drum or tangled with other items, and you can lose months — or years — of careful work in a single cycle. Is the convenience worth it? Not even close.
Hand washing is the right method, and it's genuinely easy. Fill a clean basin or your bathroom sink with cold water. Cold — not lukewarm, not slightly warm. Cold water is essential because warm water causes dye to bleed faster and can set certain types of stains. For soap, plain Ivory dish soap works well and is gentle enough for most evenweave and Aida fabrics. But if you want what textile conservators actually use, the gold standard is Orvus Paste (find on Amazon) — a pH-neutral, fragrance-free, dye-free paste concentrate that has been used in museums and quilt preservation for decades. A small amount dissolved in your wash water is enough. It rinses out completely, which is important because soap residue left in fabric fibers can attract dirt over time.
Submerge your project and use a gentle swishing motion to work the water through the fabric. Alternate with light dunking — pushing the piece gently down into the water and letting it rise back up. Do not scrub, do not wring, do not squeeze aggressively. If you have a stubborn stain, pre-treat it: dissolve a small amount of OxiClean in hot water first to activate it, then add that solution to your cold wash water and let the piece soak for fifteen to twenty minutes before your regular gentle wash. It works surprisingly well on older grime. Rinse your project at least two or three times in fresh cold water, making sure every trace of soap is out. Soap left behind dulls your colors over time.
A note on DMC reds and blacks specifically: these colors are notorious for bleeding, especially in warmer water. If you're working with deep reds, black, or very saturated navy blues, do a cold water soak with a splash of white vinegar before washing — about two tablespoons per gallon of water. The mild acid in the vinegar helps stabilize the dye and significantly reduces how much bleeds into your lighter colors. After the vinegar soak, proceed with your regular cold-water hand wash.
To dry: lay a clean dry towel on a flat surface. Place your project on the towel, still dripping wet — don't try to squeeze water out first. Lay a second towel on top, then starting at one end, roll the whole sandwich — project and both towels together — into a single roll. Let it sit for thirty minutes or so. When you unroll it, the towels will have absorbed most of the moisture and your project will be damp rather than soaking. Lay it flat to finish air drying, making sure it's lying square and even so it doesn't dry with a twist. Once it's just barely damp — not wet, not fully dry — place it face down on a clean ironing board towel, lay another clean towel over the back, and press lightly with your iron on medium-low heat. This combination of slight moisture and gentle heat relaxes any creases beautifully without risk of scorching.
|
Patterns from the Sunrays Collection Tracey's Picks, designing cross stitch patterns since 2004 |
|||||
|
|||||
| Browse the full Sunrays collection → |



Long-Term Storage Before Framing
Sometimes a finished project waits a while before it gets framed — life gets busy, framing appointments take time to schedule, or you're working on a gift that can't be framed until after it's given. How you store a finished piece during that waiting period matters enormously. The biggest mistake I see is folding. Do not fold your finished needlework for storage. Fold lines press into the fabric fibers and can be almost impossible to fully remove, even with steaming and ironing. You'll be trying to get that crease out on framing day and wishing you'd done this differently.
The correct method is rolling. Roll your finished piece around an acid-free tube — the kind sold for archival textile storage — with the stitched side facing out. Wrap it loosely in acid-free tissue paper (find on Amazon) first, then roll. Acid-free tissue paper prevents direct contact between the embroidery threads and the storage tube and provides a soft buffer that won't transfer any chemicals or dyes to your work over time. Regular tissue paper, regular cardboard tubes, and plastic bags that trap humidity are all things to avoid for long-term storage.
Store rolled pieces in a cool, dry room away from direct sunlight and away from fluorescent lighting if possible. UV light fades thread colors — sometimes dramatically, over a period of months. This is the same reason you should use UV-protective glass when you do get your piece framed. Keep your stored pieces away from exterior walls where temperature and humidity fluctuate, and away from attics or basements where those fluctuations are even more extreme. A bedroom closet on an interior wall is usually ideal.
For multiple pieces or a collection of finished work waiting to be processed, acid-free storage boxes designed for textiles and quilts are available and genuinely worth the investment if you're storing more than one or two things. They're flat, stackable, and designed specifically to create a stable environment for fiber arts. Your work represents real time, real effort, and in many cases real emotional investment. Treat it accordingly.
Get Stitching Tips & New Patterns from Tracey
Honest advice, new Sunrays designs, and occasional VIP-only offers. No fluff.
No spam. Unsubscribe any time.
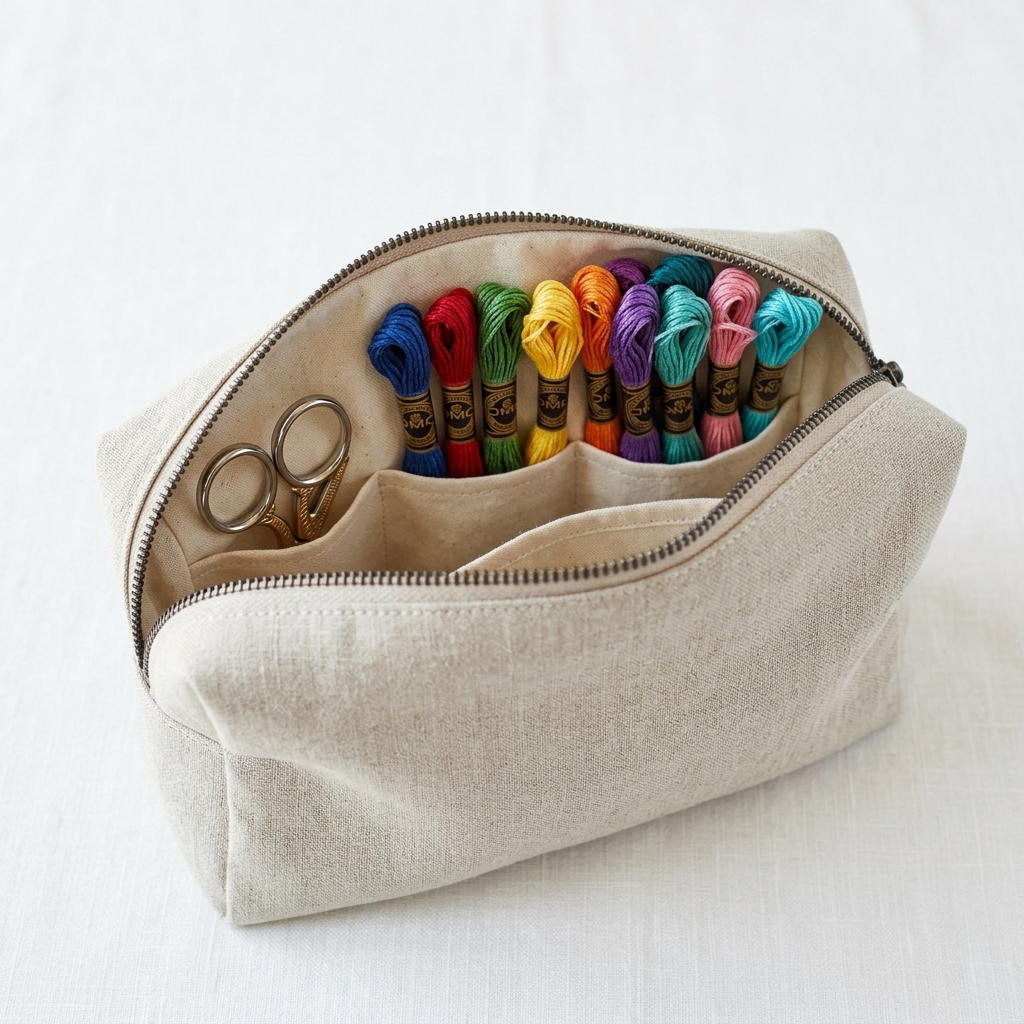
Tracey Recommends
Zippered Needlework Project Bag
A dedicated zip-close project bag keeps your in-progress work protected from dust, pet hair, spills, and light between stitching sessions. Look for one with interior pockets for thread, scissors, and a needle minder.
See on AmazonCotton Gloves, Lint Rollers, and the Final Step: Getting It Framed
There's one more tool I want to mention that many stitchers never think about: white cotton gloves (find on Amazon). White cotton inspection gloves — the kind archivists and museum handlers use — are inexpensive and extraordinary useful when you're working on heirloom pieces or anything on very light fabric colors like white, antique white, or cream linen. Wearing a thin pair of these while you stitch means zero skin-to-fabric contact. No oils, no sweat, no chance of accidental smudging. I keep a pair in my stitching kit specifically for light-colored projects, and I put them on for the final stages of a piece when I'm finishing the background or doing any work near the edges where my hand rests most.
These gloves are also useful when you're handling a finished, freshly washed project before framing — particularly if you've got a long drive to the framer or you're doing the final blocking and positioning yourself. Your clean hands are still your hands, and any handling of a finished textile is an opportunity for transfer. The gloves create a clean barrier. They're available on Amazon for just a few dollars for a multipack, and they last a surprisingly long time if you hand wash them along with your stitching.
The final and most important thing I can say about protecting your needlework long-term is this: get it framed. A framed piece behind glass — ideally UV-protective glass — is protected from dust, humidity fluctuation, light damage, and physical handling in a way that nothing stored in a bag or box can match. Don't let your finished work sit in a drawer for years. If you've invested the hours to complete a piece, invest in having it properly framed. It deserves to be seen, and framing is what ensures it stays beautiful for decades. For a detailed walkthrough of the framing process, read our complete guide to framing cross stitch — it covers matting, glass choices, mounting methods, and what to ask your framer.
One last quick note: keep a dedicated lint roller in your stitching space and use it regularly — on your work surface, on the face of any in-progress project before you begin a session, and on finished work before it goes to the framer. Stray fibers, pet hair, and dust particles that have settled on the surface of your stitching are much easier to remove with a gentle lint roller pass than to try to pick out by hand. Just roll lightly — don't press hard — and let the adhesive do the work.
Taking care of your needlework isn't complicated — it's mostly just habit, and habits are built one session at a time. God willing, the pieces you're stitching today will still be beautiful thirty years from now, hanging in someone's home and telling a story. Give them the care they deserve from the very first stitch. And when you're ready for your next project, come browse the pattern shop at Sunrays Creations — there's always something new on the design table.
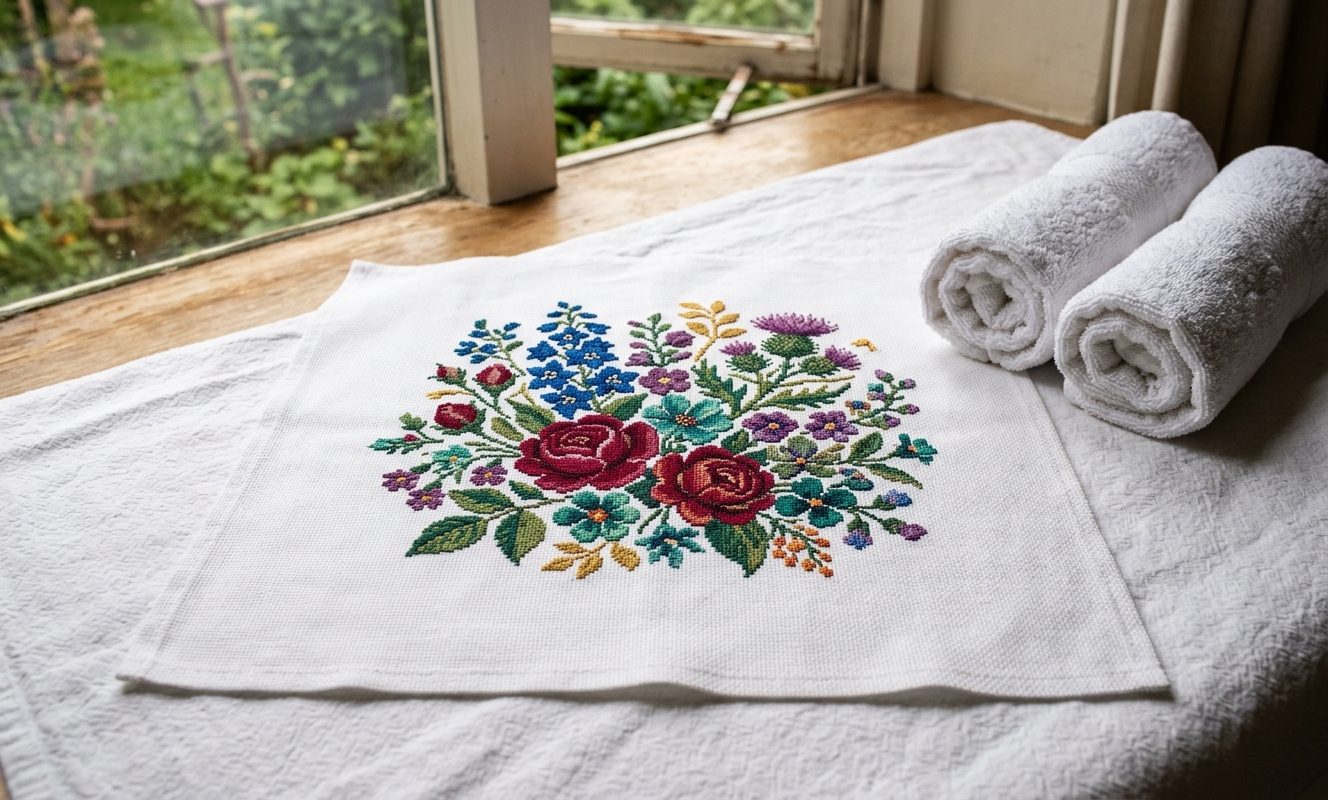
Finished cross stitch botanical piece lying flat on white cotton towels drying after hand washing in natural light
Keep Reading
What Do You Need to Cross Stitch?
If you're building out your stitching kit and want to make sure you have the right tools from the start, this guide covers everything — fabric, needles, hoops, and more.
READ THE GUIDEWhat Is Frogging in Cross Stitch?
Made a mistake and need to remove stitches? Learn the right way to frog your work without damaging your fabric or leaving marks behind.
READ THE ARTICLECross Stitch FAQs
New to the craft or just have a question you've been wondering about? This FAQ covers the most common questions I get from stitchers at every level.
READ THE GUIDEFrequently Asked Questions
How do I keep my cross stitch clean while working on it?
Wash your hands before every session, avoid lotion immediately before stitching, never eat while stitching, and use a grime guard on your hoop or frame. The body section on prevention covers all of this in detail.
What is a grime guard for cross stitch?
It's an elasticated fabric sleeve that wraps around your hoop ring or Q-Snap frame bars so your hands grip the guard instead of the bare frame — keeping skin oils off your fabric edges. See the full explanation in the grime guards section above.
Can I machine wash my finished cross stitch?
No — threads can snag or come loose in a machine cycle, destroying months of work. Always hand wash in cold water with a gentle soap like Ivory or Orvus Paste, as described in the washing section.
How do I prevent DMC red and black floss from bleeding when I wash?
Do a cold water pre-soak with a splash of white vinegar before washing — about two tablespoons per gallon — to stabilize the dye. Full details are in the hand washing section.
How should I store a finished cross stitch piece before framing?
Roll it — never fold it — around an acid-free tube, wrapped in acid-free tissue paper, and store in a cool dry room away from UV light. The long-term storage section covers the full process.
Do I really need to wear cotton gloves when stitching?
For most projects, clean dry hands are fine. For heirloom pieces or very light-colored fabrics, white cotton gloves eliminate all skin-to-fabric oil transfer and are especially useful during final stages and handling before framing.
-- Tracey Kramer
Founder & Designer, Sunrays Creations Needlearts
Hand-charted designs since 2004 • Marysville, Ohio