
How to Prepare Cross Stitch Fabric Before You Stitch
Posted by Tracey Kramer on 22nd Sep 2021
A Note from Tracey Kramer
I've been preparing fabric for cross stitch projects for over thirty years, and I'll be honest—I've made almost every mistake there is to make. What I'm sharing here is what I actually do now, not what the rulebooks say.
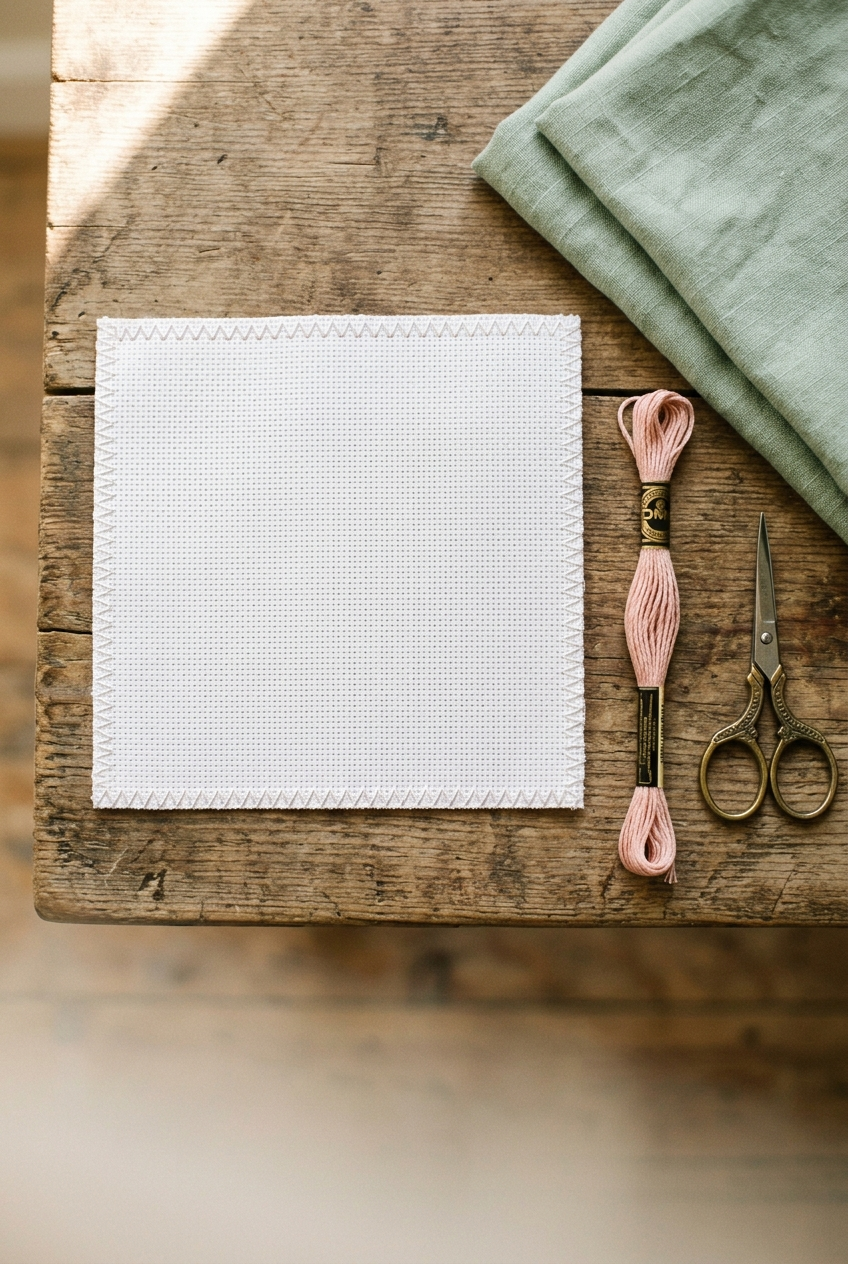
Pressed Aida cloth with zigzag edges on wooden surface ready for cross stitch
By Tracey Kramer • • 12 min read
There is something about a fresh cut piece of fabric that makes me feel like anything is possible. It's clean, it's crisp, and it's just waiting for color and thread to bring it to life. I get that little flutter of excitement every single time—doesn't matter if it's my hundredth project or my thousandth. But here's the thing I've learned the hard way over three-plus decades of stitching: how you treat that fabric before you ever make your first stitch matters more than most beginners realize. I've seen beautiful projects get ruined—fraying edges that raveled right into the stitching, centers that were off by a full inch, fabric that was stiff or grimy from handling. All of that is preventable, and once you've done it right a time or two, the prep work becomes second nature. It's just part of getting started, like making coffee before you sit down to write.
I get asked all the time about fabric prep, and I always say the same thing: the preparation is part of the project. It's not busywork. It's not something you skip because you're excited to get stitching. The ten or fifteen minutes you spend getting your fabric ready before you sit down with your needle and thread? Those minutes protect the hours and hours of work that come after. I've learned this lesson more times than I care to admit—sometimes the hard way, with a project I had to abandon or rip back significantly—and I want to spare you that frustration. There's something almost prayerful about taking care of the small things before you begin. It tells the project, and yourself, that you're taking this seriously.
Whether you're working on Aida cloth, linen, or evenweave, the basic principles of fabric prep are the same: protect your edges, decide whether to prewash, press out your wrinkles, and find your center. These aren't complicated steps, but each one makes a real, measurable difference in your finished result. Let me walk you through each one in detail, exactly the way I do it in my own stitching room here in Marysville, Ohio.
Why Fabric Preparation Is Never Optional
I know what you're thinking right now. You've got your pattern printed, your floss sorted by DMC number, your hoop sitting right there on the table, and you just want to start. Trust me, I understand that feeling completely. It hits me every single time a new project is ready to go. But skipping fabric prep is like building a house without laying the foundation first—everything looks fine for a while, until it very much doesn't. The fabric is the foundation of everything you're about to create, and if you treat it carelessly at the start, you'll pay for it somewhere down the line.
Cross stitch fabric—whether it's Aida cloth (find on Amazon) or a fine linen evenweave—is a woven material. And woven materials fray. That's just what they do when their edges are left unfinished and exposed to the friction of being pulled in and out of a hoop, rolled up and tucked into a project bag, or handled repeatedly over weeks or months of stitching. Once fraying gets started, it doesn't politely stay at the edges. It works its way inward, and if it gets close enough to your actual stitching, you have a real problem. I've watched that happen to projects I loved. It is not a fun experience.
Beyond fraying, there's the matter of knowing exactly where to put your very first stitch. A pattern that's off-center by even a small amount can leave you running out of fabric on one side, or ending up with a wildly unbalanced finished piece. I have personally ripped out multiple days of work because I started in the wrong place. Now I take the five minutes to do it right before I begin. It saves heartache later, and it makes the whole project feel more intentional—like you're honoring the work, which it deserves.
Good fabric prep also simply makes the stitching experience more pleasant from beginning to end. When your edges are secure, you're not constantly picking stray threads off your floss or noticing raveling in your peripheral vision. When your center is clearly marked, you stitch with confidence instead of second-guessing your placement. When your fabric is properly pressed, it sits flat and taut in the hoop without fighting you. These things matter. They're not fussy or precious—they're just smart. And after thirty years, smart is what I choose every time.
Cutting Your Fabric to Size—Do This First
This seems obvious, but let me say it plainly anyway: cut your fabric to the right size before you start prepping it, not after. Calculate your stitch count, determine the finished design dimensions at your fabric's count per inch, add your margins, and then cut—cleanly, squarely, with good fabric scissors that have never touched paper. Using the wrong scissors on cross stitch fabric is one of those small decisions that causes fraying problems right from the very first cut, before you've even zigzagged an edge.
To cut fabric squarely, I pull a thread. I know this sounds old-fashioned, but it's the most reliable way to get a perfectly straight edge on a woven fabric, and I've never found a better method. Find a single thread in the weave near where you want to cut, and pull it gently across the full width of the fabric. It will gather the fabric slightly as it works its way out, and when it's free completely, it leaves a clean, straight channel right across the surface. Cut along that channel and you have a perfectly grain-straight edge every single time.
For 14-count Aida cloth, pulling a thread is easy—the weave is open enough that you can grab a single thread without much fuss. For higher thread counts, like 28-count or 32-count linen evenweave, it takes a bit more patience and a pair of tweezers doesn't hurt. But it's worth the extra minute. A grain-straight fabric sits more evenly in the hoop, distributes tension more consistently, and gives you a better stitching surface from the very first stitch. Crooked cuts cause crooked stitches. It's as simple as that.
The standard recommendation I give for margins is at least two inches of unstitched fabric on every side of your finished design—and I personally prefer three inches whenever I know a piece will be framed professionally. This gives the framer something real to work with and protects your outermost stitches from being damaged or buried in the mounting process. Always count outward from your center to verify your margins before you begin stitching. Count before, not three weeks into the project. I cannot stress that enough.
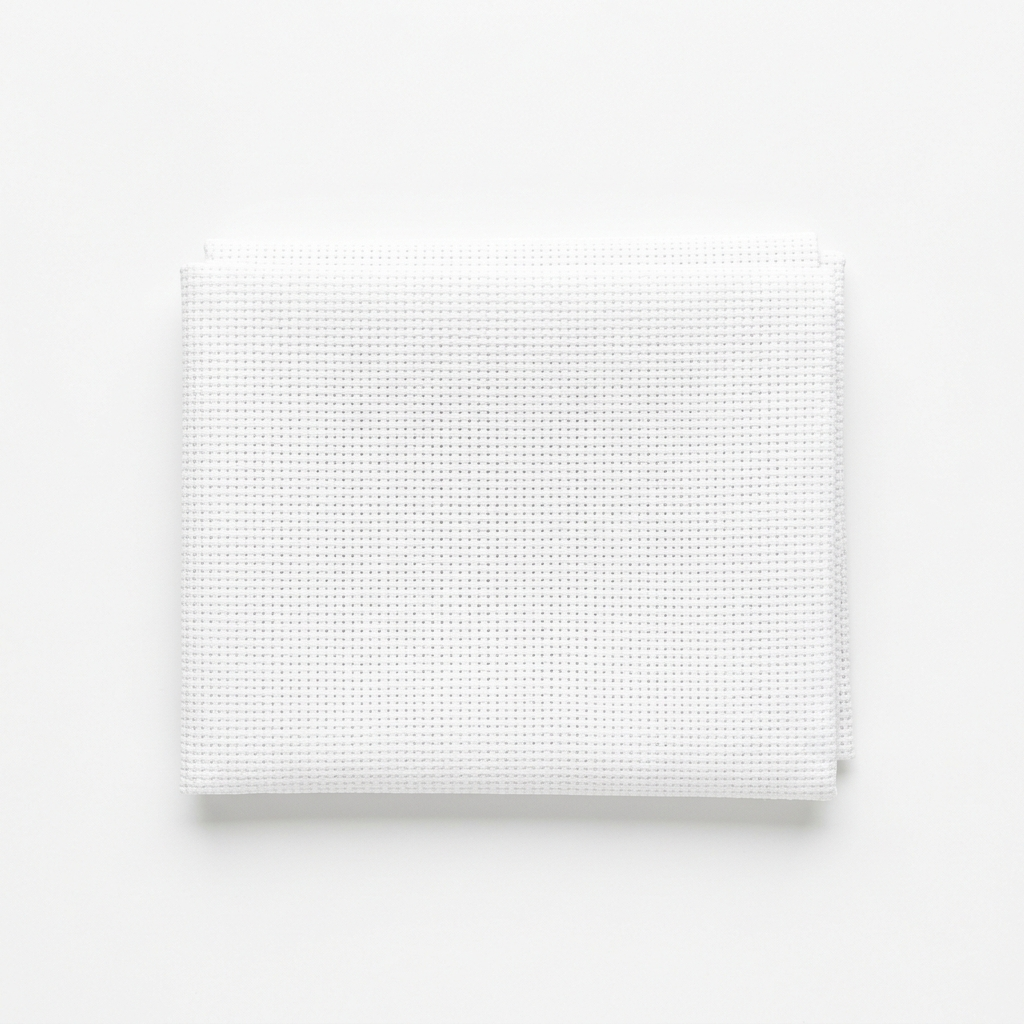
Tracey Recommends
Quality Aida Cloth for Cross Stitch
Good Aida cloth makes a real difference in how your stitches sit and how your finished piece looks. I always recommend starting with quality fabric—it's worth every penny and the difference shows in the finished piece.
See on AmazonThe ten or fifteen minutes you spend getting your fabric ready before you sit down with your needle and thread protect the hours and hours of work that come after. That's not busywork—that's how you respect the craft.
Protecting the Edges—Why I Stopped Using Masking Tape Years Ago
When I first started stitching in the late 1980s, the advice I got was to wrap masking tape around all four edges of the fabric. And you know what? It worked—kind of, and only temporarily. The tape held the edges in place and kept fraying at bay while I was in the middle of a project, which felt like a reasonable solution. But when the time came to remove it, that tape had bonded to the fabric in a way that was genuinely unpleasant. The sticky residue it left behind was a real headache, and even when I peeled it off as carefully as I could, it pulled threads and created exactly the kind of fraying I was trying to prevent in the first place.
I used that masking tape method for years because I didn't know any better, and every single time I finished a project I was dealing with that same frustrating mess. Now I do it completely differently, and I will never go back to tape. My preferred method is this: I get out my sewing machine, set the stitch selector to zigzag, and stitch around all four edges of my fabric before I do anything else. A medium-width zigzag catches the raw edge of the weave, wraps around it slightly, and creates a durable finish that does not fray no matter how much that fabric gets handled over the life of a long project.
One of the best things about the zigzag method—besides the fact that it actually works—is that you do not have to remove it when you're done. Unlike tape, unlike fold-over basting stitches, the zigzag machine stitching simply gets hidden when you frame or mount the finished piece. There's nothing to unpick, nothing to peel away, no residue to deal with. You finish stitching, you frame it, and you move on. I've had large projects I've worked on for six months or more, and the edges looked just as clean at the end as they did the day I prepped the fabric.
If you don't have a sewing machine, or you simply don't want to drag it out for a small piece, there are alternatives worth knowing about. Fray Check is a liquid seam sealant you brush directly onto the raw edges—it dries clear and firm and holds the weave in place effectively. I keep a bottle in my stitching cabinet for those times when I'm being lazy about setting up the machine. A serger gives you an even cleaner professional edge if you have one. And for very small pieces, some stitchers fold the raw edges over by half an inch and press them flat before they begin, which works fine as long as you account for that fold in your measurements. But for anything larger than a four-inch square, I recommend the zigzag sewing machine method without hesitation. One small note: use a thread color that blends with your fabric so the zigzag doesn't show if an edge peeks out during framing. White thread on white Aida cloth, dark gray on dark linen. A small detail, but it keeps everything looking tidy.
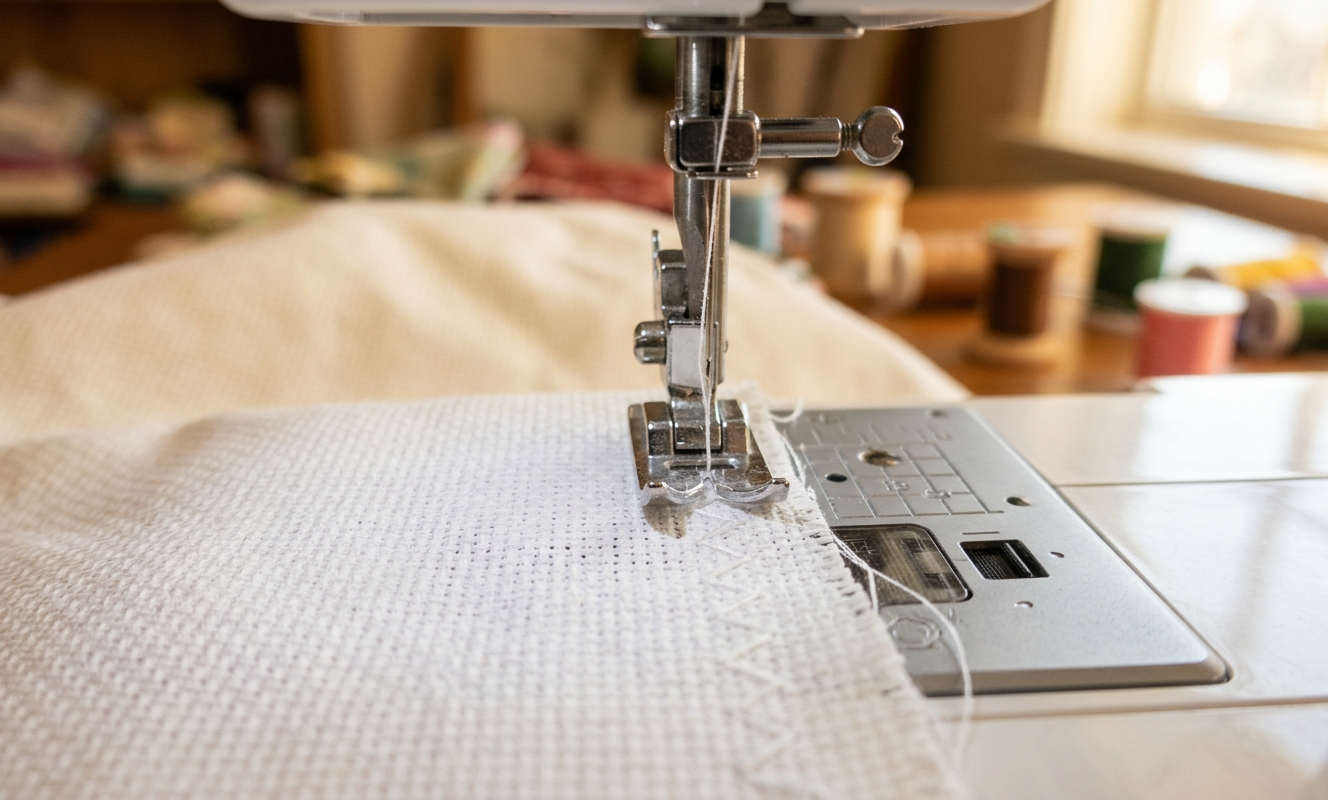
Close-up of sewing machine zigzag stitching along edge of cross stitch Aida fabric
To Prewash or Not to Prewash—My Honest Answer After 30 Years
This is one of the questions I get most often, and I want to give you a straight answer rather than the non-committal 'it depends' you'll find in a lot of stitching guides. My personal practice is this: I do not prewash my cross stitch fabric before I stitch on it unless it is visibly dirty, smells musty from storage, or if I have real reason to question the dye stability of a fabric I bought from an unfamiliar source. For most fabric that comes directly from a quality supplier, prewashing is simply not necessary, and it can actually make things harder for you.
Here's my reasoning. Quality cross stitch fabrics—especially Aida cloth and evenweave fabric (find on Amazon) from reputable manufacturers like Zweigart—are woven with sizing in them. That sizing gives the fabric its crispness and stability, which makes it easier to stitch on and helps it stay taut in the hoop. When you prewash, you remove that sizing, and the fabric can become limp and difficult to manage. For a fabric you're not worried about shrinking or bleeding, you've just made your stitching experience harder for no real benefit. I made that mistake plenty of times before I figured it out.
That said, there are situations where prewashing genuinely makes sense. If you've purchased fabric from a discount shop and aren't certain of its origin or dye stability—particularly with dark or bright colors that might bleed onto your floss—a quick prewash in cool water is a reasonable precaution. If you've had fabric sitting in storage for a long time and it's picked up odors or feels stiff in an unpleasant way, a gentle hand wash in cool water and a press once it's dry will sort you right out. And if you're stitching something for a baby or anyone with sensitive skin, I'd wash both the fabric and the floss before beginning. Better safe than sorry there.
If you do prewash, use cool water, a tiny drop of gentle detergent, and don't wring or twist the fabric. Roll it in a clean towel to absorb the excess water, then lay it flat or hang it to dry. Iron it while it still holds just a touch of dampness and it will press out beautifully. But again—for most projects, most of the time, I don't prewash, and I've been doing this for over thirty years without a single problem I'd trace back to skipping that step.
|
Patterns from the Sunrays Collection Tracey's picks — hand-charted designs since 2004 |
|||||
|
|||||
| Browse the full Sunrays collection → |



Pressing Your Fabric—The Step Everyone Skips and Shouldn't
This is the step that gets overlooked more consistently than any other, and I want to make a real case for it right now. Before you zigzag your edges, before you mark your center, before you put that fabric anywhere near a hoop—press it. Get your iron out, set it to the appropriate heat for your fabric type, and press out every crease and fold line that's in there from packaging or storage. It takes maybe three minutes and it makes a meaningful, visible difference in how your fabric behaves while you stitch.
Cross stitch fabric that has been folded on a bolt or packaged flat often has distinct crease lines running right through what will be the center of your design. If you try to stitch over those creases, several things happen at once: the fabric doesn't sit flat in the hoop, your stitches look uneven because the fabric is pulling in the direction of the crease, and depending on how long the fabric was stored, those fold lines can be stubborn enough that they won't come out on their own even after weeks of stitching. Press them out first. Problem solved before it starts.
For Aida cloth, a medium heat setting works well—Aida is typically cotton and tolerates ironing without complaint. For linen or evenweave fabric, I use a slightly lower setting and always press with the fabric slightly damp, which releases the fibers more effectively. I press on the wrong side of the fabric whenever possible. If you must press on the right side of a dark fabric, use a pressing cloth so you don't leave shine marks. These are standard ironing practices applied to stitching fabric, but they make a noticeable difference in how your finished piece looks and handles.
Some stitchers use a light spray starch spray (find on Amazon) before pressing to restore some of that original crispness, especially after prewashing. I do this occasionally, particularly with linen that's feeling a little floppy. A light misting and a thorough press firms it right back up and gives you something much more pleasant to stitch on. Just let the fabric cool and dry completely before you begin stitching—hot, damp fabric stretches more easily than it should, and you don't want to distort your piece before you've made a single stitch.
Get Stitching Tips & New Patterns from Tracey
Honest advice, new Sunrays designs, and occasional VIP-only offers. No fluff.
No spam. Unsubscribe any time.
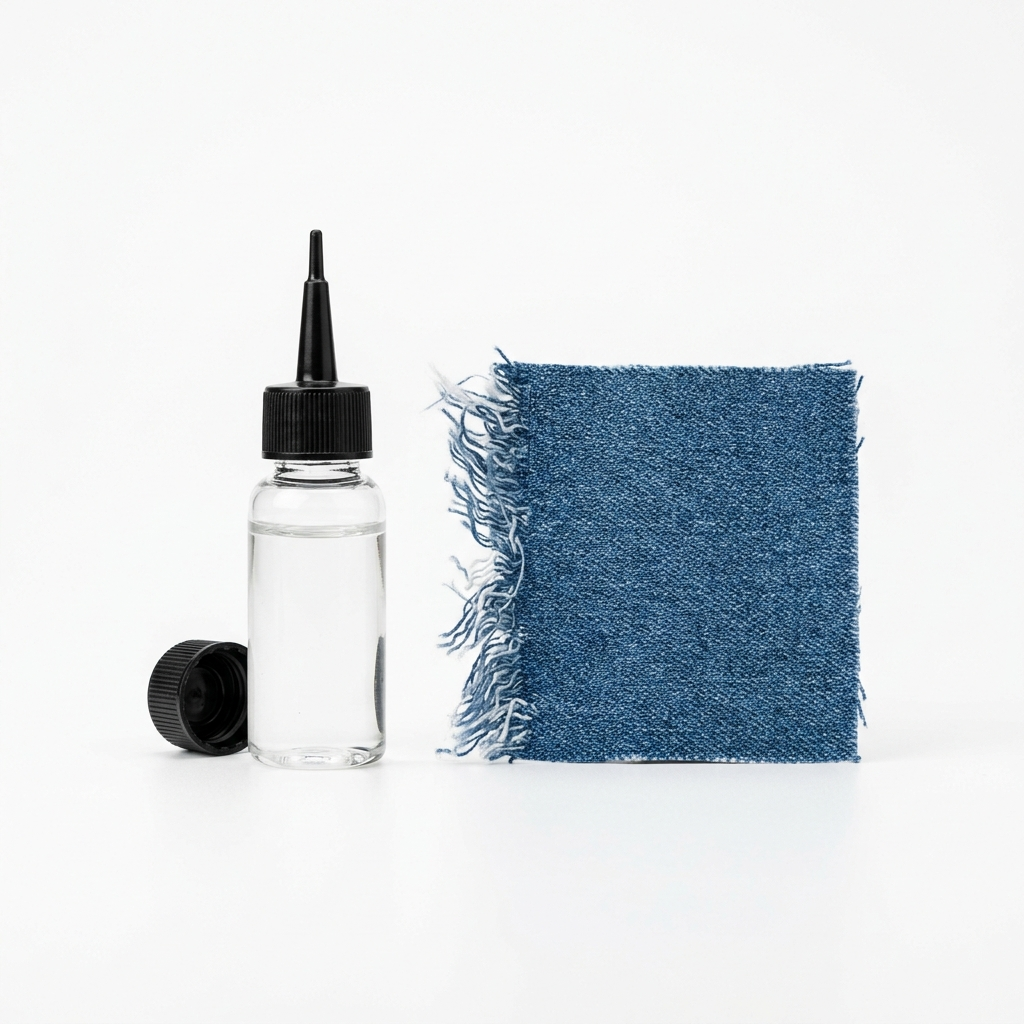
Also Worth Having
Fray Check Seam Sealant
When the sewing machine isn't handy, a bottle of Fray Check is the next best thing for protecting raw fabric edges before you begin stitching. I keep one in my stitching cabinet at all times.
See on AmazonFinding the Center of Your Fabric—The Folding Method That Never Fails
Here's the part that trips up so many new stitchers: figuring out exactly where to begin. If you're working from a large, one-piece chart—the kind that comes as a single full-size sheet—you almost certainly want to begin stitching from the center of the design and work outward in all directions. That way you know the design will be balanced on your fabric no matter what. And to do that, you need to know exactly where the center of your fabric is. The good news is that finding it takes about sixty seconds and requires zero measuring.
The method I use is fast, accurate, and requires no measuring tape, no math, and no pins. After my edges are zigzagged and my fabric is pressed, I fold the fabric in half horizontally—top edge down to meet the bottom edge, nice and even. Then I fold it in half again vertically—left edge over to meet the right. What I have now is a quarter-sized piece of folded fabric with one corner that represents the exact center of the whole piece. I pinch that corner firmly between my thumb and forefinger, making a small but definite crease mark. Then I open the fabric back up completely. That pinch point, right where the two fold lines intersect, is the center of my fabric. That's where my first stitch goes.
I always mark that center point with something visible before I set the fabric aside or put it in the hoop. A small stitch of contrasting thread—just an X in a bright color—works perfectly and can be removed cleanly later. Some stitchers use a water-soluble marker (find on Amazon) to make a small dot, which is also fine as long as you test it on a scrap of the same fabric first to confirm it truly washes out. I've had mixed experiences with some brands of disappearing ink markers leaving a faint shadow behind, so I tend to default to the small contrasting thread mark that I know I can remove without any surprises. Better safe than sorry, especially on a piece you've spent weeks on.
If you're working from a pattern that's designed to be stitched page by page—which is how many of my larger Sunrays Creations designs are structured—you may not need to start from the absolute center of the fabric. In that case, you'll want to calculate your total fabric size based on stitch count plus margin, and determine your starting position based on the pattern instructions. But for those of you who prefer to start from the center no matter what, I made a video specifically walking through this folding and center-finding technique—you can find it over at the Sunrays Creations video page, and sometimes seeing it done once is worth a thousand words of description. Once your fabric is cut, zigzagged, pressed, and centered, you are truly ready to stitch. The whole process takes about fifteen minutes for a medium-sized piece. Fifteen minutes of preparation for potentially hundreds of hours of stitching. That is one of the best investments you will ever make in your craft.
Fabric prep isn't glamorous, but it's one of those quiet acts of care that separates a project that holds together beautifully from one that slowly unravels at the edges—literally. I've been doing this for over thirty years and I still take the time to do every one of these steps before I make my first stitch. It's how I respect the work. If you're looking for a project worthy of all this careful preparation, I'd love for you to browse the patterns at Sunrays Creations—there's something for every skill level and every taste, and every one of them was charted by hand.
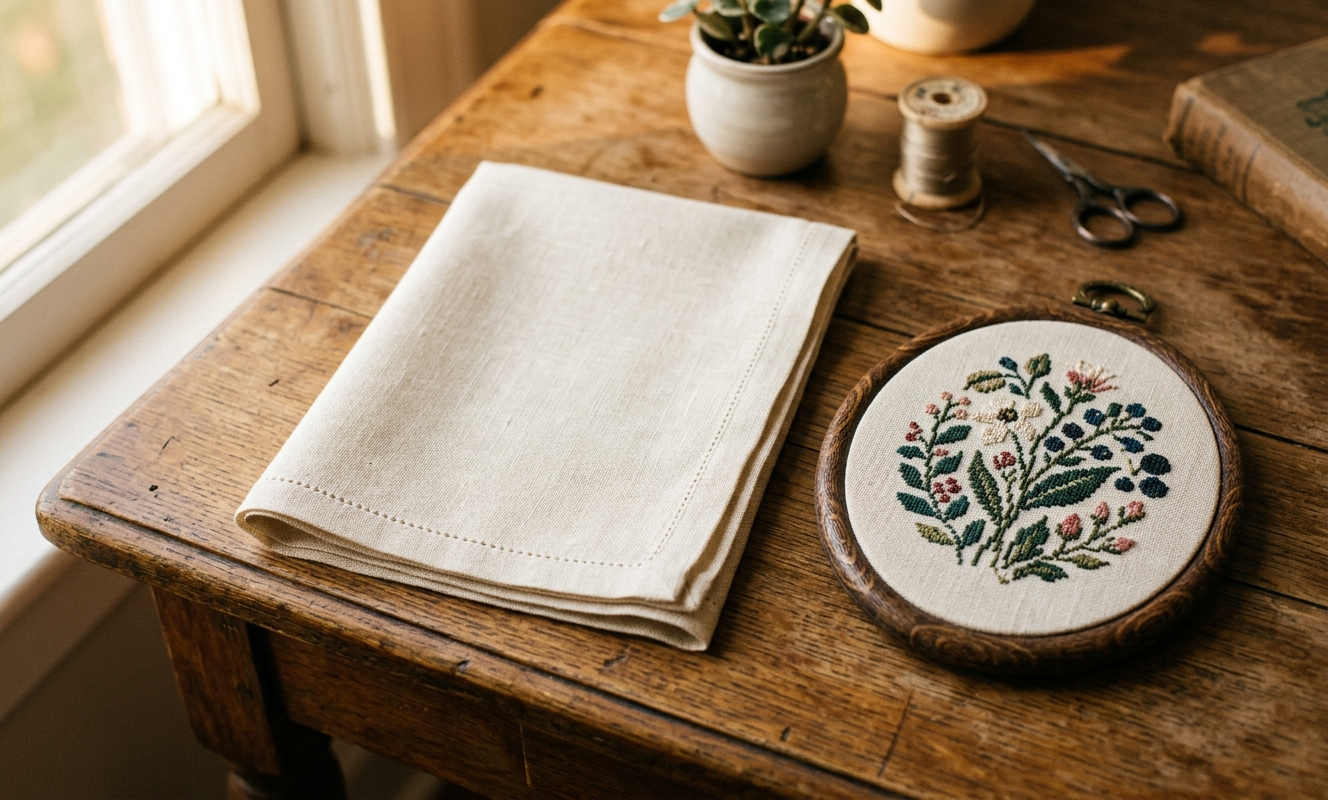
Prepared linen evenweave fabric beside a framed botanical cross stitch on warm wooden surface
Keep Reading
What Do You Need to Cross Stitch?
New to cross stitch or just want to make sure you have the right supplies? This guide covers everything from fabric to needles to hoops.
READ THE GUIDETips for Stitching on Dark Cloth
Dark fabric adds drama to any design, but it comes with its own prep and stitching challenges. Here's how to handle it with confidence.
READ THE ARTICLECross Stitch FAQs
Got questions about getting started, choosing fabric counts, or finishing your work? Tracey answers the most common ones right here.
READ THE GUIDEFrequently Asked Questions
Do I need to wash cross stitch fabric before I start stitching?
In most cases, no. Quality cross stitch fabric like Aida cloth and Zweigart evenweave comes with sizing that helps it stitch up crisply, and prewashing removes that. I only prewash if the fabric is visibly dirty, smells musty from storage, or if I have genuine concern about dye stability in a darker or unfamiliar fabric. When in doubt, test a corner scrap first before committing your whole piece.
What is the best way to finish the edges of cross stitch fabric?
My preferred method is a zigzag stitch on the sewing machine around all four edges before I begin stitching. It's permanent, requires no removal later, and works beautifully on any fabric type. If you don't have a sewing machine, Fray Check liquid seam sealant is a solid alternative. I used masking tape for years before I knew better—it works temporarily but leaves sticky residue and can actually cause fraying when you remove it.
How do I find the center of my cross stitch fabric?
Fold your fabric in half horizontally, then fold it in half again vertically. Pinch the corner where all the folds meet firmly, then open the fabric completely. That pinch point where the two fold lines intersect is the exact center of your fabric. Mark it with a small contrasting thread cross or a water-soluble marker before you begin. This method requires no measuring tape and is completely accurate every time.
Should I iron my cross stitch fabric before stitching?
Yes, absolutely—every time. Pressing out packaging creases and fold lines before you begin makes your fabric sit flat in the hoop and gives you a much more even stitching surface. Use a medium heat for Aida cloth and a slightly lower heat with a slightly damp pressing cloth for linen or evenweave. Always press on the wrong side of the fabric whenever possible to protect the surface from shine marks.
How much extra fabric should I leave as a border around my cross stitch design?
The standard I follow is at least two inches of unstitched fabric on every side of your design, and I personally prefer three inches when I know the piece will be professionally framed. This gives the framer enough material to work with and protects your outermost stitches from being damaged in the mounting process. Always count outward from your center point to verify your margins before you begin stitching—not three weeks into the project.
What is the best way to cut cross stitch fabric to get a straight edge?
The most reliable method is to pull a single thread from the weave near your cut line. Gently tug one horizontal or vertical thread across the full width of the fabric until it pulls free, leaving a perfectly straight channel in the weave. Cut right along that channel for a grain-straight edge. Always use sharp fabric-only scissors—scissors that have been used on paper will crush and drag the threads rather than cutting cleanly, which causes fraying from the very first cut.
-- Tracey Kramer
Founder & Designer, Sunrays Creations Needlearts
Hand-charted designs since 2004 • Marysville, Ohio