Why Your Cross Stitch Stitches Look Uneven (And How to Fix It)
Posted by Tracey M. Kramer on 9th Jun 2026
A Note from Tracey Kramer
I have been designing counted cross-stitch patterns since 2004, and in that time I have watched my customers stitch everything from wedding gifts to heirloom samplers. This is everything I know about this topic -- from real experience, not theory.
")
Close-up of even cross stitch stitches in a wooden hoop on Aida cloth
By Tracey Kramer • • 12 min read
If your cross stitch stitches look uneven, lumpy, or inconsistent, you're not imagining it — and you're definitely not alone. Uneven stitches are the single most common frustration I hear from new stitchers, and after 22 years of designing counted cross stitch patterns, I can tell you that the fix is almost never about talent. It's about a handful of small habits that, once you recognize them, change everything about how your finished piece looks on the wall.
What Causes Cross Stitch Stitches to Look Uneven?
Before you can fix uneven cross stitch stitches, you need to understand what's actually happening on your fabric. Every X-shaped stitch is made of two diagonal legs. When those legs sit at slightly different tensions, or when the top leg crosses in different directions from stitch to stitch, the surface of your work catches light unevenly. That's what creates that bumpy, inconsistent look that drives stitchers crazy.
There are four main culprits behind cross stitch tension problems, and most stitchers are dealing with more than one at the same time. The good news? Each one has a practical fix. Let me walk you through them one at a time so you can figure out exactly what's going on with your piece.
Culprit #1: Inconsistent Stitch Direction
This is the number-one reason stitches look uneven, and it's the easiest to fix. In counted cross stitch, every stitch has a bottom leg and a top leg. Your top leg — the one that crosses over — needs to go in the same direction across your entire project. It doesn't technically matter whether your top leg slants from lower-left to upper-right or from lower-right to upper-left, as long as you pick one direction and stick with it for every single stitch.
I stitch my top legs going from lower-left to upper-right (the \ direction). That's a common convention, and it's what I recommend to anyone starting out. When you accidentally flip the direction on a few stitches, those rogue stitches catch light differently than the surrounding ones. Even one row of reversed tops will stand out in the finished piece.
Here's my quick self-check: after completing a row of stitches, tilt your hoop slightly under a lamp. If every stitch reflects light the same way, your direction is consistent. If a few look darker or lighter than the rest, you've got some flipped stitches. That's an easy frog-and-redo situation — annoying, yes, but straightforward. Frogging a few stitches now saves you from staring at that uneven patch every time you walk past the framed piece on your wall.
Tracey Recommends
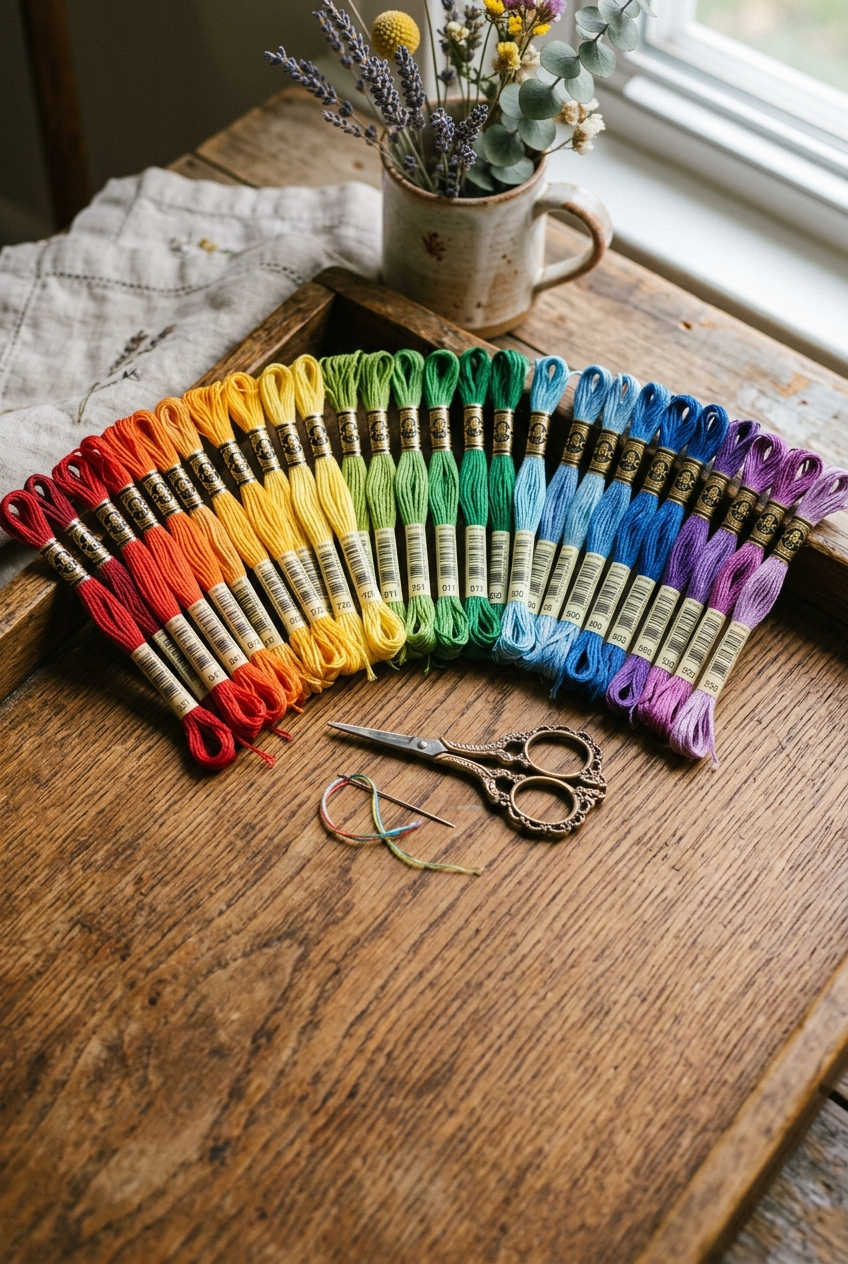
DMC Six-Strand Embroidery Floss
DMC is the floss I use and recommend for every project. The color consistency is reliable skein to skein, and the strands separate cleanly — which matters a lot when you're stripping floss and railroading for even stitches.
See on AmazonThe real fix for uneven cross stitch stitches isn't any single trick — it's building a set of small, consistent habits that become second nature over time.
Culprit #2: Pulling Too Tight (or Too Loose)
Cross stitch tension problems are sneaky because they build up gradually. You might not notice anything wrong stitch by stitch, but after a dozen rows, one section looks puckered while another looks floppy. The goal is a consistent, gentle tension — firm enough that the floss lies flat against the fabric, but relaxed enough that you aren't distorting the holes in your Aida cloth.
I always recommend 18-count Aida for my designs, and one reason is that 18-count gives you nicely defined holes without being so tight that tension mistakes become magnified. If you're stitching on a very high count, tension control matters even more. But on 18-count, you have a forgiving sweet spot.
A practical test: after you pull your floss through, the stitch should lie snug against the fabric surface. If the fabric is warping or the stitch is sinking into the hole, you're pulling too hard. If the stitch is looping above the surface or you can slide a needle under it easily, it's too loose. Neither extreme is a disaster on a single stitch, but repeated over hundreds of stitches, the inconsistency shows.
One habit that helps tremendously is to let your needle and floss dangle freely every 15-20 stitches. This allows the thread to untwist naturally. Twisted floss sits differently on the fabric than untwisted floss, and it can make your tension feel tighter than it actually is. Just drop the needle, let it spin, and pick it back up. Simple as that.
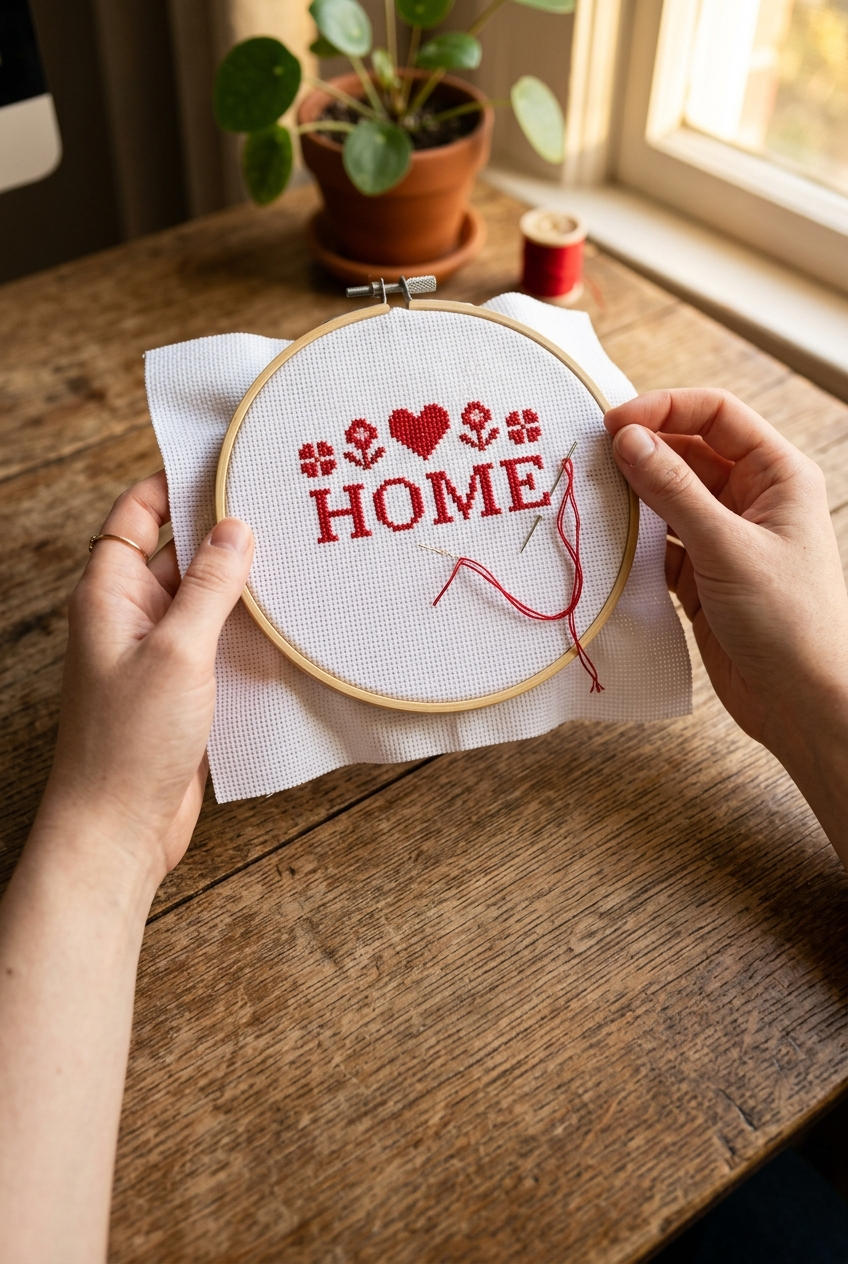
Hands demonstrating railroading technique with needle and floss on cross stitch fabric
Culprit #3: Your Floss Isn't Lying Flat
DMC six-strand embroidery floss (find on Amazon) is made up of six individual strands twisted together. When you pull out your working length and separate your two strands for 18-count stitching, those strands can twist and tangle as you sew. Twisted floss creates a stitch that looks thinner, rounder, and bumpier than a stitch made with flat, side-by-side strands.
This is where railroading cross stitch becomes your best friend. Railroading is a simple technique where you use your needle to separate the two strands just before you pull the stitch tight. Here's how it works: bring your needle up through the fabric, then before you go back down, slide the needle between the two strands so they sit parallel — like railroad tracks — as the stitch settles onto the fabric.
I'll be honest, railroading adds a small extra step to every stitch, and it can feel tedious at first. But the difference in your finished piece is unmistakable. Railroaded stitches have better coverage, more consistent light reflection, and a smoother overall texture. After a few hours of practice, the motion becomes automatic. I've been railroading for so long that my hands just do it without thinking.
If railroading feels like too much to add right now, at minimum make sure you're stripping your floss before threading your needle. Stripping means pulling each strand out individually from the cut length, then recombining the two you need. Even if your pattern calls for two strands, pull them apart first and then put them back together. This removes the manufacturing twist and lets the strands lie much flatter on their own.
|
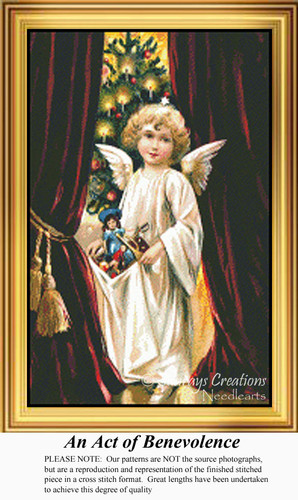
Patterns from the Sunrays Collection Tracey's Picks, designing cross stitch patterns since 2004 |
|||||
|
|||||
| Browse the full Sunrays collection → |


Culprit #4: Hoop Tension and Fabric Prep
Your fabric tension matters just as much as your floss tension. If your Aida cloth is slack in your hoop, every stitch you make will sit at a slightly unpredictable angle because the fabric shifts as you work. I use a wooden embroidery hoop (find on Amazon), typically a 5 or 6-inch size, and I keep my fabric drum-tight. When I tap the surface, it should sound almost like a little drum.
If your hoop keeps loosening, try wrapping the inner ring with cotton twill tape or even strips of muslin. This adds grip so the fabric doesn't slip. Some stitchers use Q-snaps as an alternative, and those can work well too, but I personally reach for my wooden hoop every time.
Fabric prep before you even start stitching also plays a role. If you haven't trimmed your Aida edges or treated them to prevent fraying, loose threads from the edges can catch on your working floss and create drag that throws off your tension. I recommend finishing your raw edges with a simple whipstitch, masking tape, or a product like Fray Check (find on Amazon) before you mount the fabric in your hoop. It takes five minutes and saves a lot of headaches later.
One more thing about hoops: when you stop stitching for the day, take your fabric out of the hoop. Leaving fabric clamped overnight or for days at a time can create creases and stretched areas that permanently affect how your stitches sit. I know it's tempting to leave everything set up, but a quick removal protects your work.
Get Stitching Tips & New Patterns from Tracey
Honest advice, new Sunrays designs, and occasional VIP-only offers. No fluff.
No spam. Unsubscribe any time.
Tracey Recommends
Cross Stitch Supplies Starter Bundle
If you're building your supply stash from scratch, a quality starter bundle gets you hoops, needles, and fabric in one shot. Look for one that includes 18-count Aida and tapestry needles so you're set up right from the start.
See on AmazonHow to Fix Cross Stitch Stitches That Are Already Uneven
So what if you're looking at a WIP right now and the damage is already done? First, take a breath. I've been there more times than I can count. Here's how I evaluate the situation.
If the uneven stitches are isolated — a few flipped tops here, a small section that's too tight there — frogging those specific stitches and redoing them is the fastest path to a clean finish. Use a blunt tapestry needle or the eye end of your needle to gently lift the top leg, slide the floss out, and restitch. Be patient with yourself. Even experienced stitchers frog regularly.
If the unevenness is widespread across a large section, you have a tougher call to make. Sometimes the best move is to frog back to where the tension was still consistent and restitch from there. It stings, but a BAP with one beautifully even section and one messy section will always bother you when it's framed and hanging in your home. Trust me on this.
For mild tension inconsistencies that aren't worth frogging, a proper washing and blocking after you finish stitching can help even things out. Gently hand-wash your completed piece in lukewarm water with a drop of mild dish soap, lay it flat on a clean towel, and let it dry. The water relaxes the fibers and allows stitches to settle into a more uniform position. This won't fix flipped stitch directions, but it can smooth out minor tension wobbles.
Building Better Habits Going Forward
The real fix for uneven cross stitch stitches isn't any single trick — it's building a set of small, consistent habits that become second nature over time. Here's my shortlist of habits that transformed the quality of my own stitching over the years.
First, always stitch with a consistent top-leg direction and check yourself every few rows. Second, strip your floss every single time — no shortcuts. Third, let your needle dangle regularly to untwist your thread. Fourth, keep your fabric drum-tight in your hoop and remove it when you're done for the day. Fifth, try railroading. Start with just one small section to see the difference, and then decide if you want to commit to it full-time.
I also recommend good lighting. When you can't see your stitches clearly, you can't catch problems early. A daylight-spectrum craft lamp (find on Amazon) positioned over your work area makes a real difference. Squinting at your chart and fabric under a dim table lamp is a recipe for mistakes — and for eye strain.
Finally, choose the right project for your skill level. If you're still working on tension control, a smaller design with fewer color changes gives you room to practice these habits without the added complexity of confetti stitching or massive color palettes. A charted design on 18-count Aida with solid blocks of color is the perfect training ground. Once your muscle memory locks in, you can tackle anything — even a large counted cross stitch pattern with hundreds of colors.
Every stitcher's journey is different, and nobody's first piece is perfect. The fact that you're reading this and thinking critically about your stitch quality tells me you care about this craft. That's what matters most. The evenness will come.
Even stitches aren't about being perfect — they're about building a handful of good habits and trusting that your hands will catch up with what your eyes already know. Every piece you finish teaches you something new. If you're ready to put these techniques into practice on a beautiful counted cross stitch chart, I'd love for you to browse the full collection of patterns at Sunrays Creations and find a design that inspires your next project.
Framed cross stitch wall art with smooth even stitches in cozy home setting
Keep Reading
Cross Stitch Thread Guide: Everything You Need to Know About Embroidery Floss
Stripping and managing your floss is a big part of keeping stitches even. This guide covers everything about working with embroidery floss, from strand counts to storage.
Read the Floss GuideCross Stitch Tips for Beginners: 8 Ways to Start Right
If you're just getting started and want to build good habits from day one, this article covers eight foundational tips that set you up for clean, even stitching.
See All 8 TipsWhat Is Frogging in Cross Stitch? (And How to Do It Without Losing Your Mind)
Frogging a few uneven stitches is often the fastest fix. This article walks you through how to rip out stitches safely without damaging your fabric or surrounding work.
Learn to Frog SafelyFrequently Asked Questions
Why do my cross stitch stitches look uneven?
The most common causes are inconsistent top-leg direction, uneven tension when pulling floss, twisted thread that isn't lying flat, and slack fabric in your hoop. Most stitchers are dealing with more than one of these at the same time, but each one has a straightforward fix.
What does railroading mean in cross stitch?
Railroading is a technique where you slide your needle between your two working strands before pulling the stitch tight. This forces the strands to lie side by side — like railroad tracks — instead of twisting around each other. The result is smoother, more even stitches with better fabric coverage.
How tight should I pull my cross stitch stitches?
Your stitch should lie snug against the fabric surface without distorting the holes in your Aida cloth. If the fabric is warping, you're pulling too hard. If the stitch loops above the surface, it's too loose. Aim for a gentle, consistent tension across every stitch.
Does stitch direction really matter in cross stitch?
Yes. Your top leg needs to cross in the same direction on every stitch across your entire project. If some top legs slant one way and others slant the opposite way, those stitches catch light differently and create a visibly uneven surface, even from a distance.
Can I fix uneven cross stitch stitches without starting over?
In many cases, yes. If the uneven stitches are isolated, you can frog just those stitches and redo them. For mild overall tension inconsistencies, washing and blocking your finished piece can help relax fibers and even things out. Flipped stitch directions, however, need to be frogged and re-stitched.
Why should I strip my embroidery floss before stitching?
Stripping means pulling each strand out individually from your cut length, then recombining the strands you need. This removes the manufacturing twist and allows the strands to lie flatter on the fabric, which creates smoother, more even stitches. I recommend stripping every time, with no shortcuts.
Should I remove my fabric from the hoop when I stop stitching?
I recommend it. Leaving fabric clamped in a hoop overnight or for multiple days can create creases and permanently stretched areas that affect how your stitches sit. A quick removal when you're done for the day protects your work.
What fabric count is best for even stitches as a beginner?
I design all of my patterns for 18-count Aida cloth. It offers a great balance — the holes are well-defined enough for clean stitch placement, but the count is forgiving enough that minor tension mistakes don't become magnified the way they can on very high counts.
-- Tracey Kramer
Founder & Designer, Sunrays Creations Needlearts
Hand-charted designs since 2004 • Marysville, Ohio