
Can You Take Cross Stitch on a Plane? Needles, Scissors and Snips
Posted by Tracey M. Kramer on 31st Aug 2026
A Note from Tracey Kramer
I have been designing counted cross-stitch patterns since 2004, and in that time I have watched my customers stitch everything from wedding gifts to heirloom samplers. This is everything I know about this topic -- from real experience, not theory.
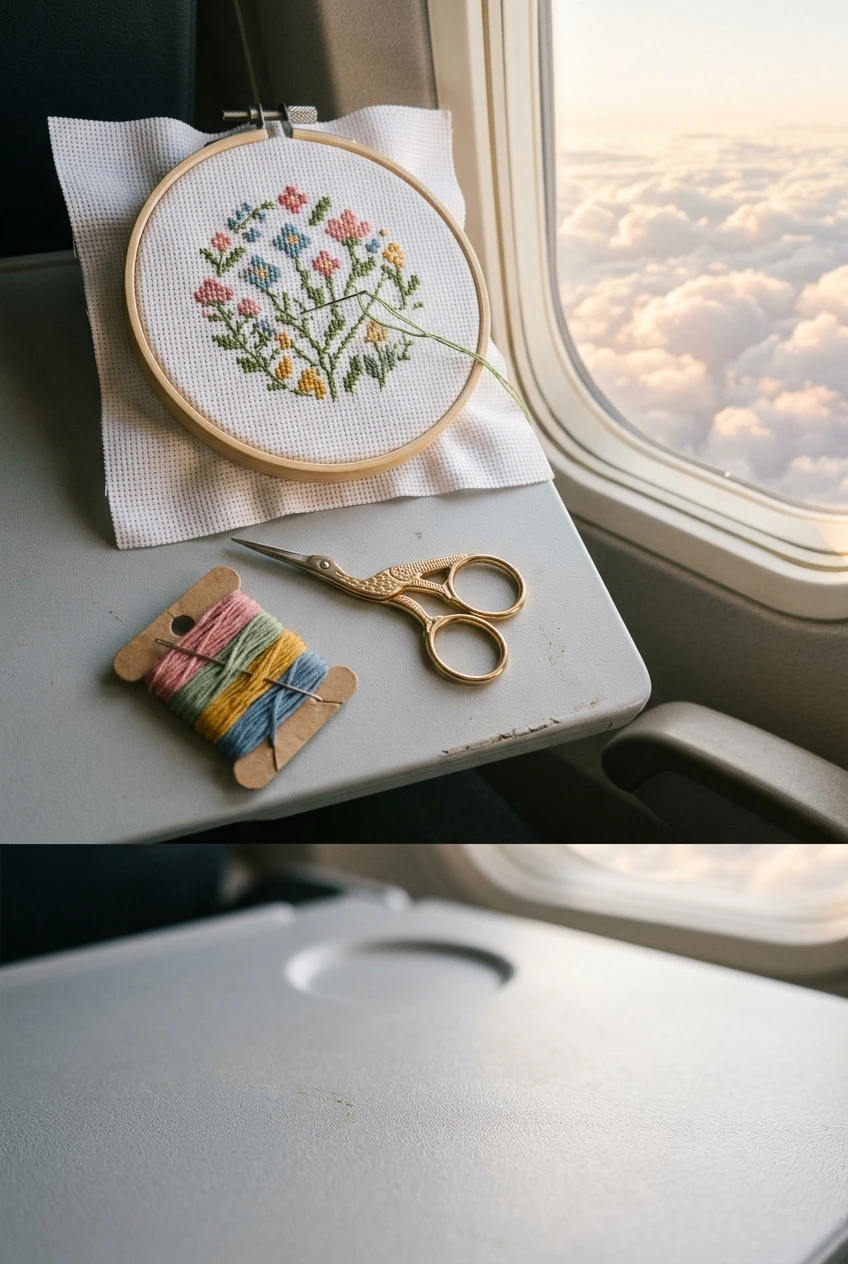
Cross stitch hoop and scissors on an airplane tray table, taking cross stitch on a plane
By Tracey Kramer • • 12 min read
Yes, you can take cross stitch on a plane. In the United States, TSA allows sewing and embroidery needles in carry-on with no quantity limit, and scissors with blades under four inches measured from the pivot, which covers nearly every pair of embroidery snips ever made. The surprising part, and the reason I wrote this, is that the one tool most stitchers buy specifically for travel is the one most likely to be taken away at the checkpoint.
The Tool You Think Is Safe Is the One They Take
Let me start with the thing nobody tells you. Those little round pendant-style thread cutters, the ones marketed as the TSA-friendly travel option, are the tool I hear about most often getting pulled out of a carry-on bag. The blade is concealed inside the disc, and a concealed blade is exactly what screening equipment and officers are trained to flag. It looks harmless on your neck. On an X-ray it reads as a hidden cutting edge.
I know how backwards that feels. Stitchers buy those cutters because they seem like the responsible choice, the polite alternative to carrying sharp points through security. Then they sail through with a pair of pointed stork scissors in the same bag and lose the cutter. After 22 years in this craft I have heard that story more times than I can count, and it comes up on FlossTube every summer like clockwork.
So the first piece of advice in this whole article is a subtraction, not a purchase. Do not buy a circular thread cutter for a flight. If you already own one and love it, leave it in your stitching chair at home where it belongs, or pack it in your checked bag. It is not worth the twelve dollars and the sting of watching it go into the bin.
The second piece of advice is the workaround, and it is almost comically ordinary. Nail clippers are explicitly permitted in carry-on, and they cut six-strand floss cleanly with a little squeeze. A cheap pair of travel nail clippers (find on Amazon) tucked into your project pouch means that even in the worst case, even if every other cutting tool you brought gets surrendered, you can still finish your thread and keep stitching at 35,000 feet. I have flown with clippers as my only backup more than once and never once been questioned.
What TSA Actually Says About Needles and Scissors
Here is the plain version, current as of this writing and for United States airports only. Sewing and embroidery needles are permitted in carry-on baggage. There is no stated quantity limit, so a full pack of size 26 tapestry needles is fine. Needles are not the problem people assume they are.
Scissors are permitted in carry-on when the blade measures less than four inches from the pivot point. Read that again, because the measurement matters. It is not the overall length of the scissors. It is the blade, measured from the pivot screw to the tip. Almost every pair of embroidery snips on the market falls well under that. The classic stork embroidery scissors (find on Amazon) I use are 3.5 inches overall, which puts the blade at barely an inch and a half. They are not remotely close to the limit.
Small thread snips, the spring-loaded kind, are also fine by the same measurement. Seam rippers are a gray area and I would not risk a nice one. Rotary cutters are a hard no, but you are not bringing a rotary cutter on a plane to do counted cross stitch anyway.
The caution that matters more than any of this: none of it is a guarantee. The officer at the checkpoint has final discretion, always. Rules change without much fanfare. And this is US-specific guidance. Some European and Asian carriers and airports are stricter about scissors of any blade length, and a few will not allow them at all in the cabin. Check the current TSA page and your specific airline before you fly, every single time, especially on international itineraries.
I would rather you go into the security line with realistic expectations than with a printout and an argument. If an officer decides your snips are not going through, the snips are not going through. Which leads directly to how I pack.

Tracey Recommends
Gingher 3.5" Stork Embroidery Scissors for Snips on Thread & Fabric, Gold
These classic stork snips measure 3.5 inches overall, which puts the blade far under the four-inch-from-the-pivot limit TSA uses for carry-on. They cut floss cleanly and sit comfortably in a small travel pouch. Officers always have final say, so treat any pair you fly with as replaceable.
Check Current Price →The tool most stitchers buy specifically for travel is the one most likely to be confiscated. Skip the circular cutter and carry nail clippers instead.
How to Pack So You Can Lose Something Without Losing Your Project
My whole travel packing philosophy comes down to one rule: never carry anything through security that you would grieve. That is it. If a tool is irreplaceable, a gift from your grandmother, a discontinued pair you hunted down on eBay, it stays home or it goes in the checked bag. Sentimental scissors and airport security do not mix.
For flying, I keep a dedicated set of cheap duplicates. Inexpensive snips I would not blink at losing. A backup pair of travel nail clippers. A few needles rather than my whole collection. When your travel kit is deliberately expendable, the checkpoint stops being stressful and becomes a formality.
Keep everything in one clear or lightly colored pouch, and keep it near the top of your bag. A dedicated cross stitch project bag (find on Amazon) with a wide zip opening makes inspection painless. If an officer wants to look, you hand them one small pouch instead of digging through a suitcase while the line backs up behind you. Half of a smooth screening experience is just being easy to inspect.
For needles, I use a magnetic needle case (find on Amazon) so nothing works loose and stabs me when I reach in. A small magnetic case keeps needles captured, visible, and obviously what they are. Loose needles rattling around a bag are how you end up with a finger stick and an awkward conversation.
One more packing note. Put your pattern on your phone or tablet as a PDF rather than carrying loose printed pages that will slide around your tray table and end up under the seat in front of you. Instant download patterns earn their keep on a plane. If you prefer paper, print just the pages you plan to stitch and clip them together.
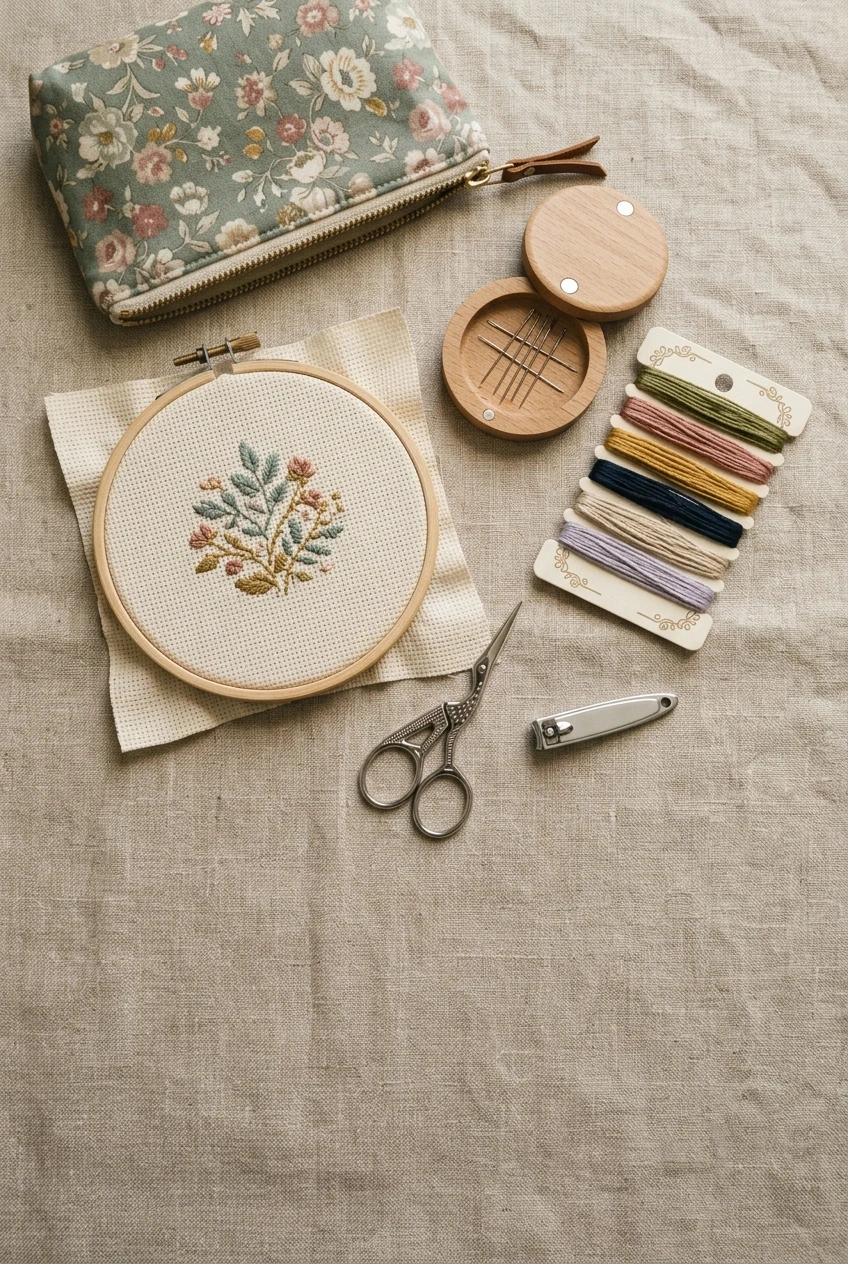
Flat lay of a compact cross stitch travel kit with hoop, needle case and nail clippers
Choosing a Travel Project That Actually Works in Seat 24C
The flight itself is a small, dim, cramped space with an unpredictable neighbor and a tray table the size of a dinner plate. That reality should shape what you bring.
Pick something small. A 5 or 6 inch section of a larger design, or a compact chart you can hold comfortably in a 5-6 inch wooden hoop. I stitch on 18-count Aida for everything I design, and on a plane that count is a real advantage, since a lot of design fits into a very small hoop. What I would not bring is a BAP that needs a big frame or a stand. Save the big canvas for your chair at home.
Pick something simple. Cabin light is bad and airplane light is worse, so leave the confetti-heavy fine art piece at home. A design with large blocks of color and a short color list is far kinder at cruising altitude. Fewer floss changes means fewer chances to drop a bobbin into the aisle and watch it roll six rows back.
Prep before you go. Pre-cut lengths of floss and thread a couple of needles at home. Grid your fabric ahead of time if you grid. Every bit of setup you do at your own table is setup you do not do with your elbows pinned to your sides. I usually pre-cut a dozen 18-inch lengths and keep them on a floss card, ready to go.
And be honest about turbulence. Bumpy air is not stitching air. I stop, park the needle in the fabric margin, and put the hoop away rather than risk a wobbly stitch I will just have to frog later. Frogging on a plane in bad light is a special kind of misery. When the ride smooths out, I pick it back up.
|
Patterns from the Sunrays Collection Tracey's Picks, designing cross stitch patterns since 2004 | |||||
| |||||
| Browse the full Sunrays collection → |


Trains, Cars, Hotels and the Rest of the Trip
Flying gets all the attention, but most travel stitching happens elsewhere. Trains and buses in the US have no equivalent screening for handheld sewing tools, so your normal kit travels fine. Long car rides are wonderful stitching time as a passenger, though I would keep your needle put away on rough roads for the same reason I do on a bumpy flight.
Hotel rooms are where the real progress happens. The lighting is almost always terrible, so a small clip-on light or even the flashlight setting on a phone propped against a lamp makes a genuine difference. I pack a folding light about the size of a paperback and it earns its space every trip.
Watch your fabric in transit. Aida creases, and a hard fold line down the middle of a WIP is annoying to steam out later. I roll rather than fold, with the stitched area on the inside. A rolled project in a padded pouch comes out of a suitcase looking the way it went in.
Cruises deserve a mention because they combine an airport, a port terminal, and sometimes a foreign country. The port screening is usually less strict than air travel, but the airport getting there is not, and the country you fly through matters. Same rule applies: expendable tools, one easy-open pouch, clippers as backup.
And if you are stitching internationally, do a little homework on your return flight too. It is easy to check the rules for your departure airport and forget that you have to clear security again coming home under a different country's standards. That is where people most often lose a pair of snips they carried out just fine.
Get Stitching Tips & New Patterns from Tracey
Honest advice, new Sunrays designs, and occasional VIP-only offers. No fluff.
No spam. Unsubscribe any time.
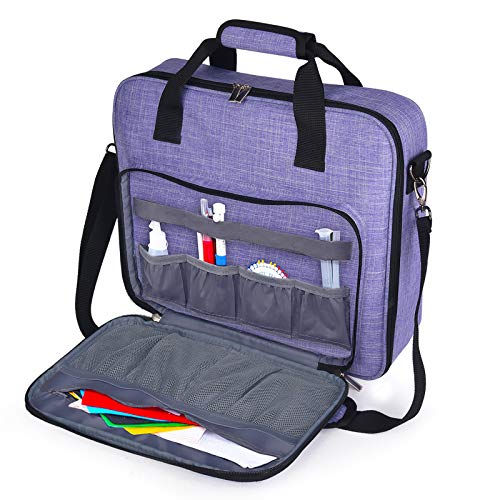
Tracey Recommends
BAGLHER Cross Stitch & Embroidery Organizer Bag - Large Portable Project Storage with 3 Compartments, Travel Friendly Carrying Case for 11.2" Hoops, Threads, Supplies (Purple)
One zippered bag that holds your hoop, floss, needles and chart keeps a travel project contained and easy to hand over if security wants a look. The wide opening means no digging in a crowded line. I keep mine packed and ready between trips.
Check Current Price →My Honest Travel Kit After 22 Years
Here is exactly what goes in my bag, no more and no less. One small hoop with a prepped, gridded project already mounted. Pre-cut floss on a card. A magnetic needle case with three or four needles. An inexpensive pair of snips I would happily surrender. Nail clippers as the backup cutter. A small folding light. The chart on my phone. All of it in a single zip pouch.
What does not go in my bag: my good scissors, a circular thread cutter, a stand, a project I care deeply about finishing on schedule, and anything I have not tested at home first. Travel is not the time to try a new technique or a new fabric count. It is the time to do rows of something you already understand.
The mindset matters as much as the packing. Stitching on a plane is not about racking up coverage. It is about turning four hours of forced stillness into something calm and pleasant. Some of my most peaceful stitching hours have happened somewhere over Kansas with a bad cup of coffee and a small hoop. I get less done than I would at home and I do not care.
If you take one thing from this article, make it this: skip the circular cutter, carry clippers, keep your tools expendable, and check the current rules before you go. Do that and the checkpoint becomes a non-event, and you get to spend the flight doing the thing you actually wanted to do.
Travel stitching should be the calm part of a trip, not another thing to worry about. Pack light, pack replaceable, check the current rules before you head to the airport, and let the flight go by with a needle in your hand. If you need a small, travel-friendly design to take with you, browse the Sunrays Creations pattern library and pick one that will look wonderful framed on your wall when you get home.
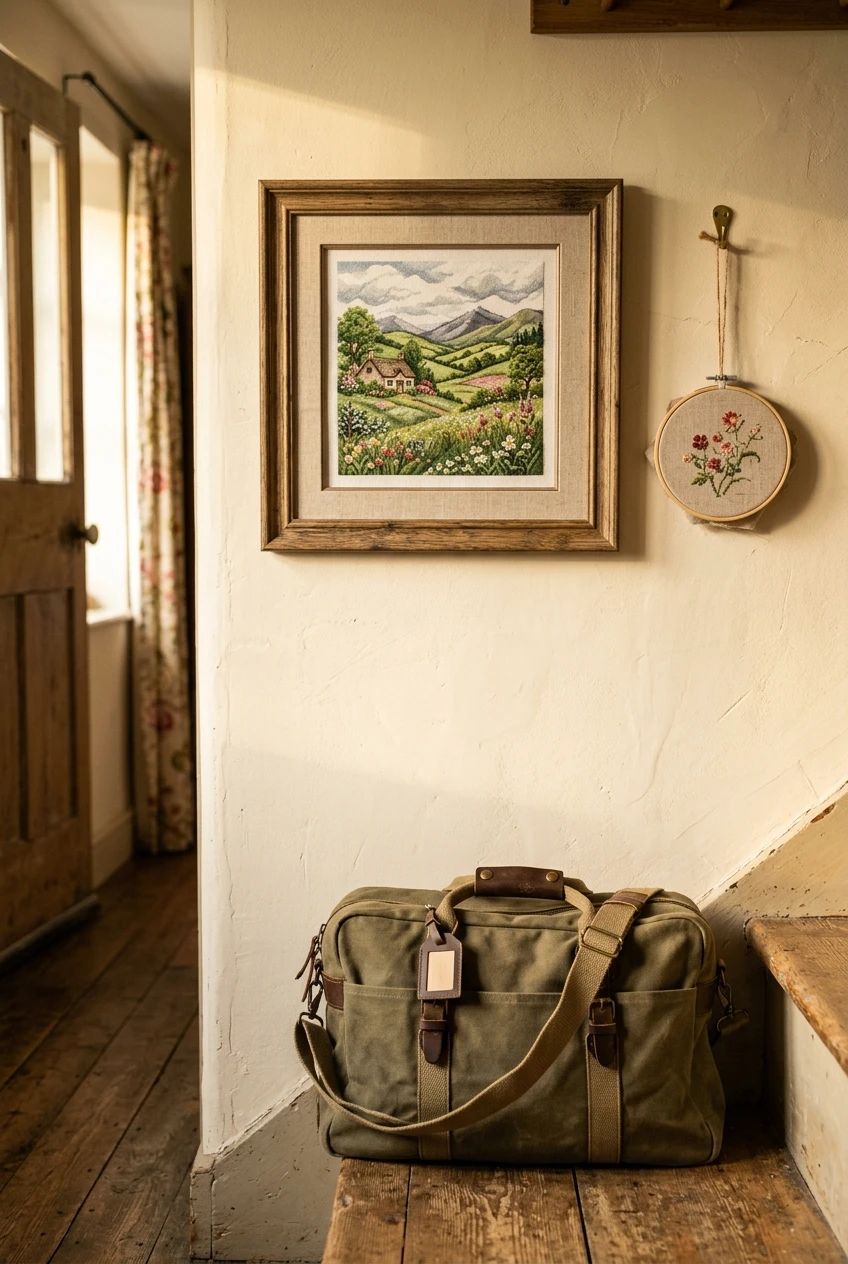
Framed finished cross stitch on a wall beside a carry-on bag after a trip home
Keep Reading
Cross Stitch Scissors: Why Your Scissors Matter More Than You Think
If you are picking a travel pair, it helps to understand what makes a good pair of snips in the first place. This guide walks through blade shape, size and quality.
Read the GuideCross Stitch Hoop vs. Q-Snap vs. Scroll Frame — Which Should You Use?
A small hoop is the only frame that really works on a tray table. Here is how the three options compare so you can choose what travels with you.
Compare FramesCross Stitch Lighting: Why Good Light Is the Most Important Tool You Own
Cabin light and hotel lamps are the enemy of accurate counting. This is my full take on lighting and why a portable light belongs in your suitcase.
See Lighting TipsFrequently Asked Questions
Can you bring embroidery needles on a plane?
Yes. TSA permits sewing and embroidery needles in carry-on baggage with no stated quantity limit, so a full pack of tapestry needles is fine. I keep mine in a magnetic case so nothing works loose. Officers still have final discretion at the checkpoint.
Are embroidery scissors allowed in carry-on luggage?
In the US, scissors are permitted in carry-on when the blade measures less than four inches from the pivot point. Almost every pair of embroidery snips qualifies easily, including 3.5 inch stork scissors. Non-US airports and some airlines are stricter, so check before you fly.
Why do circular thread cutters get confiscated?
The blade in a pendant-style round cutter is concealed inside the disc, and concealed blades get flagged at screening. It feels like the safer travel choice but it is the tool most likely to be taken. Leave it at home or pack it in checked baggage.
What can I use to cut thread on a plane instead?
Ordinary nail clippers. They are explicitly permitted in carry-on and they cut six-strand floss cleanly with a squeeze. I pack a cheap pair as backup even when I am also carrying snips.
What kind of cross stitch project is best for a flight?
Something small and simple. A compact design in a 5 or 6 inch hoop, with large blocks of color and a short floss list, since cabin light is poor and tray tables are tiny. Skip confetti-heavy pieces and big projects that need a stand.
How should I pack my stitching so security is easy?
Keep everything in one zippered pouch near the top of your bag so you can hand it over in a single piece. Carry only tools you would not mind surrendering, and leave anything sentimental or irreplaceable at home or in checked baggage.
-- Tracey Kramer
Founder & Designer, Sunrays Creations Needlearts
Hand-charted designs since 2004 • Marysville, Ohio