
How to Display Finished Cross Stitch Without Framing It
Posted by Tracey M. Kramer on 29th Sep 2026
A Note from Tracey Kramer
I have been designing counted cross-stitch patterns since 2004, and in that time I have watched my customers stitch everything from wedding gifts to heirloom samplers. This is everything I know about this topic -- from real experience, not theory.
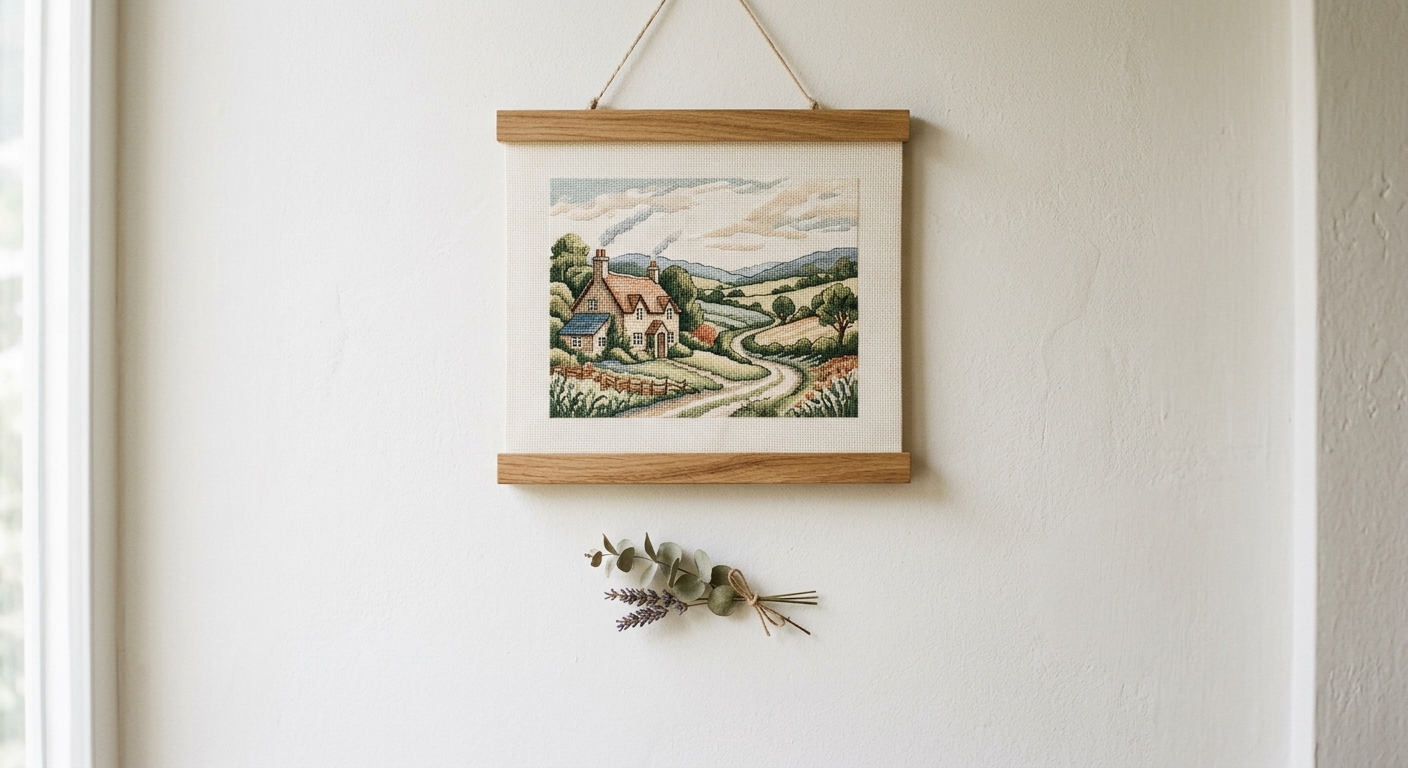
Finished cross stitch displayed without framing on a wooden magnetic dowel hanger against a white wall
By Tracey Kramer • • 12 min read
You finished it. Then you got a custom framing quote that cost more than the pattern, the floss, and the fabric combined, and now that piece is folded in a drawer. I've been there more times than I want to admit. You can display finished cross stitch without framing it by using a magnetic dowel hanger, mounting the fabric over foam board or stretched canvas, or turning a clean display hoop into the frame itself, and most of those options are a weekend afternoon and under twenty dollars.
Before Any Display Method: Wash, Press, and Square It
Every method in this article fails if you skip this part. A finished piece carries hoop marks, hand oils, grid lines, and the faint gray haze that comes from months of handling. Mount that on a wall and you will see every bit of it under afternoon light.
Wash it first. Cool water, a drop of gentle unscented soap, gentle pressing with your palms rather than wringing. Rinse until the water runs clear. Roll the piece in a clean white towel to pull out the bulk of the water, then lay it flat or press it face down on a folded towel with a warm iron so the stitches sink into the terry instead of getting flattened. Never iron the front directly.
Then square it. This is the step people skip and regret. Count in from the stitched edge on all four sides and trim along a single fabric thread so your edges are true to the grain. If the piece is crooked by even half a stitch, a dowel hanger or a mounted board will show it instantly, because those methods give you a hard straight line to compare against. A frame with a mat hides a multitude of sins. These methods do not.
One more thing: the back matters now in a way it did not while you were stitching. Raw Aida edges fray, and they will keep fraying on your wall. Whipstitch the edge, run a line of fray stopper, or fold and press a hem before you mount. It takes twenty minutes and it is the difference between a finish that looks handmade and one that looks unfinished.
Magnetic Dowel Hangers: The Cleanest No-Frame Option
If you only try one thing from this article, make it this one. A magnetic poster hanger (find on Amazon) is two pairs of wooden slats that clamp the top and bottom edges of your fabric with hidden magnets. No sewing, no stretching, no tacks. You slide the top edge between the slats, let the magnets grip, do the same at the bottom, and hang it from the cord. The bottom bar acts as a weight, so the fabric hangs flat instead of curling.
I like these for cross stitch specifically because the wood reads as intentional. A stitched landscape hanging from walnut or natural oak slats looks like a deliberate design choice, not a workaround. They come in widths from about eight inches up to two feet, so measure the finished width of your piece plus an inch of margin on each side before you order.
A few practical notes from using them. Leave at least an inch and a half of unstitched Aida above and below your design, because that is what the slats grip. If your margins came out tight, you can stitch a strip of plain fabric onto the top and bottom edges to give the hanger something to hold. And if the fabric is thin or wants to ripple, mount it to a piece of lightweight interfacing or a sheet of cardstock first so it presents as one flat plane.
The limitation is weight and size. These are ideal for small to medium finishes. A large, dense fine-art reproduction on 18-count with thousands of stitches gets heavy and wide, and at that point you are better served by a mounted board or a real frame.

Tracey Recommends
WITCOLOR Magnetic Poster Hanger, 30x20 30x30 30x40 Poster Frame Wood Wooden Magnet Print Posters Dowel Scroll Hanger Hangers Hanging Kit for Walls Map Canvas Artwork (Teak, 30")
This is the cleanest way to get a finish on the wall without a frame. Hidden magnets grip the top and bottom edges, the lower bar weights the fabric so it hangs dead flat, and the wood looks intentional rather than improvised. Measure your finished width plus an inch of margin per side before you order.
Check Current Price →A display hoop is not the same object as your working hoop. One is chosen for how it feels in your hand for three hours. The other is chosen for how the wood looks on your wall.
Mounting on Foam Board or Stretched Canvas
This is my favorite method for pieces that deserve real presence on the wall but do not have a framing budget yet. You are essentially building your own frameless panel. The stitched fabric gets stretched over a rigid backing, wrapped, and secured on the reverse, and the result hangs like a gallery canvas with clean edges and no glass.
For the backing you have two good choices. Foam board (find on Amazon) is light, cheap, easy to cut with a craft knife, and forgiving. A blank stretched artist canvas is sturdier, already has a hanging lip on the back, and gives you a half-inch to two-inch depth that casts a nice shadow on the wall. Either one works. Foam board is easier for a first attempt.
Cut the backing to the exact finished size you want the visible design to be, then lay your washed and pressed piece face down, center the board on the back of it, and fold the excess fabric over. Work opposite sides in pairs, top then bottom, then left then right, checking the front constantly so your stitched rows stay parallel to the board edge. Secure with acid-free tape, lacing thread across the back in a crosshatch, or stainless steel pins pushed into the foam edge. Do not use hot glue directly on the stitched area, and do not use masking tape, which yellows and eats fabric over time.
If this piece is going up permanently, spend the extra few dollars on acid free backing board (find on Amazon) rather than craft-store foam. Regular foam board contains acids that migrate into cotton over the years and turn the fabric brown along the contact line. I have seen twenty-year-old pieces ruined by cheap mounting. Archival board costs a few dollars more and buys you decades.
To hang the finished panel, a sawtooth hanger glued and taped to the back works on canvas. On foam board, two adhesive picture strips at the top corners and one at each bottom corner will hold it flat against the wall.
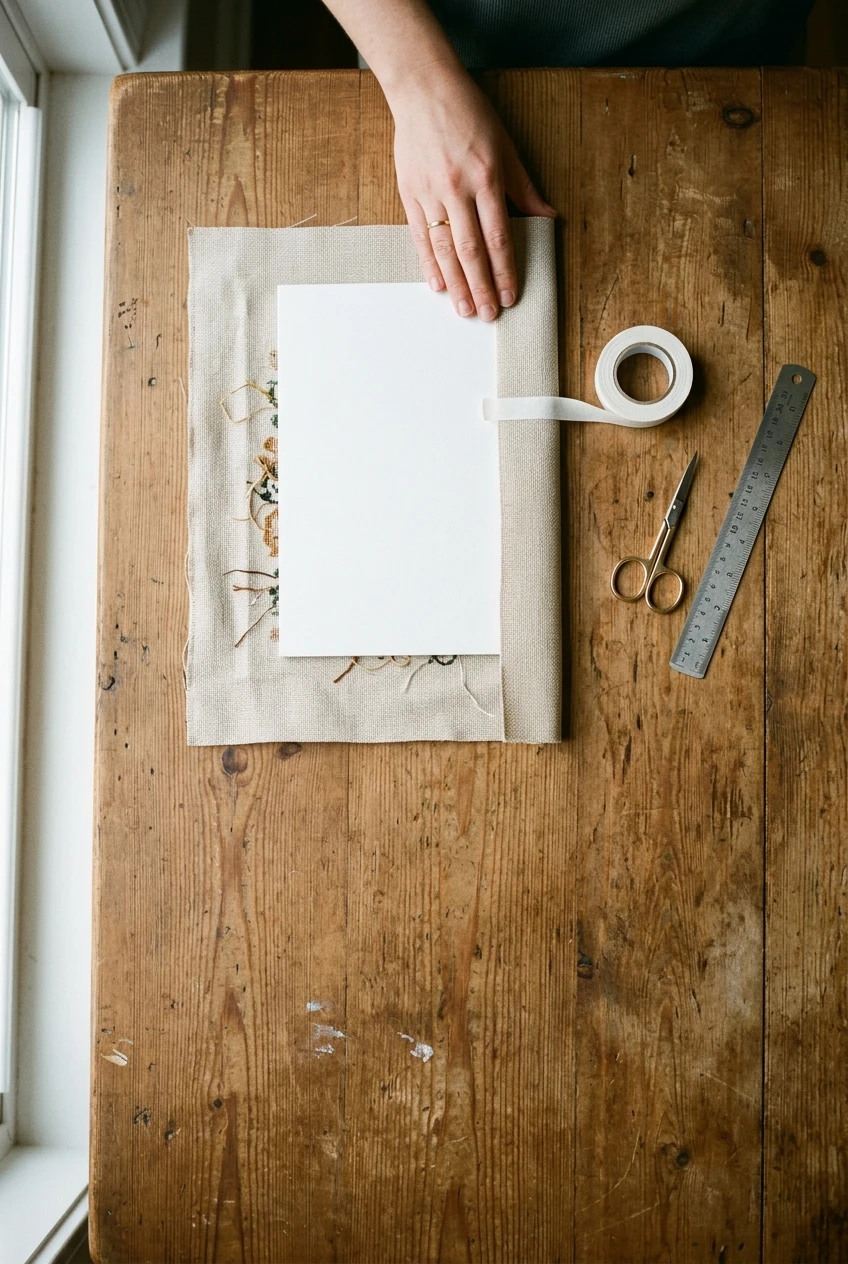
Finished cross stitch being mounted face down over acid-free foam board with tape and scissors
Using a Hoop as the Display Itself
The hoop finish is popular for good reason: it is fast, it costs almost nothing, and the circle shape is charming on a gallery wall. But I want to be precise about something, because stitchers conflate these two things constantly. A display hoop is not the same object as your working hoop. The hoop you stitch in is chosen for tension, grip, and how it feels in your hand for three hours. A display hoop is chosen for how the wood looks on your wall and how cleanly it finishes. If you are picking a hoop to actually stitch with, that is a whole different decision.
For display, start with a fresh embroidery hoop (find on Amazon) that has no varnish scuffs, no fingerprint oils, and a clean brass tightening screw. Five and six inch sizes look best for small finishes. Center your piece, tighten the screw firmly, and tug the fabric evenly all the way around so the stitched area sits drum-tight and centered in the opening.
Then finish the back, which is the step that separates a nice hoop finish from a limp one. Trim the excess fabric to about an inch past the inner hoop. Run a gathering stitch around that margin with strong thread, pull it tight so the fabric cinches against the back of the inner hoop, and knot it off. Cut a circle of felt slightly smaller than the inner hoop and whipstitch or glue it over the gathered edge. Now the back is as tidy as the front, and you can hang it by the screw or from a ribbon loop.
Scale is the honest limit again. Hoops top out around ten to twelve inches before the wood bows and the fabric sags, and hoops crop everything into a circle. A detailed landscape with corner-to-corner composition loses its edges in a circle. Save hoop display for small motifs, single-subject designs, and seasonal pieces.
|
Patterns from the Sunrays Collection Tracey's Picks, designing cross stitch patterns since 2004 | |||||
| |||||
| Browse the full Sunrays collection → |


Adhesive Strips, Clipboards, and Renter-Friendly Hangs
Not everyone can put nails in a wall. Dorms, rentals, plaster that crumbles if you look at it wrong. Adhesive poster strips solve this, and they solve it well within their limits. The strips grip a smooth back and release cleanly from painted drywall when you stretch the tab. For a piece mounted on foam board, four to six strips distributed around the perimeter will hold it flat and level.
Be honest with yourself about weight, though. These strips are rated, and cross stitch mounted on a heavy stretched canvas with a wood frame behind it exceeds what they are meant to carry. When a strip lets go, it lets go all at once and takes a chip of paint with it. Light mounted pieces: yes. Heavy canvas: use a hook.
The clipboard hang is the fastest option in this entire article and I am not too proud to recommend it. A wooden or metal clipboard, your mounted or hemmed piece clipped at the top, hung from the clip hole on a small nail or hook. It reads as casual and modern, it costs almost nothing, and you can swap out seasonal finishes in ten seconds without touching the wall. Washi tape corners on a lightly mounted panel work on the same logic, though tape is a short-term display, not a permanent one.
A wooden quilt hanger or a plain dowel with cord threaded through a sewn top casing also gives you that soft scroll look without buying anything specialized. Same rules apply: hem the edges, weight the bottom, keep it out of direct sun.
Get Stitching Tips & New Patterns from Tracey
Honest advice, new Sunrays designs, and occasional VIP-only offers. No fluff.
No spam. Unsubscribe any time.

Tracey Recommends
Command Poster Strips Value Pack, White, 256 Strips/Pack
If you cannot put nails in your walls, these hold a mounted foam board panel flat and level and release without taking paint with them. Use four to six spaced around the perimeter. Be realistic about weight, though: these suit lightweight mounted pieces, not a heavy stretched canvas.
Check Current Price →What About Pillows, Ornaments, and Bags?
Soft finishing exists and it is lovely for the right piece. Small motifs, initials, tiny seasonal scraps, and leftover practice squares become ornaments, pincushions, scissor fobs, and small pillows very happily. If you have a four-inch finish you love and no wall space, that is a genuinely good use for it.
But I want to be straight with you about scale, because this is where I see people make a decision they regret. The designs I chart are fine-art reproductions worked on 18-count Aida, often several hundred stitches wide, dense with color changes and confetti. Hundreds of hours go into one. Those pieces belong on a wall where the detail can be seen from three feet away and where they are protected from wear. Sewing a piece like that into a pillow that gets sat on, or a bag that gets dragged through a parking lot, is not a finish, it is a slow destruction. Wall display is the finish these designs are built for.
So the short version: soft finishing for small stuff, wall display for the big work. And if you eventually want to put your best piece behind glass in a real frame, that is a good decision and I support it. I just do not want a framing quote to be the reason a finished piece lives in a drawer for three years.
One last thought on the pieces already sitting in that drawer. Go pull them out. Some of them are closer to done than you remember, and getting one on a wall this weekend does more for your stitching motivation than any new start ever will.
The best finish is the one that actually gets your work out of the drawer and onto a wall where people can see it, and none of these methods require a framing quote or a week of waiting. Pick one, spend an afternoon on it, and let that piece start earning its hours. If you are ready for the next one, come browse the Sunrays pattern library and find something worth hanging.
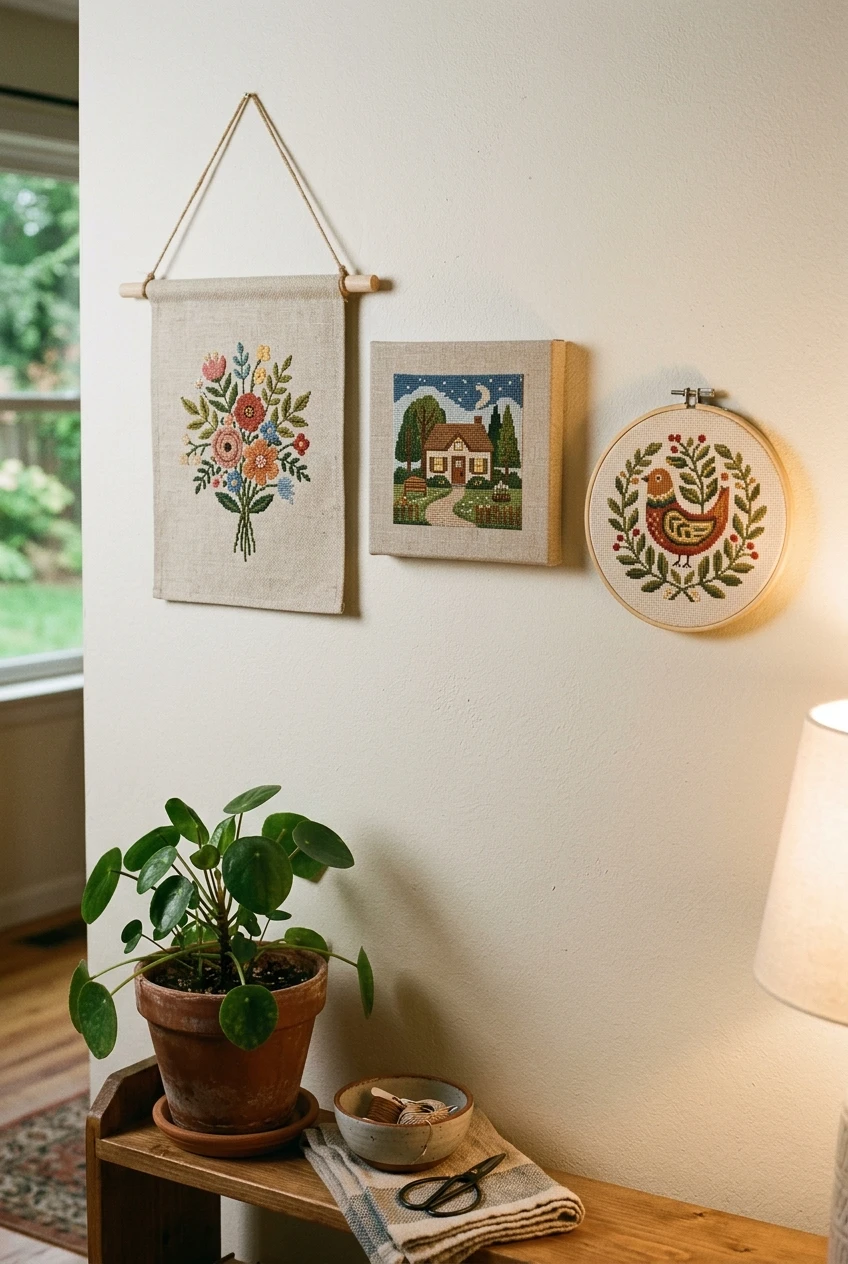
Gallery wall of three finished cross stitch pieces displayed on hangers, canvas and a hoop
Keep Reading
How to Frame Cross Stitch: Glass or No Glass?
If you decide you do want a traditional frame after all, this is the guide that walks through the glazing decision in detail. I cover glass, no glass, and what actually protects your stitching long term.
Read the Framing GuideCross Stitch Hoop vs. Q-Snap vs. Scroll Frame — Which Should You Use?
A display hoop and a working hoop are two different purchases. If you are choosing what to actually stitch in, start here instead.
Compare Your OptionsUnfinished Cross Stitch Projects: When to Quit or Push On
If pulling pieces out of the drawer turned up a few UFOs that never got finished, this one helps you decide which to revive and which to let go.
Sort Your UFOsFrequently Asked Questions
How do I display finished cross stitch without a frame?
The three best options are a magnetic wooden dowel hanger that grips the top and bottom edges, stretching the fabric over foam board or a blank artist canvas, or finishing it inside a clean display hoop. Clipboards and adhesive strip hangs work too for lighter pieces. All of them need the fabric washed, pressed, and squared first.
Do I have to wash my cross stitch before displaying it?
Yes, every time. Finished pieces carry hoop marks, hand oils, and grid lines that show clearly under wall light. Wash in cool water with a drop of gentle soap, roll in a clean towel, then press face down on a folded towel so the stitches do not flatten.
Will foam board damage my cross stitch over time?
Standard craft-store foam board contains acids that migrate into cotton and turn the fabric brown along the contact line after years. If the piece is going up permanently, use acid-free archival backing board instead. It costs a few dollars more and buys you decades.
Can I use my working hoop to display a finished piece?
You can, but they are chosen for different reasons. A working hoop is picked for tension and comfort over long sessions, while a display hoop is picked for how the wood looks and how cleanly it finishes. Use a fresh hoop with no scuffs or fingerprint oils for display, and finish the back with a felt circle.
Will Command strips hold a mounted cross stitch piece?
They will hold a lightweight piece mounted on foam board if you use four to six strips spaced around the perimeter. They are not rated for a heavy stretched canvas with a wood frame behind it. When an overloaded strip lets go it takes paint with it, so use a hook for anything heavy.
Should I turn my finished cross stitch into a pillow or bag?
Only for small finishes. Tiny motifs, initials, and leftover scraps make lovely ornaments and pincushions. Large fine-art reproductions worked on 18-count represent hundreds of hours and belong on a wall where they are protected from wear, not on something that gets sat on or carried around.
What do I do about the raw edges on the back?
Raw Aida frays and will keep fraying on your wall. Whipstitch the edge, apply fray stopper, or fold and press a hem before you mount. On a hoop finish, run a gathering stitch around the excess, pull it tight against the inner hoop, and cover it with a felt circle.
-- Tracey Kramer
Founder & Designer, Sunrays Creations Needlearts
Hand-charted designs since 2004 • Marysville, Ohio