What to Do With Leftover Cross Stitch Floss
Posted by Tracey M. Kramer on 25th Aug 2018
A Note from Tracey Kramer
I have been stitching for over thirty years, and I still feel a small pang every time I see someone throw away a perfectly usable partial skein. This one is for every stitcher who has ever shoved a pile of remnants into a drawer and forgotten about them.

Flat lay of leftover DMC embroidery floss skeins beside bobbins and permanent marker on craft table
By Tracey Kramer • • 12 min read
You just finished a project. Maybe it was a kit you have been working on for months, or a smaller piece you knocked out over a few weekends. Either way, it is done, it is beautiful, and there is a moment of real satisfaction sitting at that table with a finished piece in front of you. And then you look to the left, and there it is: the pile. A handful of partial DMC skeins, some nearly full, some down to just a few inches, all of them sitting there with no particular home. No label on the project bag anymore, no reason to stay together. Just a small, colorful, slightly tangled mess of thread that represents real money and real colors you may desperately need three weeks from now.
Most stitchers handle this pile in one of three ways. They stuff everything loose into a zip bag, toss the bag in a drawer, and never find the right color when they need it. They sort through it, keep the longer pieces in a vague pile, and throw away the short ones. Or — and this one makes me wince every single time — they throw it all away because dealing with it feels like too much work in the moment. I understand the impulse. You are tired, you are proud of what you finished, and sorting thread is not glamorous. But that pile is not just thread scraps. It is a growing floss library that will quietly save you money and save you a trip to the craft store if you build it correctly from the start.
I have been organizing leftover DMC floss since long before there were YouTube tutorials about it. The system I use is not complicated. It does not require a fancy cabinet or a huge investment of time. It requires three things, a little consistency, and the understanding that every color you capture now is a color you do not have to buy later. Let me walk you through exactly how I do it.
The Pile on the Table and Why It Actually Matters
Here is what that pile actually represents. Every partial skein in it has a DMC number, and that number is specific. DMC 3865 is not the same as 3866 or blanc. DMC 321 is not the same as 816 or 498. When you are three-quarters through a project and you run out of a color, you need that exact number. Not close. Not similar. The exact one. If you have a leftover piece of that color sitting in a labeled bobbin in your storage box, your problem is solved in thirty seconds. If that color is loose in a bag in a drawer, you might find it or you might not. If you threw it away, you are making a craft store run or paying for shipping on a single skein.
I want to put a dollar amount on this because I think it makes the case better than anything else. A single skein of DMC floss runs somewhere between sixty cents and a dollar depending on where you buy it and whether it is on sale. That does not sound like much. But if you stitch regularly and you finish several projects a year, you are leaving behind dozens of partial skeins every year. Some of those partials are worth nearly a full skein. Even the short ones have value if the color is one you use repeatedly. Over a few years of stitching, an organized floss stash built from kit remnants can represent fifty, seventy-five, even a hundred dollars worth of thread that you already own and do not have to buy again.
There is also a practical stitching reality that goes beyond the money. Certain DMC colors show up in pattern after pattern. Neutral creams, warm browns, classic reds, the standard greens and navy blues — these repeat constantly across designers and genres. Every time you finish a project that used DMC 3371 or 822 or 415, you are almost certainly going to need those colors again. Capturing them now means that when you are sitting down with a new pattern and building your shopping list, you can pull out your bobbin box, check what you already have, and cross colors off the list before you ever open a shopping cart.
The other thing that matters, and I say this as someone who has stitched through a lot of seasons of life, is that the habit of not wasting what God has already provided is genuinely good for the soul. Waste not, want not is not just a catchy phrase. It is a real orientation toward your materials, your money, and your time. The stitchers I know who have the most beautiful, well-stocked floss collections did not build them by buying everything new. They built them by taking care of what they already had.
The Minimum Length Test: What Is Actually Worth Keeping
Not every remnant deserves a bobbin. I want to be honest with you about that, because part of a good organizing system is knowing what to keep and what to genuinely let go. There is a threshold below which a piece of thread is not usable for counted cross stitch, and trying to stitch with it will just frustrate you. The question is where that threshold is.
My rule of thumb is this: if a piece of floss is long enough to thread a needle with a comfortable tail and complete at least four or five full cross stitches, it is worth winding onto a bobbin. That works out to roughly six inches as the practical minimum for most stitching. Below six inches and you are spending more time rethreading than you are stitching. Below about three inches, the piece is genuinely not usable for cross stitch. Those very short pieces — the ones left after you finish a row and snip the thread — those can go. You are not obligated to save every inch.
Where it gets more nuanced is in the middle range. A piece that is eight to twelve inches long is absolutely usable. You can run those last stitches in a small motif, fill in a corner, work a single letter in an alphabet pattern. Do not throw those away. Wind them on a bobbin with the longer pieces of the same color, note the number, and let them be part of your stash. They will get used. A piece that is fifteen to eighteen inches or longer is a genuinely useful length and should absolutely be saved without question.
The pieces that are genuinely just scraps — under four or five inches — I collect those separately in a small bowl or bag. Some stitchers use them as stuffing in small pincushions or needle books. I have done that too. If you make any kind of textile craft alongside your stitching, short thread scraps have uses. But for the purpose of building your floss stash, those very short pieces are not part of the system. Be realistic, keep what is usable, and let the rest go without guilt.
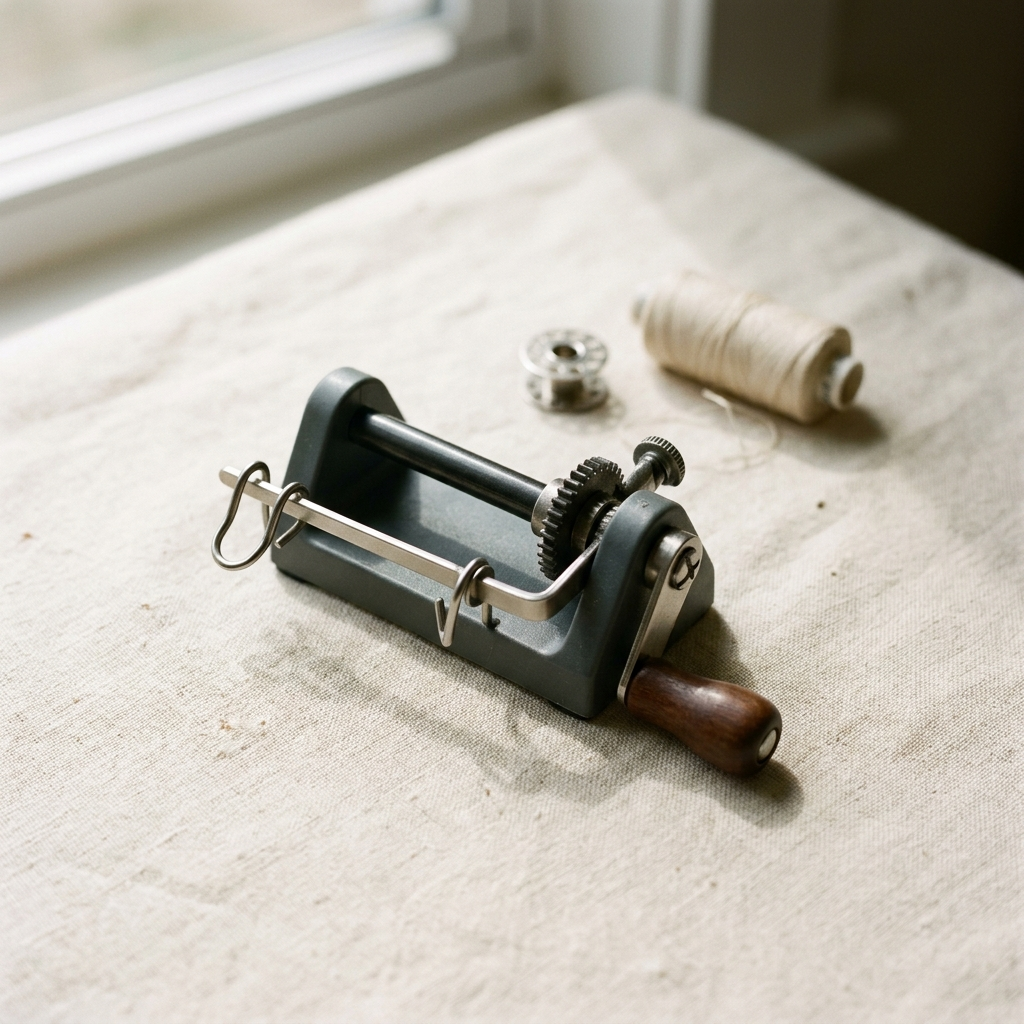
Tracey Recommends
Bobbin Winder for Embroidery Floss
If you have ever sat down to process a pile of kit remnants and given up halfway through because your hands were tired, a bobbin winder is the answer. This little tool winds your partial skeins onto plastic bobbins quickly and evenly, without the hand cramp. It turns what could be a tedious forty-five-minute chore into a satisfying fifteen-minute project. If you stitch regularly and finish kits with any regularity, this tool pays for itself fast.
See on AmazonThat pile of partial skeins on the table after you finish a project is not a mess to deal with later. It is a growing floss library — and every color you capture now is a color you do not have to buy next month.
The System: Bobbins, Marker, and Why Stickers Will Disappoint You
The actual organizing system has three physical components: DMC plastic bobbins (find on Amazon), a permanent marker (find on Amazon), and a storage box to file them in. That is genuinely all you need. Some stitchers add a bobbin winder (find on Amazon) to the list and I will talk about that separately because it is worth discussing, but the core system is those three things. Simple, inexpensive, and it works.
Let me talk about the labeling question first because this is where a lot of systems fall apart. If you have ever bought a floss organizer that came with those little round number stickers, you know exactly what I mean when I say they are a beautiful idea that does not survive contact with real stitching life. The stickers peel off. They peel off in your storage box when bobbins rub against each other. They peel off when your hands are even slightly warm or slightly damp. They fall off in the dark interior of a craft bag and you end up with a bobbin whose number is now somewhere in the lining of your bag where you will never find it again. I gave up on those stickers years ago.
The reliable method is a permanent marker written directly on the bobbin face. Write the number large enough to read without squinting. I use a fine-point permanent marker and I write the number right in the center of the bobbin face, large and clear. The ink does not smear, it does not peel, it does not migrate. Twenty years from now, that bobbin will still say exactly what it is. Some stitchers also swear by label maker tape as a step up from stickers — the tape adheres more firmly and holds up better than paper sticker labels — but even with label maker tape, the permanent marker on the bobbin face is the reliable backup that I always come back to. Write the number. You will never regret it.
Once the bobbins are labeled, wind the floss. Take your partial skein or remnant piece, hold the end against the bobbin, and wrap firmly and evenly from one side to the other. Tuck the tail end through one of the notches on the bobbin edge so it does not unravel. If you are doing this with a lot of remnants at once, a bobbin winder makes the process significantly faster and easier on your hands. But if you are just processing one finished kit's worth of leftovers, winding by hand is perfectly fine and takes maybe fifteen minutes.
Then file the bobbins in numerical order in your storage box. Filing numerically is the key habit. If your bobbins are in numerical order, you can find any color in seconds. You scan to the right range, pull the bobbin, done. If your bobbins are filed randomly or by color family, you will spend five minutes hunting every time. Numerical order is the system. Start it from the beginning and maintain it, and your floss stash becomes genuinely useful rather than just organized-looking.
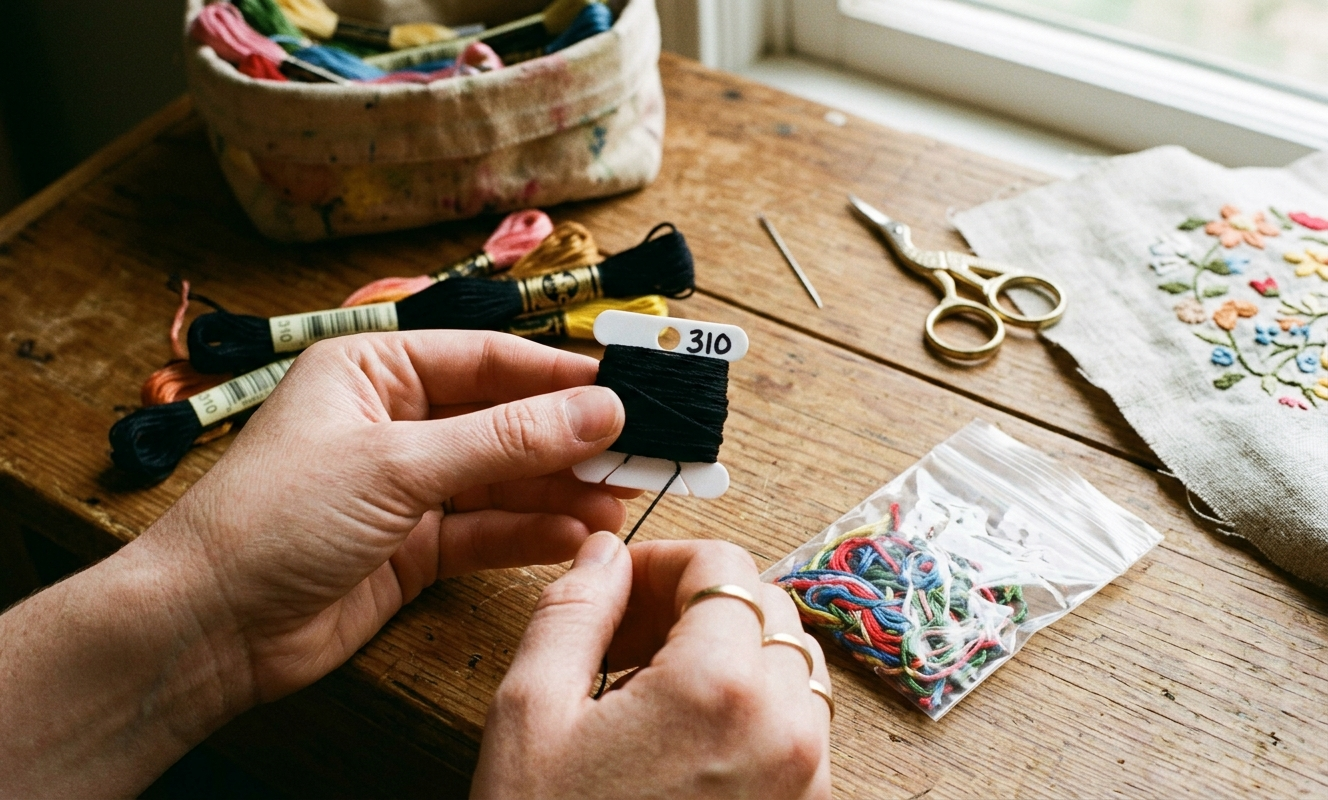
Hands winding partial DMC floss onto labeled white plastic bobbin beside zip bag of remnants
The Moment Leftover Floss Becomes Real Stash
There is a shift that happens somewhere in the process of building an organized floss collection from remnants. It is subtle and it is one of the best feelings in this craft. At first, you are just keeping partial skeins from going to waste. You finish a project, you wind your remnants, you file them away, and you move on. It feels like housekeeping more than anything else. But after a while — after several projects, maybe six months or a year of consistent capturing — you open your storage box to check a color and you realize you have it. Not just that color, but the one next to it, and the one after that. You have a collection.
That is the moment when kit remnants quietly become a usable stash in the truest sense. You are no longer just preserving leftovers. You have a resource. When you sit down with a new pattern and read through the color list, you pull out your box and check what you have before you write a single item on your shopping list. And you find colors. Sometimes a lot of them. I have sat down with a new project needing twelve colors and found eight of them already in my bobbin box, fully wound and labeled and ready to go. That is a real saving, and it happens because of the habit of capturing remnants consistently.
The other thing that changes when your stash reaches this point is how you shop. You stop buying full skeins of colors you know you use regularly, because you know your stash has them covered. You start buying only what you genuinely need — the specific colors for a new project that you do not already have. Your shopping list gets shorter. Your floss spending gets more intentional. This is the full floss economy at work: buy smart, use what you have, capture what would otherwise be wasted, and build a collection over time rather than buying everything new for every project.
I want to say something plainly here for newer stitchers who might be reading this: start this habit with your very first kit. I mean it. The temptation with a first kit is to treat the leftover floss as kit-specific and not worth keeping. Resist that. Wind those remnants, mark those bobbins, file them away. Even if your stash starts with twelve bobbins from one kit, you have started. The collection grows faster than you expect, and the habit of capturing rather than discarding is worth building from the very beginning.
|
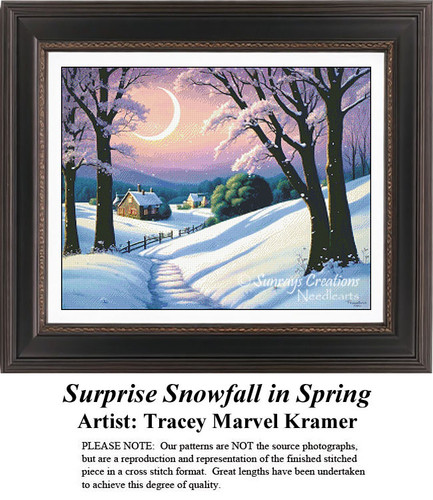
Patterns from the Sunrays Collection Tracey's Picks, designing cross stitch patterns since 2004 |
|||||
|
|||||
| Browse the full Sunrays collection → |


Integrating Inherited Floss and Lot Purchases
Not all leftover floss comes from your own finished projects. There is another whole category of orphaned thread that finds its way into a stitcher's hands: inherited collections from someone who no longer stitches, purchased lots from estate sales or online auctions, grab bags from destash sales, boxes of mixed thread someone donated to a guild or church group. This floss has often been used by someone else, is wound on a variety of bobbins or loose on original skeins, and may or may not be labeled correctly. Integrating it into your organized system takes a little more work, but it is worth every minute.
The first step with any inherited or purchased lot is sorting. Spread everything out on a flat surface and get the full picture of what you have. Separate DMC from other brands — you can certainly use other brands, but mixing them in the same numerical filing system gets confusing fast unless you label clearly. Pull out anything that is clearly too short to use, matted beyond untangling, or so old and sun-faded that the color is no longer reliable. Set those aside honestly.
For everything that is usable, identify the color numbers. Most original DMC skeins still have the paper band with the number printed on it. If a skein has lost its band, you can use a DMC color card or the DMC website to identify the color by comparing it visually. This takes time, but it is time well spent. Once you have the number, wind the thread onto a labeled bobbin and file it with your existing stash. From that point forward, it is part of your collection. It does not matter that it came from someone else's project years ago. It is a color in your library now.
One practical tip for working through a large inherited lot: do not try to process the whole thing in one sitting unless you genuinely enjoy marathon organizing sessions. Set a timer for thirty or forty-five minutes, process what you can, and come back to it. The goal is to get it into your system, not to exhaust yourself. I have processed inherited collections over the course of several evenings and it has always been worth the incremental effort. Small zip bags are useful at this stage too — use them to hold sorted but not-yet-wound groups of thread so the pile does not get mixed back together between sessions.
If you find yourself with a truly large inherited collection — we are talking hundreds of skeins — it is worth checking against your existing stash before you wind everything. You may already have DMC 3799 covered three times over, and there is no point in having four bobbins of the same color unless they are all nearly full and you use it heavily. In those cases, keep the fullest pieces, set the rest aside for trading or gifting to another stitcher, and move on. A well-organized stash is more useful than an enormous one.
Get Stitching Tips & New Patterns from Tracey
Honest advice, new Sunrays designs, and occasional VIP-only offers. No fluff.
No spam. Unsubscribe any time.
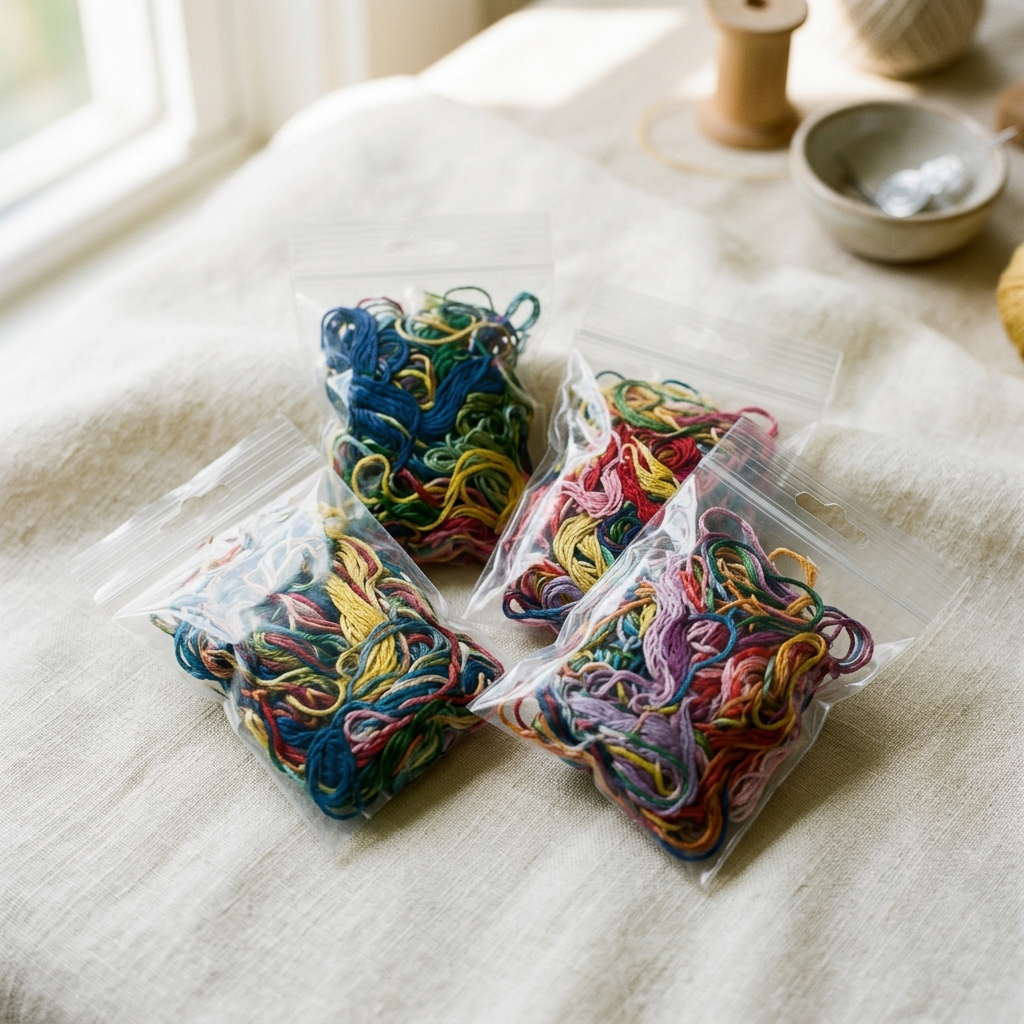
Also Useful
Small Clear Zip-Close Bags for Floss Capture
The sixty-second habit that keeps leftover floss from scattering is this: sweep every partial skein from a finished project into a small zip bag the moment you finish. These small clear zip-close bags are exactly the right size for a kit's worth of remnants, stackable, and clear enough that you can see the colors without opening them. Keep a stack near your stitching area and you will never lose another partial skein to the drawer-and-forget cycle again.
See on AmazonThe Sixty-Second Habit That Keeps the System Working
The single biggest threat to a good floss organization system is the gap between finishing a project and actually processing the remnants. You finish the piece. You are happy. You want to move on to the next thing. The partial skeins sit on the table. Then they get moved to the side. Then they end up in a bag. Then the bag goes in a drawer. Then six months later you have four bags in a drawer and no idea which skein goes with which project or what any of the numbers are. I have been there. Most stitchers have been there at some point.
The solution to this gap is a capture step, and it takes sixty seconds. The moment you finish a project — before you put anything away, before you start thinking about the next pattern — grab a small zip bag and sweep every partial skein from that project into it. Write the project name on the bag with your permanent marker if you want, or just close it and set it on top of your bobbin box. That bag is now in your system's queue. It is not scattered, it is not lost, and it is not in a drawer somewhere. It is waiting to be wound.
Small zip bags are genuinely useful for this capture step in a way that a random drawer or a large project bag is not. They are just big enough to hold a finished kit's worth of remnants, small enough to stack neatly, and clear enough that you can see the colors inside without opening them. I keep a stack of them near my stitching area specifically for this purpose. When a project is done, the remnants go in a bag. When I have a few minutes at the cutting table, I process the bag. The system stays current and the stash keeps growing.
The winding and filing step itself is satisfying in a way that surprises some stitchers. There is something genuinely pleasing about taking a messy pile of partials and ending up with a tidy row of labeled bobbins. It is the organizing equivalent of ironing a wrinkled piece of fabric — the transformation is visible and immediate and it gives you that sense that everything is in its right place. If you can pair the winding session with something you enjoy — a podcast, music, a cup of tea — it becomes part of your stitching ritual rather than a chore. Twenty minutes of winding after a finished project, and your stash is better for it every single time.
Thirty-plus years of stitching has taught me that the stitchers with the best collections are not the ones who spent the most money — they are the ones who took care of what they had. Start the bobbin habit now, maintain it consistently, and in a year you will have a floss library that surprises you every time you sit down with a new pattern. And when you are ready for something new to stitch, come browse the original counted cross stitch patterns at Sunrays Creations — there is always something worth adding to your project queue.

Open storage box filled with numerically organized labeled floss bobbins beside a cross stitch pattern chart
Keep Reading
How to Store Your Cross Stitch Floss the Right Way
Once you have captured your remnants and wound your bobbins, the next step is a full storage system that keeps everything accessible and protected. This guide covers exactly that.
READ THE GUIDEHow to Find the Best Deals on DMC Embroidery Floss
Organizing what you already have is half the floss economy. The other half is buying smart when you do need to restock. This article covers where and how to get the best prices.
READ THE ARTICLEWhat Do You Need to Start Cross Stitching?
If you are just starting out, this is the complete beginner's list — including why a floss organization system belongs in your setup from day one.
READ THE GUIDEFrequently Asked Questions
What should I do with leftover DMC floss after finishing a cross stitch kit?
Wind it onto labeled DMC plastic bobbins, mark the color number with a permanent marker, and file numerically in a storage box — as covered in the system section above.
How short does floss have to be before it is not worth keeping?
Anything under about six inches is rarely practical for cross stitch. The body section on the minimum length test covers exactly where the usable threshold is.
Why do floss sticker labels keep falling off my bobbins?
Sticker labels are not durable enough for regular handling. Writing directly on the bobbin face with a permanent marker is the reliable method, as explained in the labeling section.
When does a collection of remnants actually become a real floss stash?
When you can check your bobbin box before shopping and consistently find colors you need already there — the stash section above describes exactly how this shift happens.
How do I organize inherited or purchased lot floss that has no labels?
Sort by brand, identify numbers using a DMC color card or the DMC website, wind onto labeled bobbins, and integrate into your numerical filing system — all detailed in the inherited floss section.
What is the best way to keep leftover floss from scattering right after I finish a project?
Sweep all remnants into a small zip bag immediately when you finish — the sixty-second capture habit described in the final section prevents the drawer-and-forget cycle.
-- Tracey Kramer
Founder & Designer, Sunrays Creations Needlearts
Hand-charted designs since 2004 • Marysville, Ohio